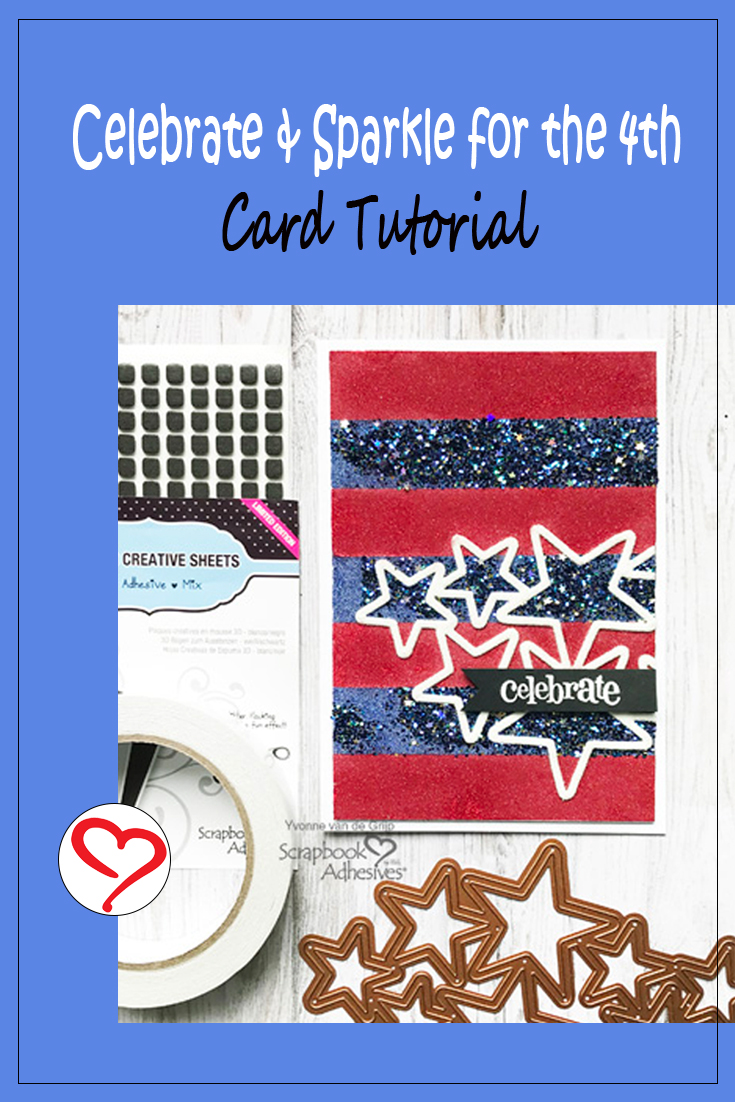
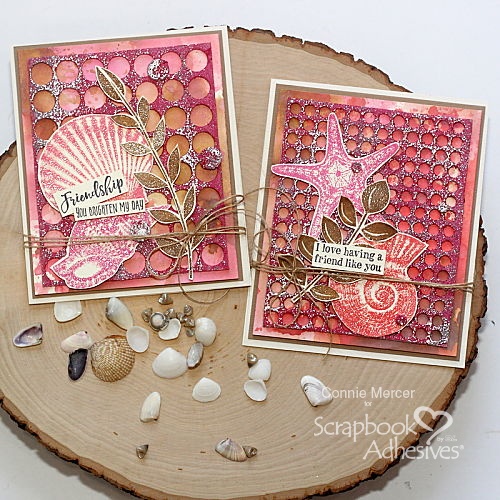
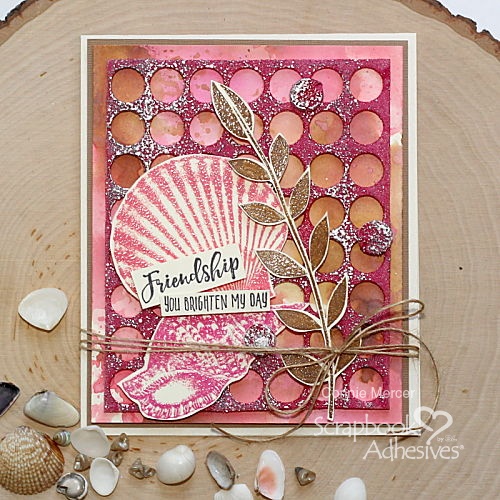
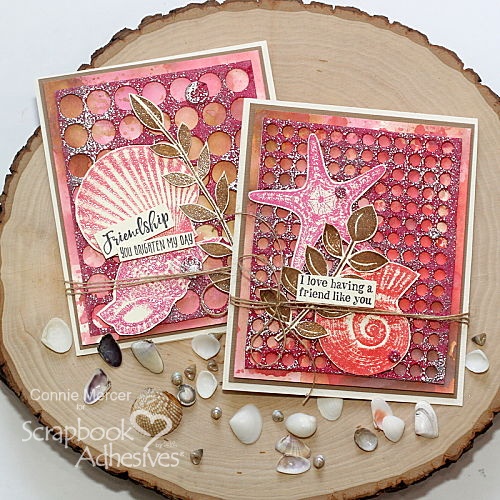
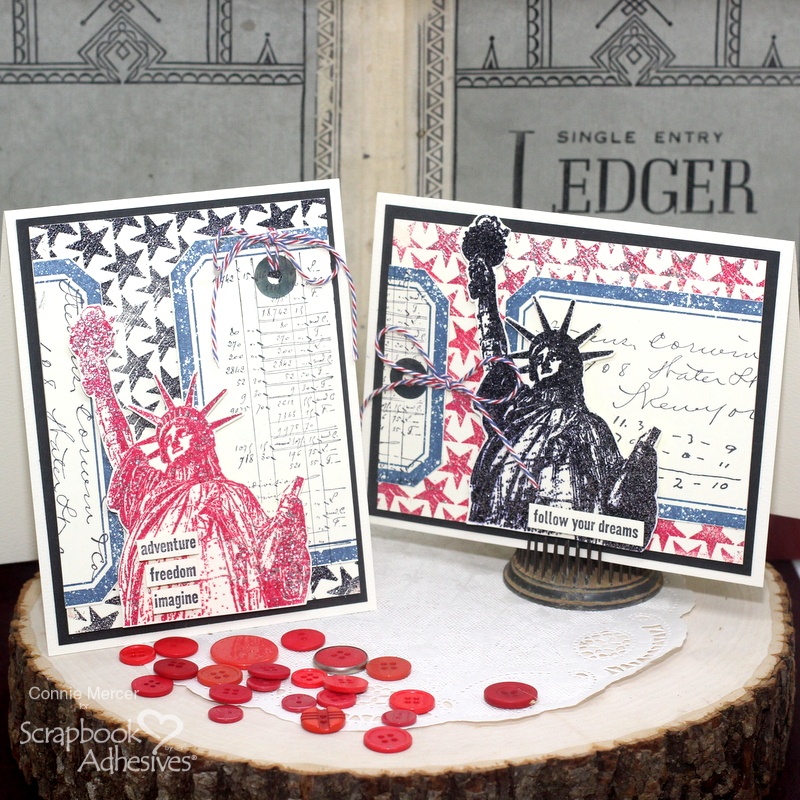
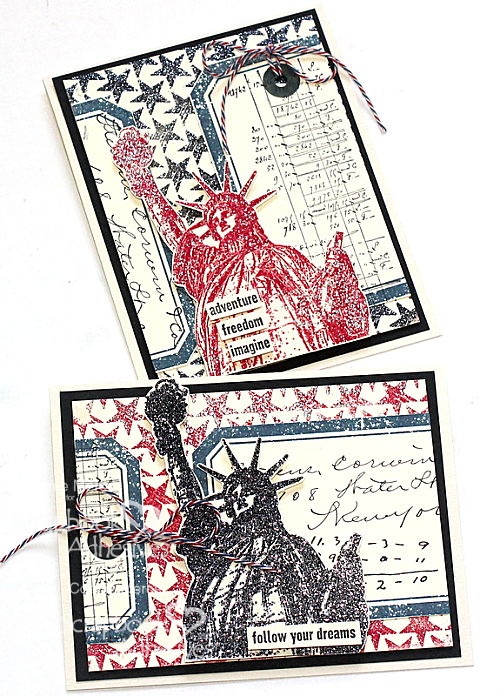
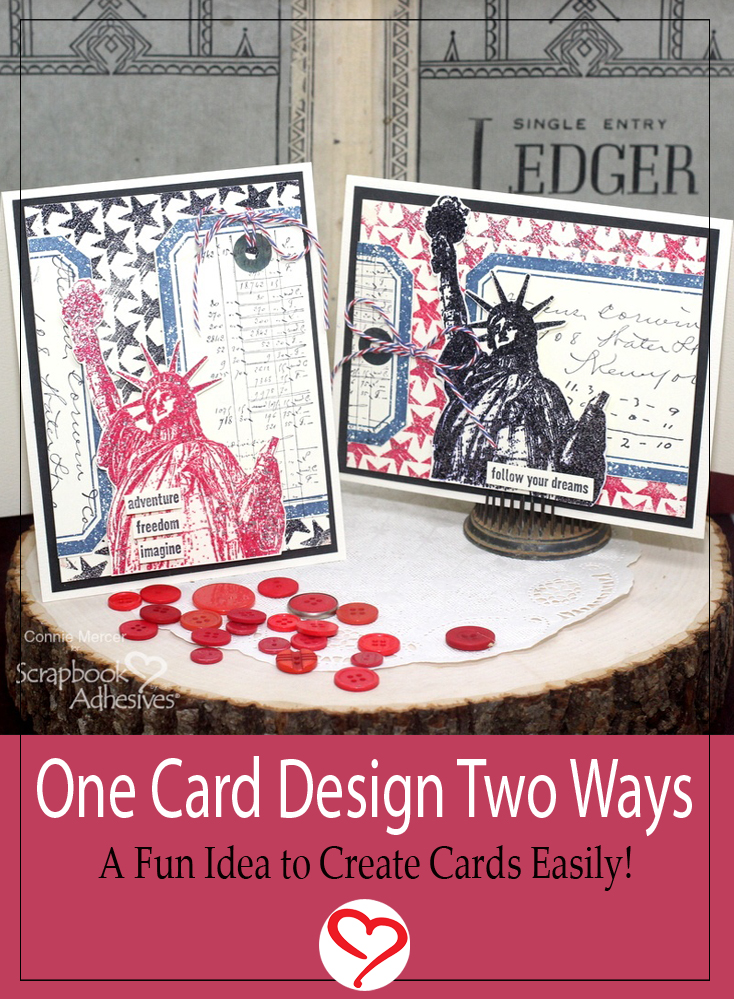
Hi, Connie here with the same card design, flipped to show a horizontal and vertical view, using an embossed star background. One card sketch, same elements, and a different look.
Embossed Card Instructions
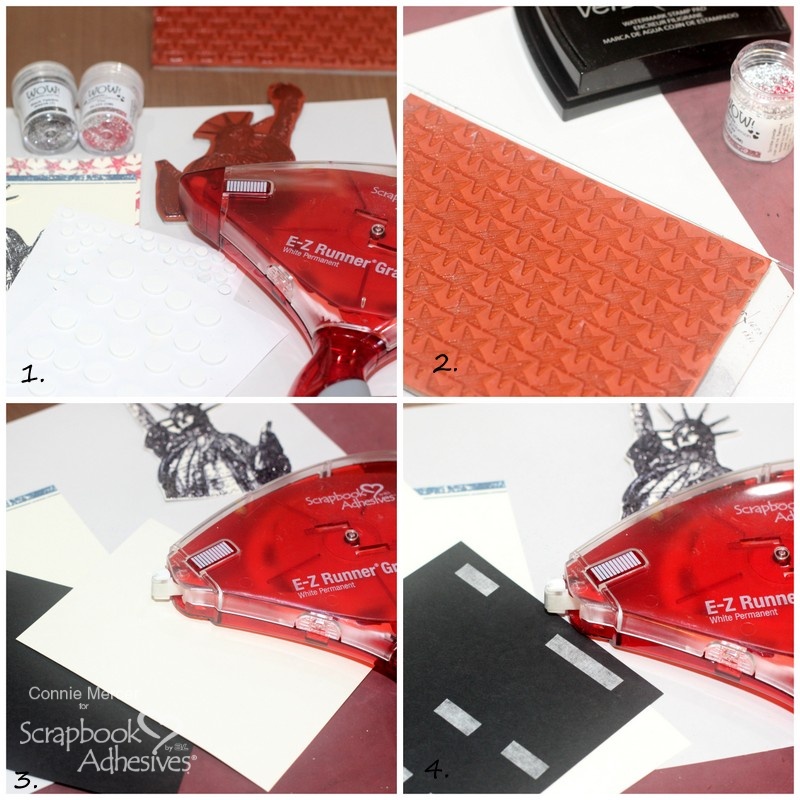
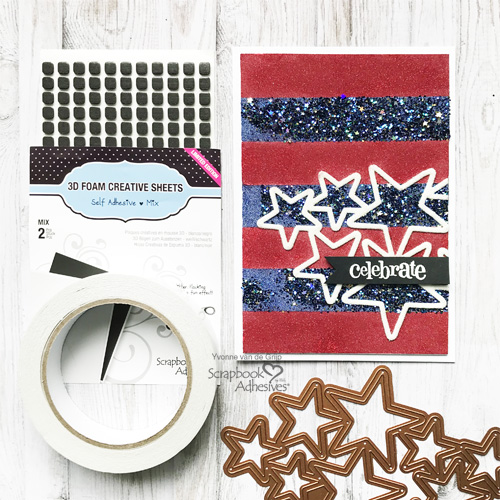
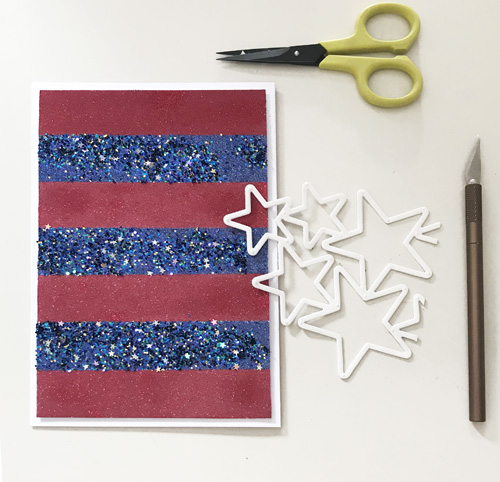
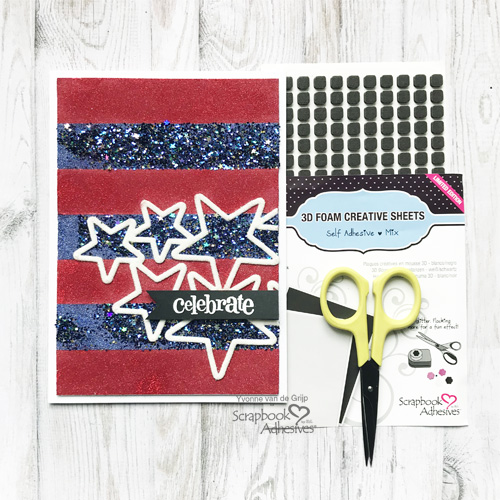
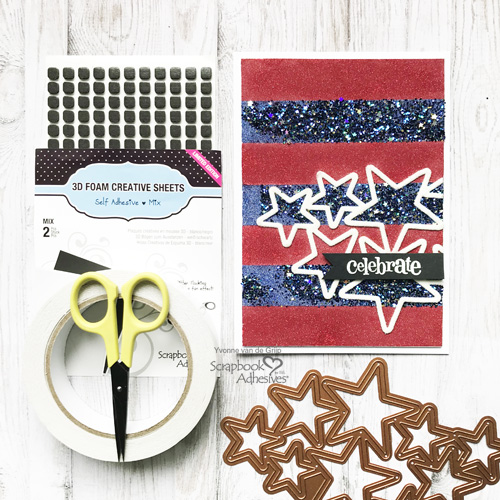
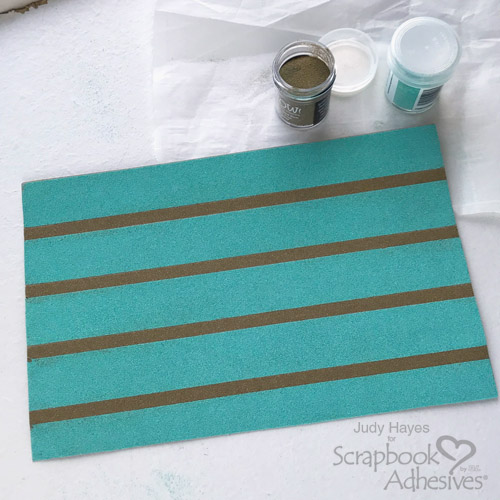
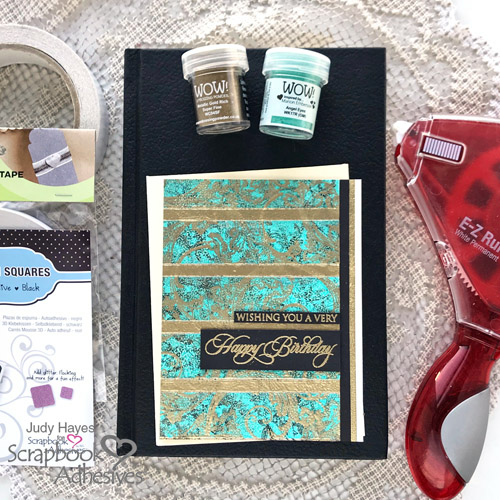
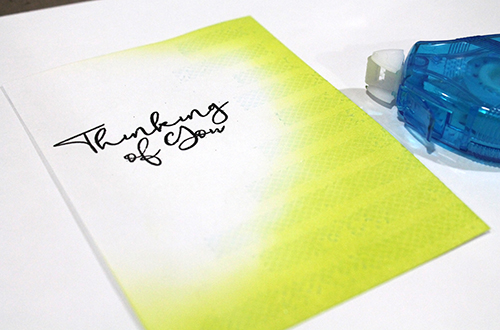
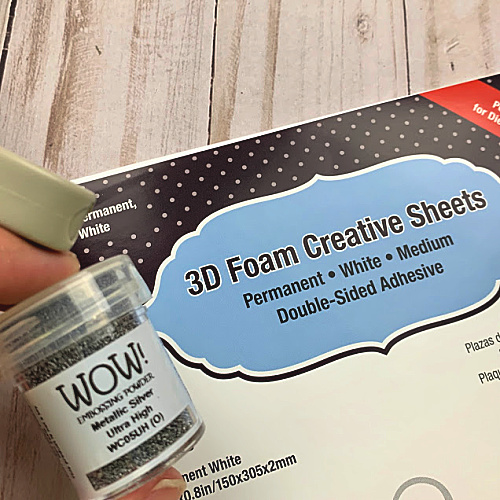
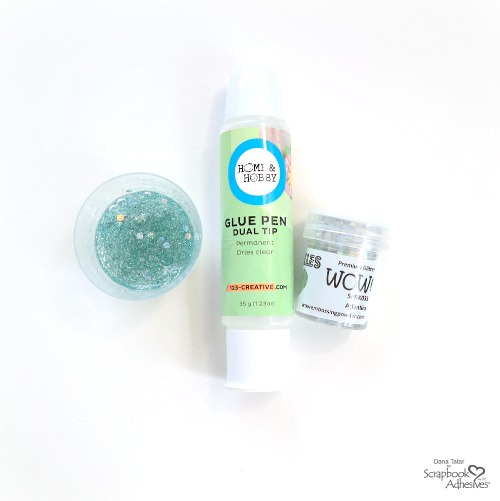
- Gather your supplies including 3D Foam Products, E-Z Runner® Grand Refillable Dispenser, WOW! Embossing Powders, stamps, and ink.
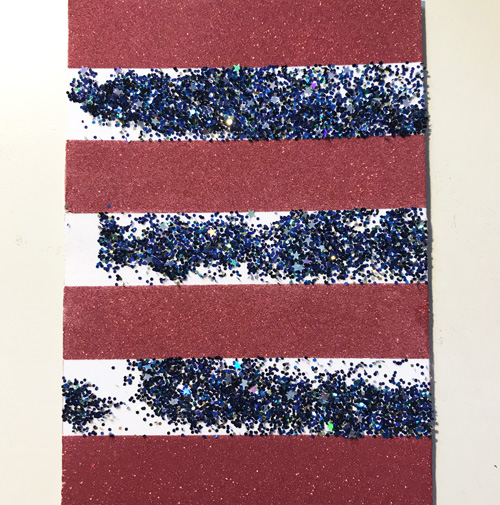
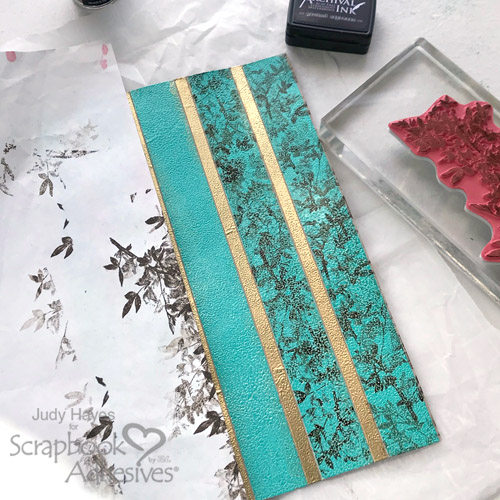
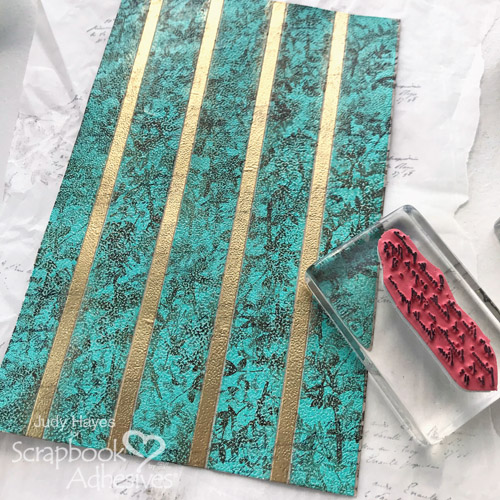
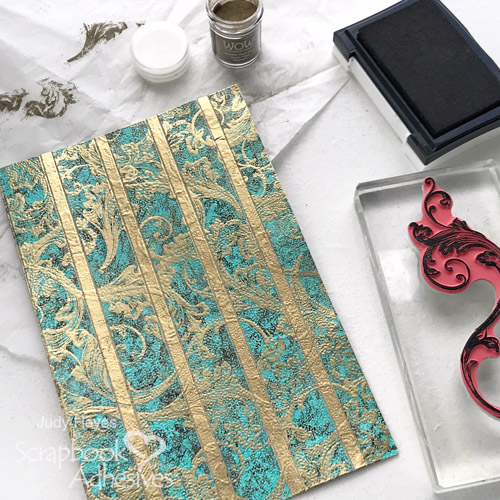
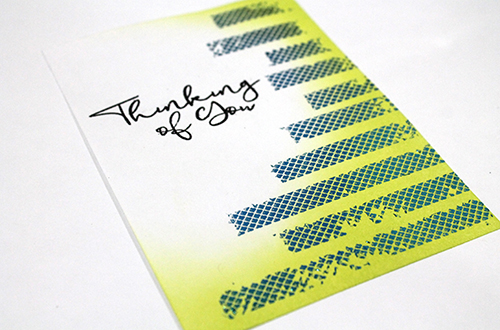
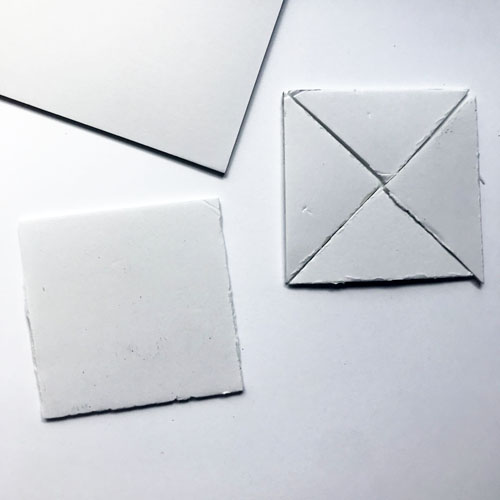
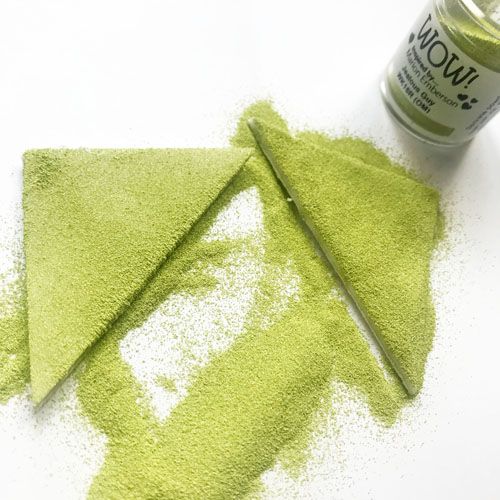
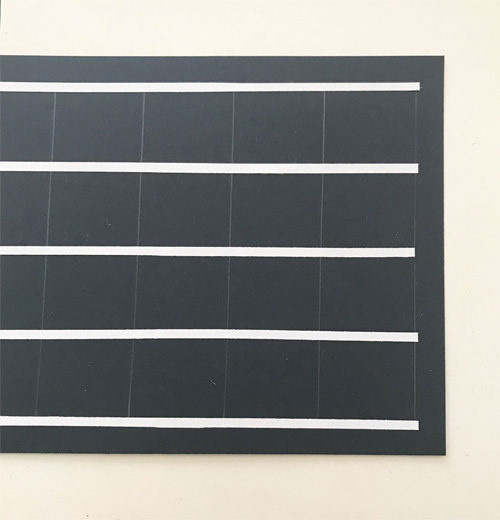
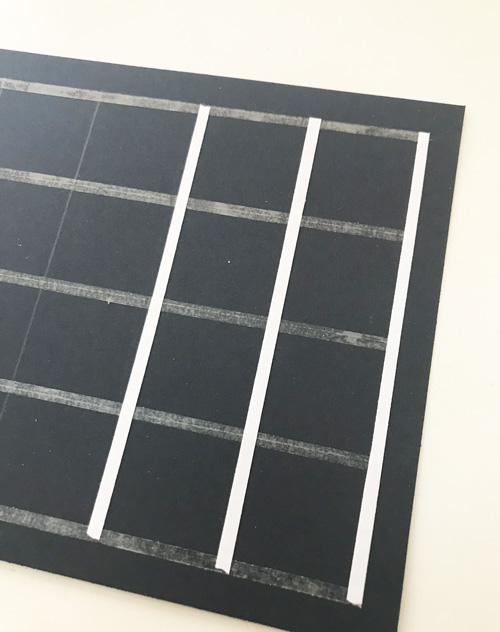
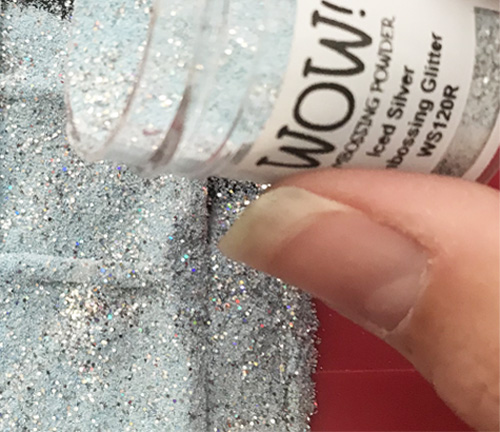
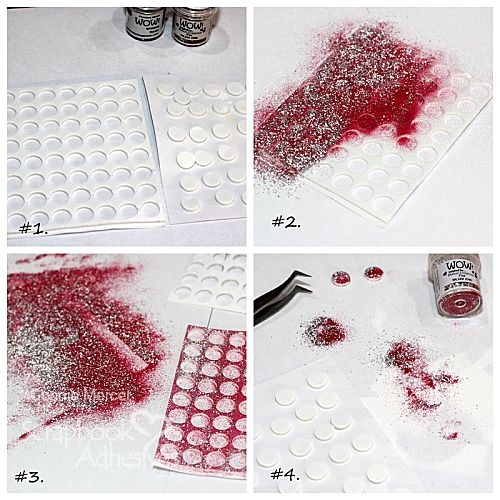
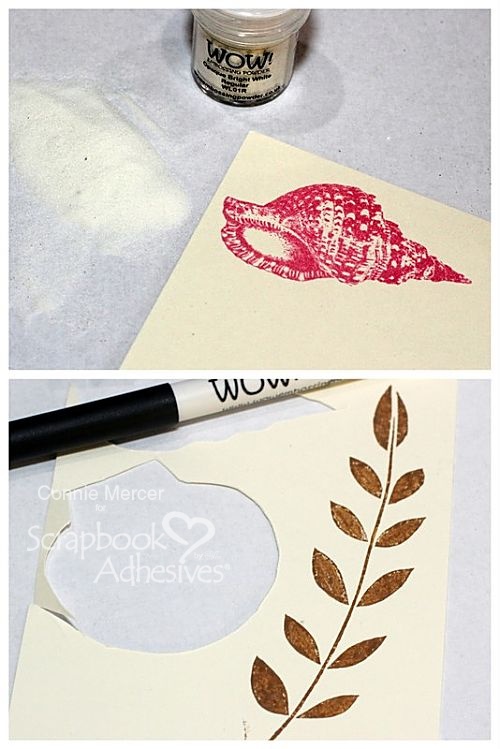
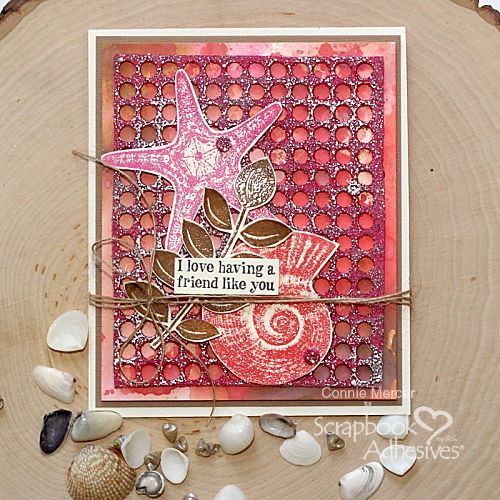
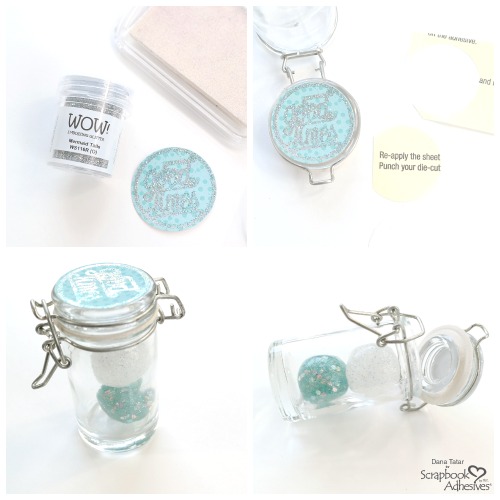
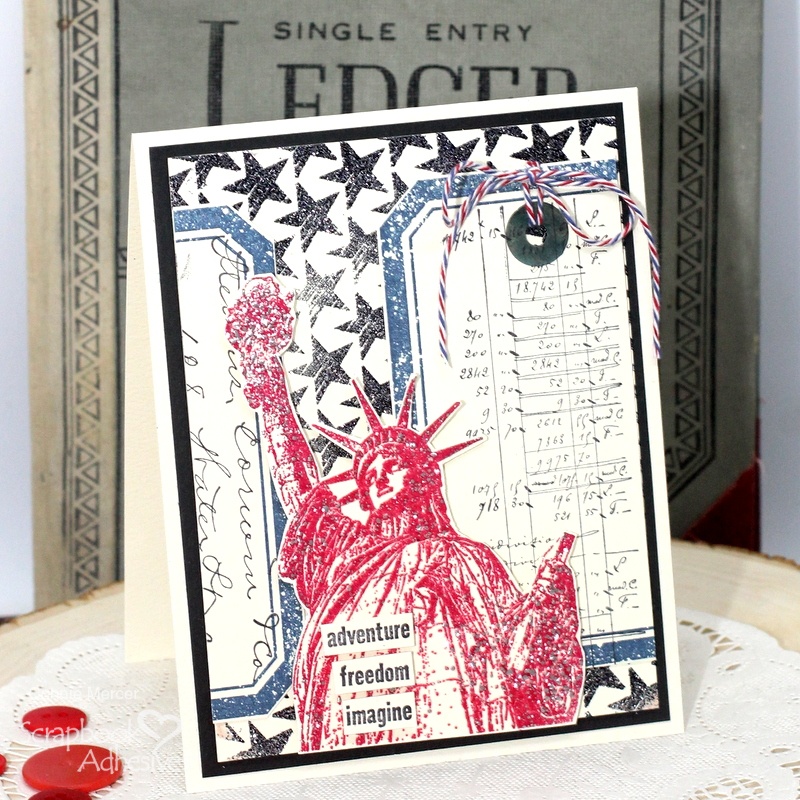
- Using Versamark, WOW! Embossing Powder and a background stamp creates the background for the card. Designer’s note: You will also need to heat emboss the stamped background to set the embossing powder.
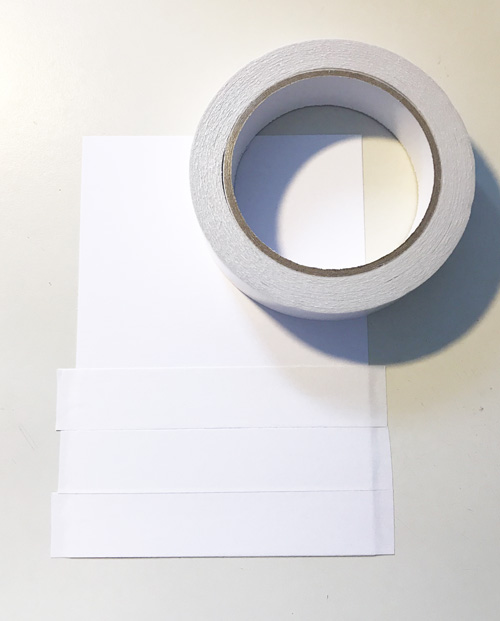
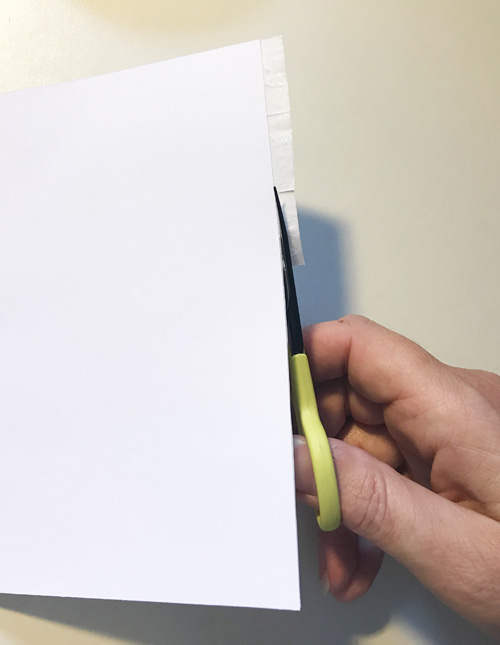
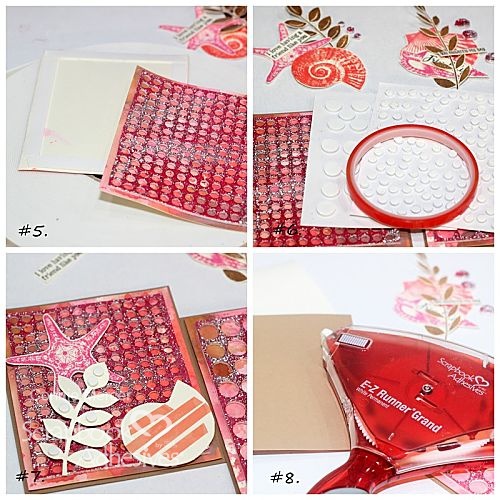
- Clean up the sides of the card by trimming the card edges.
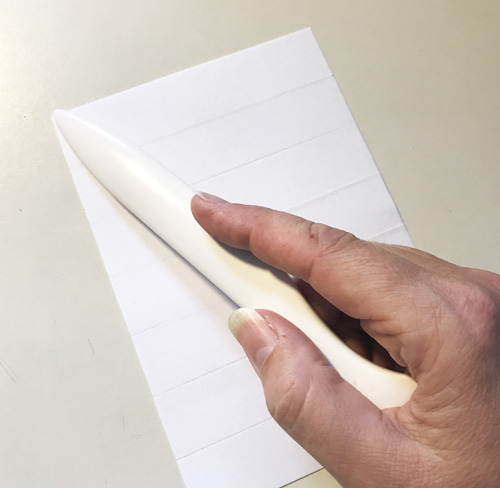
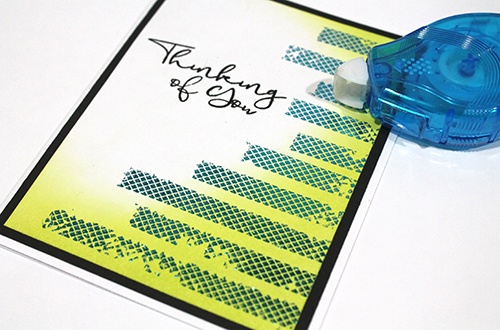
- Adhere the black cardstock to the folded card with the E-Z Runner Grand Refillable Dispenser.
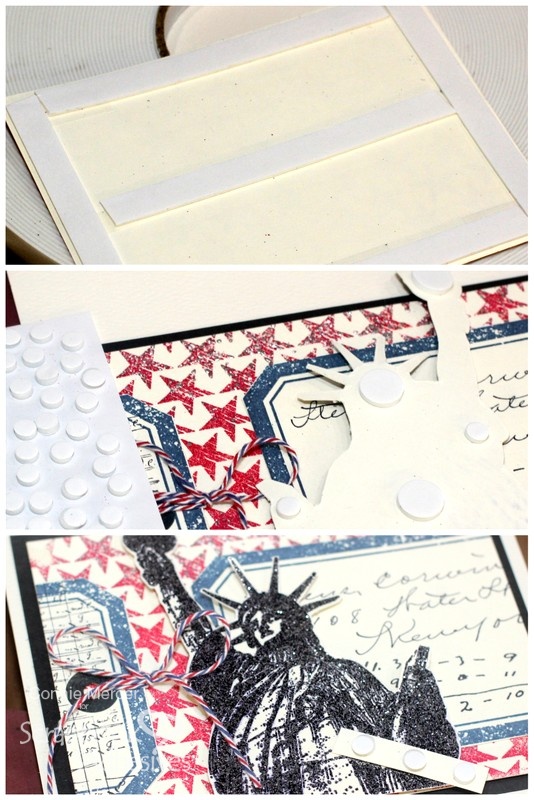
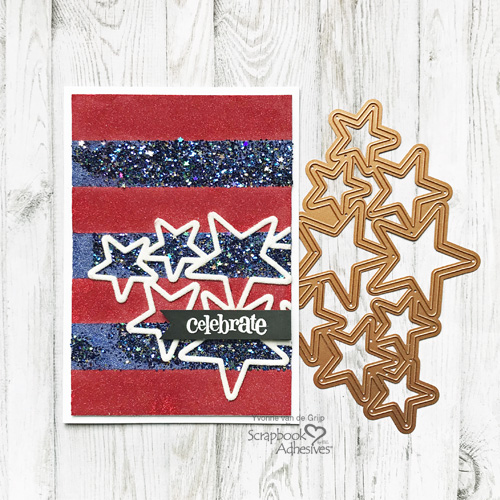
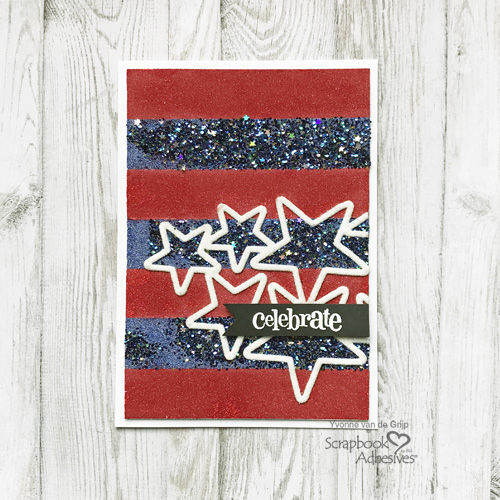
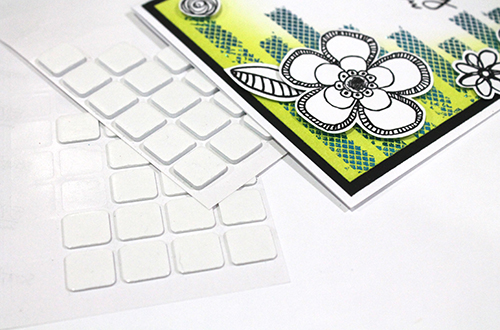
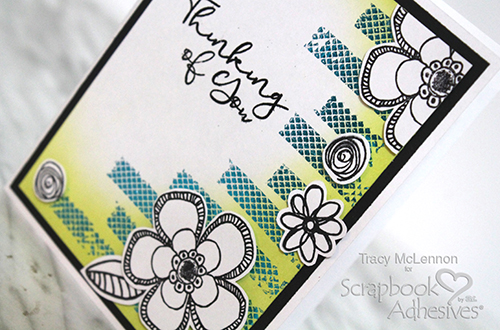
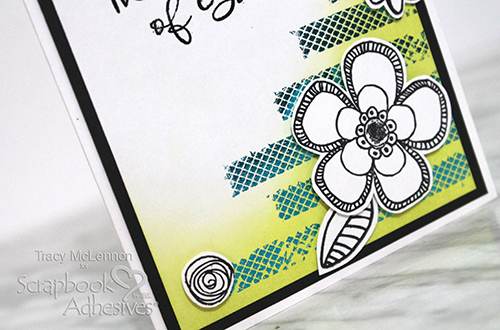
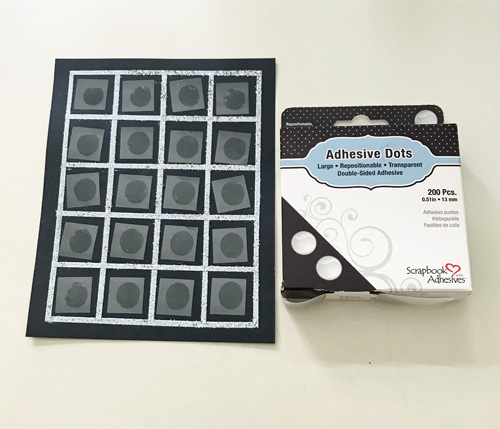
Using the Crafty Foam Tape 108′ adhere it to the back of the embossed background and then adhere to the front of the black cardstock. Adhere the large label to the embossed background Then add the Statue of Liberty and the sentiment strip to the card front with 3D Foam Circle White Mix.
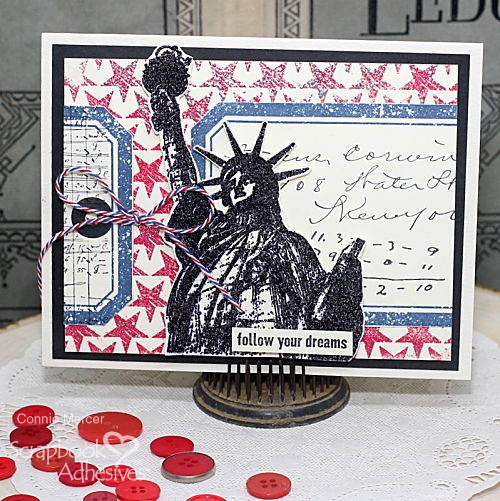
The Second Card Design
With the same steps, create a vertical card keeping in mind the card elements will be flipped. It’s just that easy!
Once you do the first card the second one goes fast. All you are doing is switching the direction and placement of the embellishments. It is a fun one and I hope you will give it a try!!
Thanks for stopping by~
Connie Mercer
Creative Time: 45 minutes
Skill Level: Intermediate
Materials Needed:
Scrapbook Adhesives by 3L®
3D Foam Circle White Mix
Crafty Foam Tape 108′
E-Z Grand Runner Refillable Dispenser
Other
Stamps: Darkroom Door Stamps; Embossing Powder and Glitter: WOW! Embossing Powder; Twine; White and Black Cardstock; Heat Tool; Hole Reinforcements
Save It to Pinterest!
Visit our Website and Blog!
Sign up for our Newsletter so you never miss a contest or giveaway!