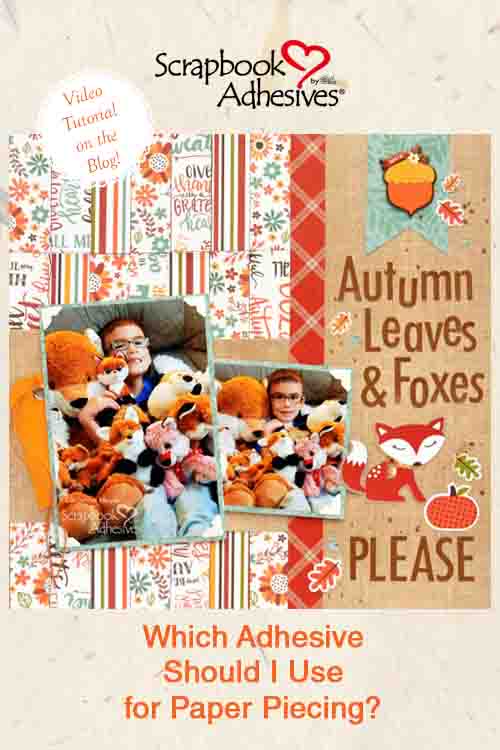
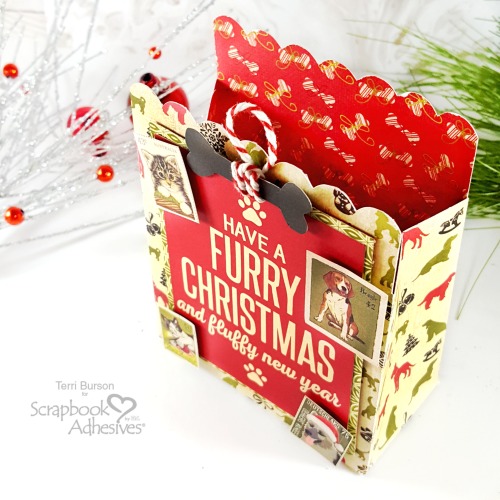
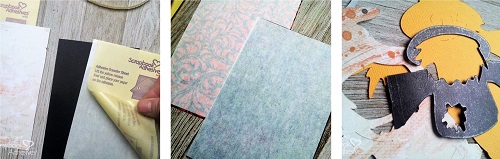
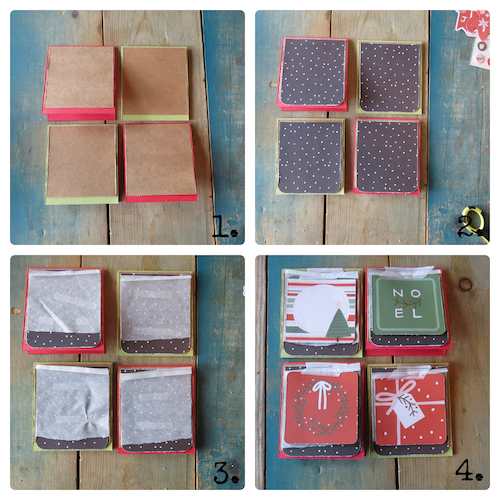
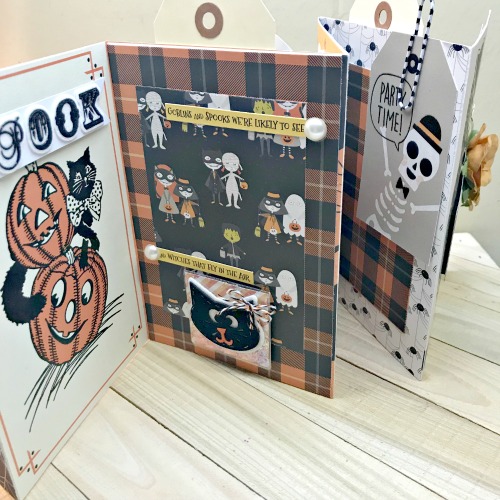
Which adhesive and how much should you use? When scrapbooking, we don’t always need to cover each element completely with adhesive, but there are times when getting thorough coverage is important! If you use small and detailed die cuts or create a background that needs to lay flat, you want complete coverage. Today I’m creating a paper pieced background and I’ll show you how I use Adhesive Sheets to attain that necessary edge-to-edge adhesive coverage.
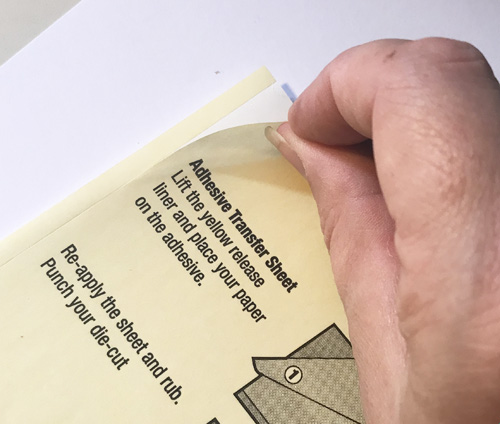
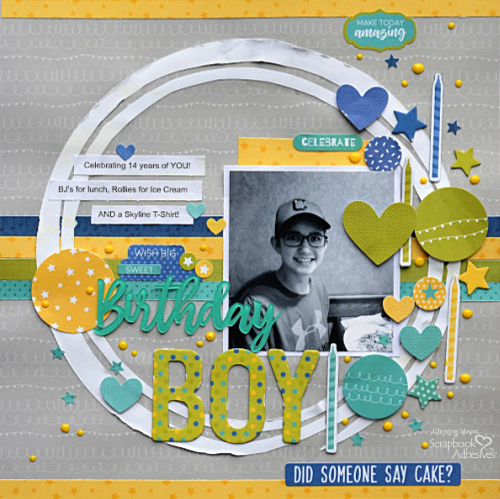
As you can see I have a pretty complicated background with planks of patterned papers in all varieties! To achieve this look and make sure all the corners stayed tucked in I used the 6 X 12 inch Adhesive Sheets. The process is easier to show than explain with words so let’s take a look at my process video:
Coverage with Adhesive Sheets – Process Video
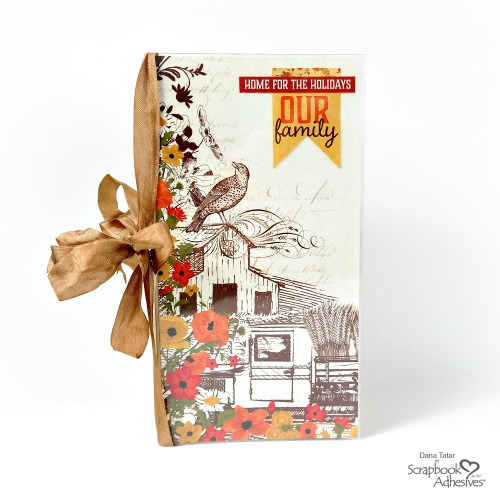
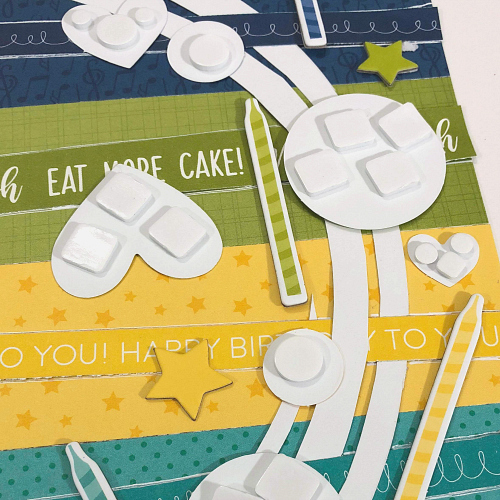
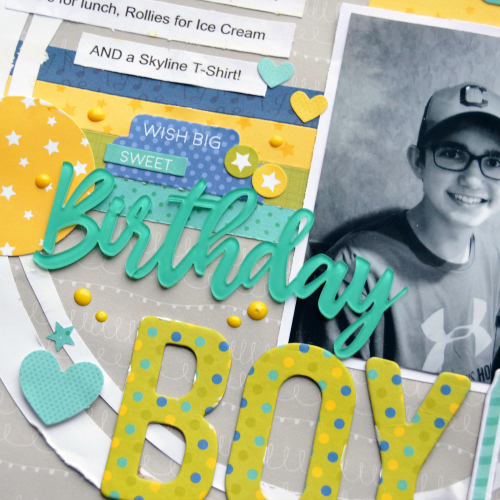
Autumn Layout Close-ups
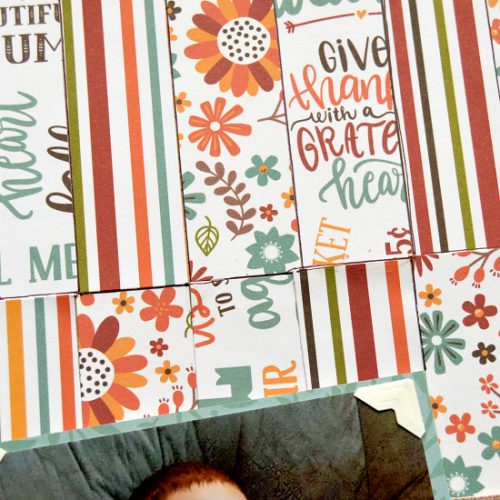
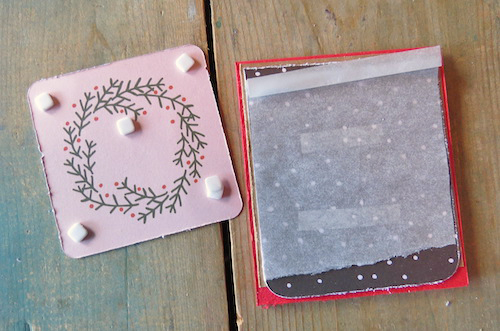
This close-up picture showcases the coverage well – you can see i don’t have any corners peeling up or poking out – just a nice flat surface! Now if I could just get perfectly straight cuts every time 😉
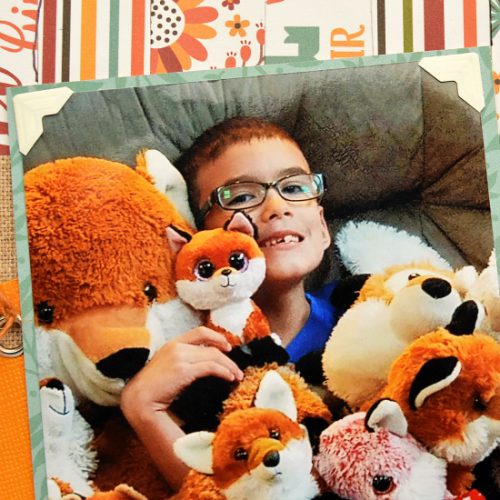
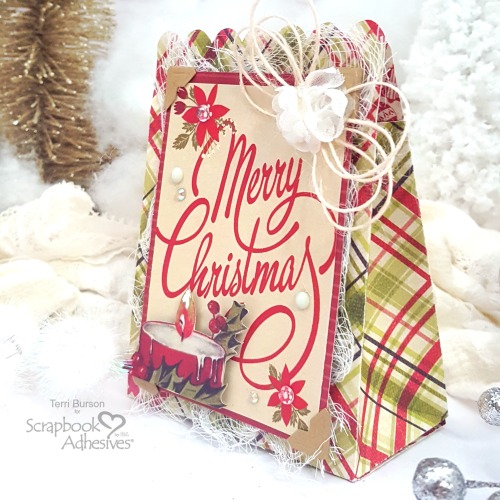
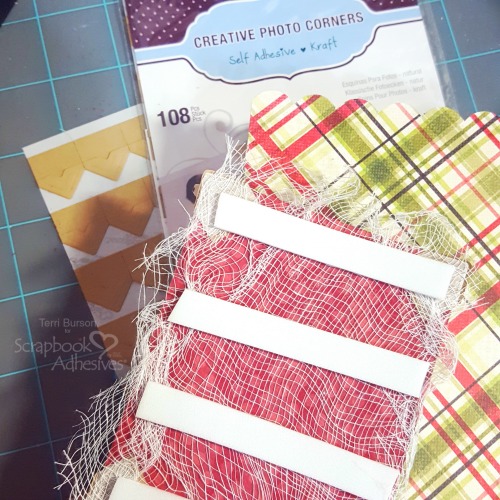
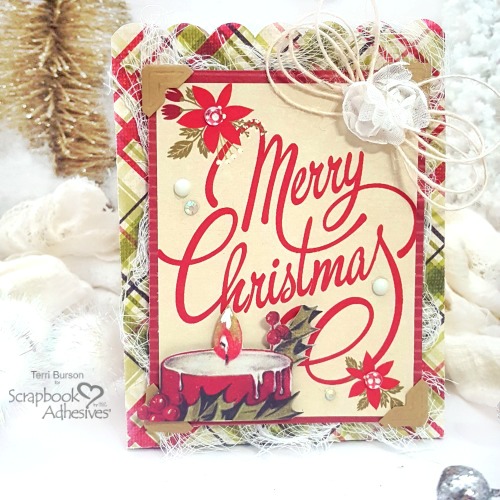
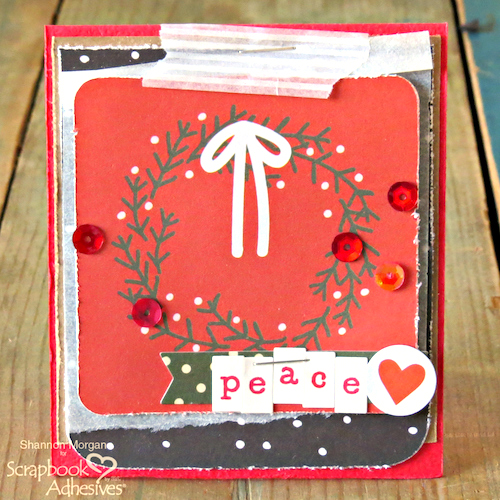
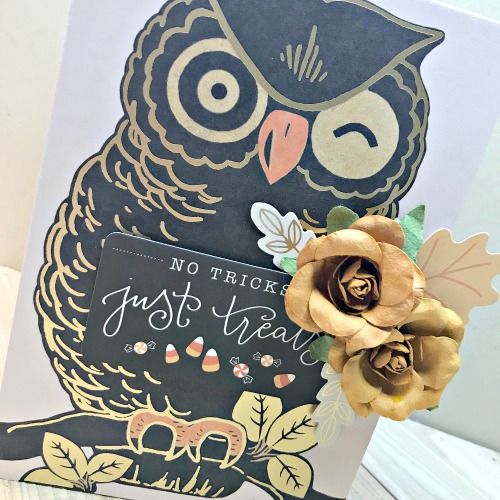
An additional product I used and that is the Ivory Creative Photo Corners. I don’t always use Creative Photo Corners on my layouts but there are times when they really add something extra. This layout was definitely one of those times! My background was very busy and the pictures are pretty busy too! By adding the photo corners I was able to frame and direct the eyes in to the focal point of the layout – the picture! We carry a variety of colors in Creative Photo Corners – be sure to check them all out!
Thanks for joining me today as we dove into getting thorough coverage using Adhesive Sheets – Happy Crafting!
Creative Time: 60 minutes
Skill Level: Beginner
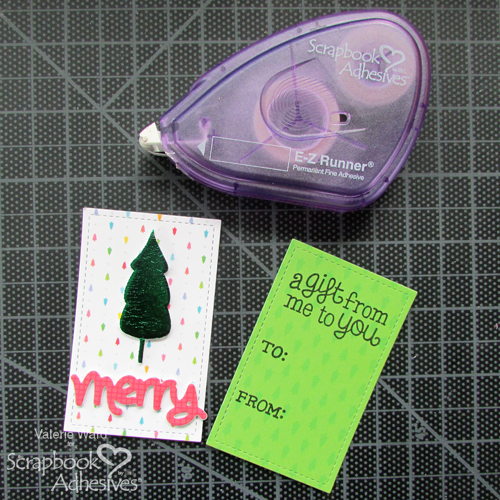
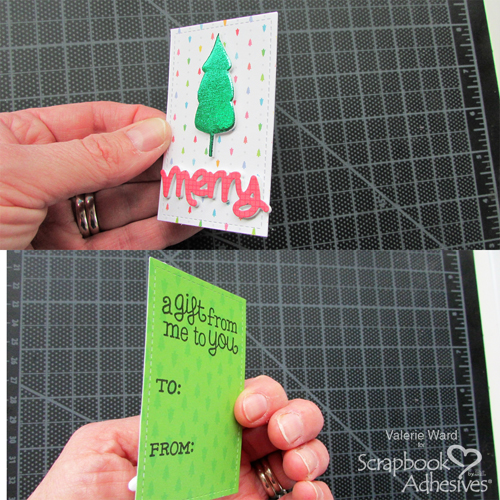
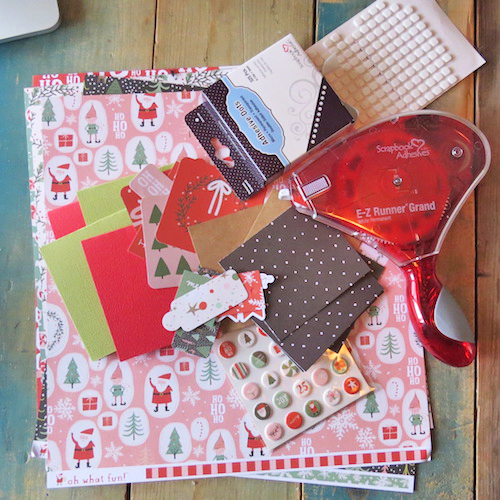
Materials needed:
Scrapbook Adhesives by 3L®:
E-Z Runner® Grand Refillable Dispenser
Adhesive Sheets 6 X 12 Inch
Creative Photo Corners Ivory
Other Supplies: Flavors of the Month Kit from The ScrapRoom Kit Club
Pin This!