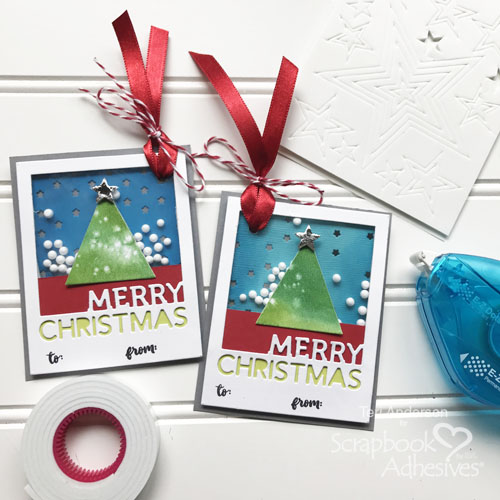
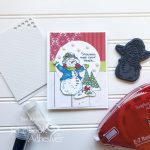
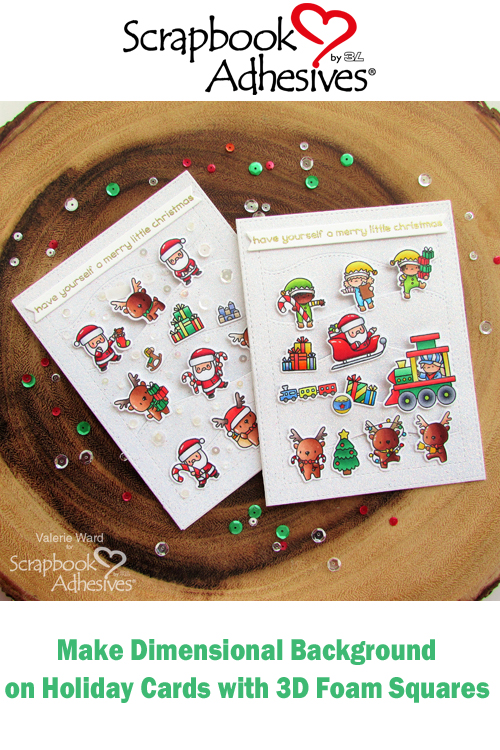
Hi crafters! It’s Valerie here today with two Christmas cards to show how to add a dimensional hillside landscape on them with the help of our various adhesives.

The two cards are very similar, but a little different, too. However, the way I used my Scrapbook Adhesives products on them is exactly the same.
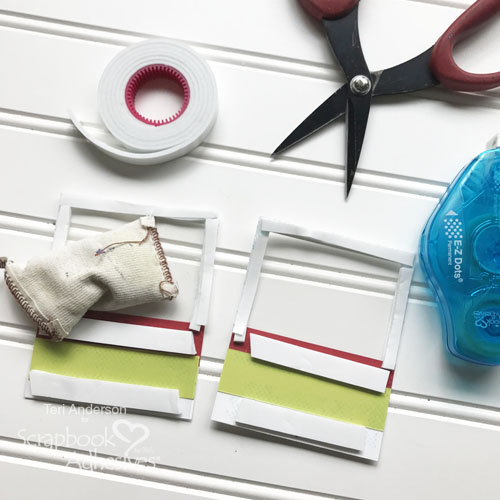
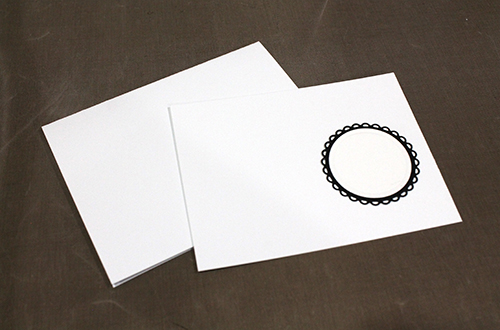
Step 1
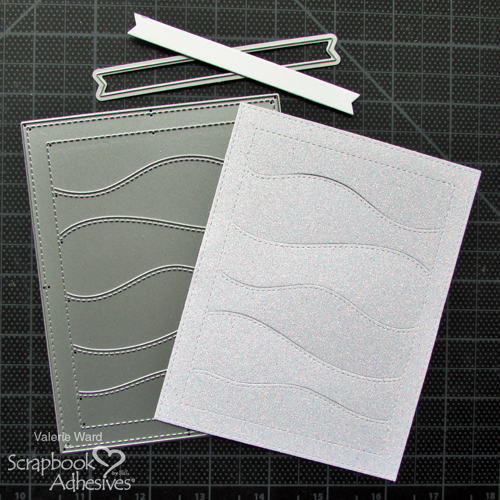
The first step is to die cut your main pieces for the front of the card base. The large die is called a Hillside Cover die (it fits perfectly on an A2 sized card); I used it to die cut a piece of sparkly white cardstock. Then I used a thin banner die to die cut a regular piece of white cardstock for my sentiment to be stamped on.
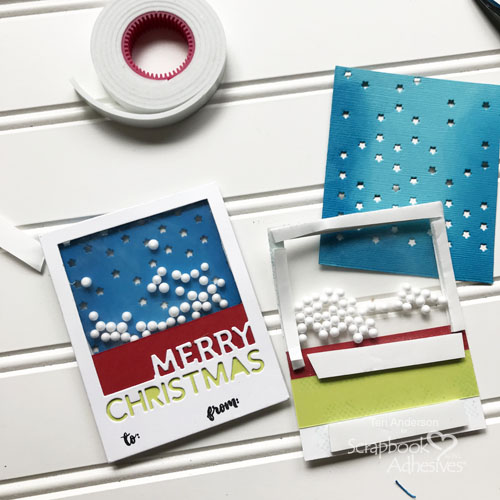
Step 2
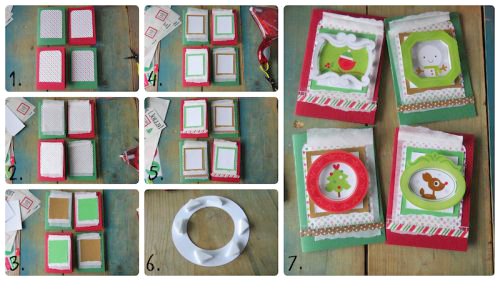
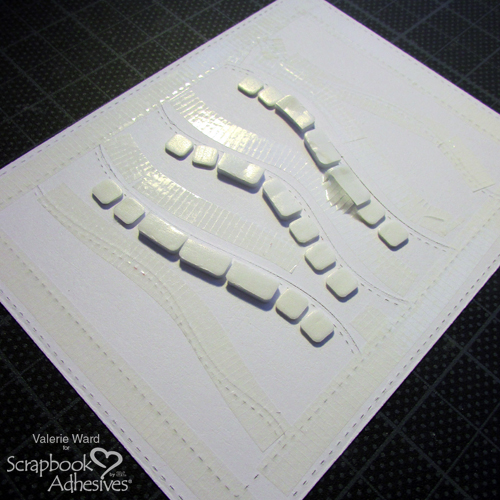
Here is where I pull out my wonderful Foam Squares! To create the dimension I wanted, I used 2 different sets of Foam Squares: 3D Foam Squares White Mix and Thin 3D Foam Squares White Mix.
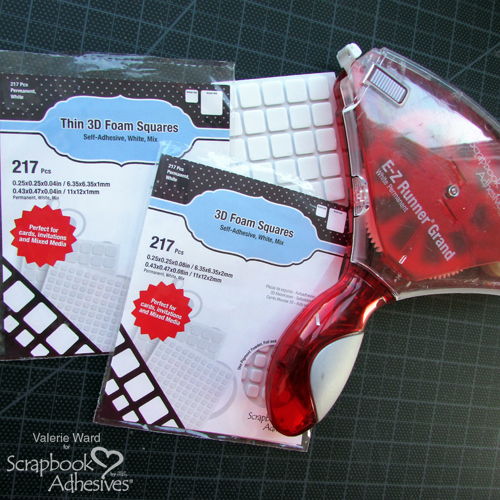
I need both the thin AND the regular thicknesses of the Foam Squares because I wanted the hills to pop out gradually. You can see in this next photo how I applied the thicker ones (I cut them in half) in the center of the hills, and the thinner ones on the ends of the hills to bring the hill depth back down to a flat surface level. Then I used my E-Z Runner Grand Refillable Dispenser adhesive for the rest of the surface.
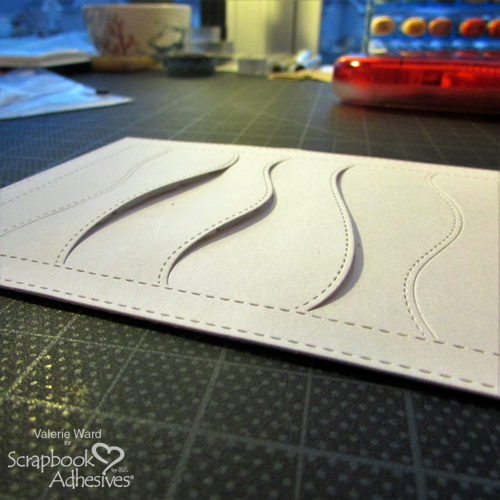
In these next two photos, you’ll see the desired dimension I achieved (you might wonder why the cardstock isn’t sparkly; well, the original photos I took didn’t show up on my camera for some reason, so I re-did the step with regular white cardstock).
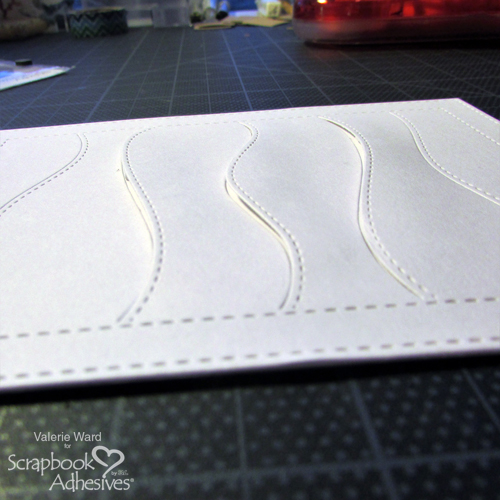
Doesn’t that dimensional hillside look fun?!
Step 3
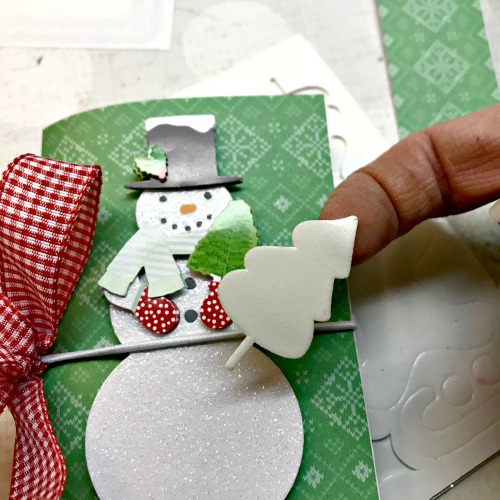
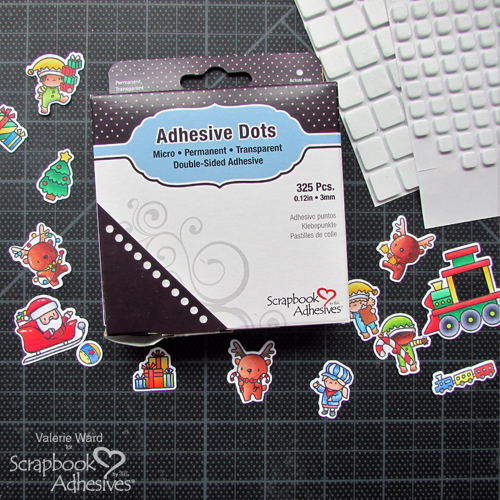
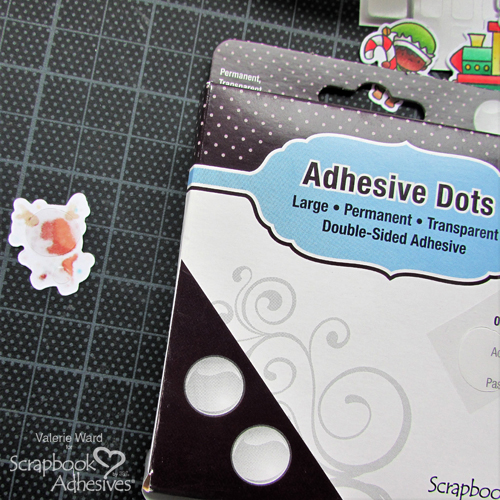
In this next step, I need to adhere the little images down to the “hills.” I started this process thinking I would only need Adhesive Dots Micro, 3D Foam Squares White Mix, and Thin 3D Foam Squares White Mix.
Here is where I quickly realized the Adhesive Dots Large would come in handy for the bigger areas on the backs of these images.
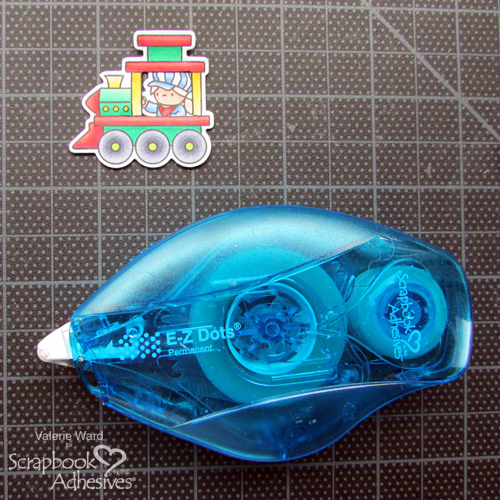
On the back of the train’s motor unit image, I wanted to attach the train conductor, so I used E-Z Dots Refillable Permanent Dispenser for this step.
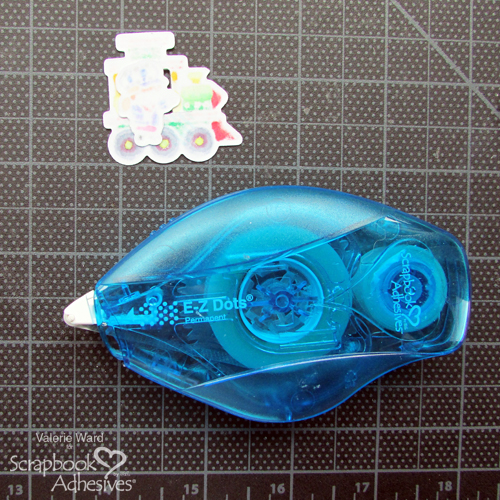
Here’s what she looks like after she’s attached on the back (so cute!).
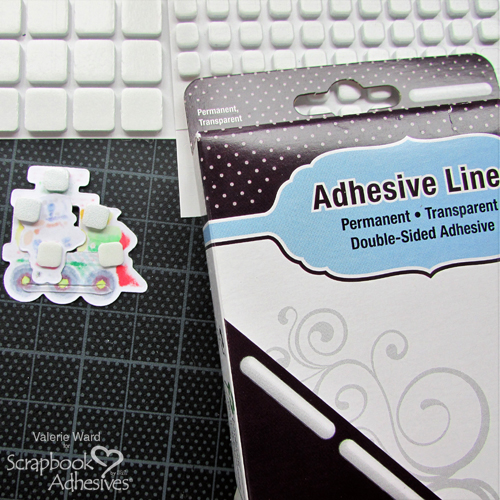
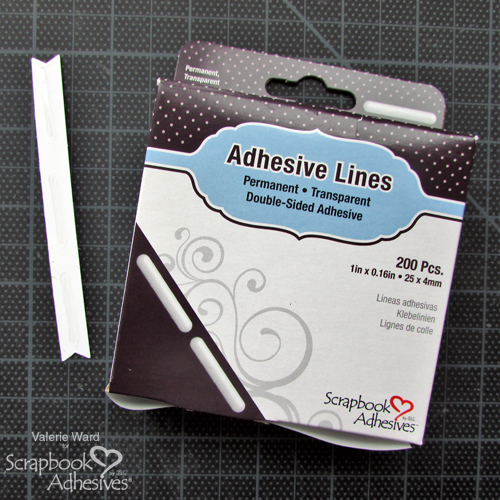
For attaching all the images, because of the different depths on the card front, I needed to use various adhesives. On this specific piece, even though it is small, I used 3 different adhesives: 3D Foam Squares White Mix, Thin 3D Foam Squares White Mix, and Adhesive Lines.
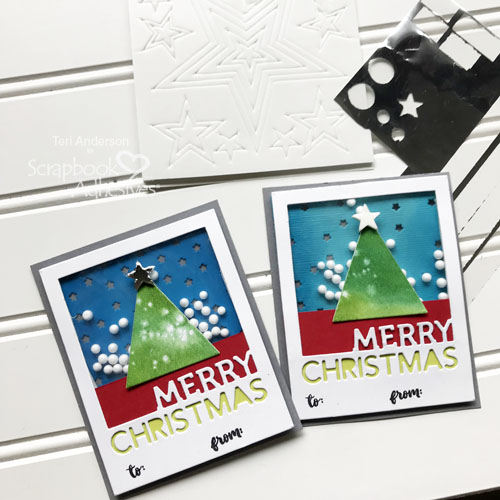
Step 4
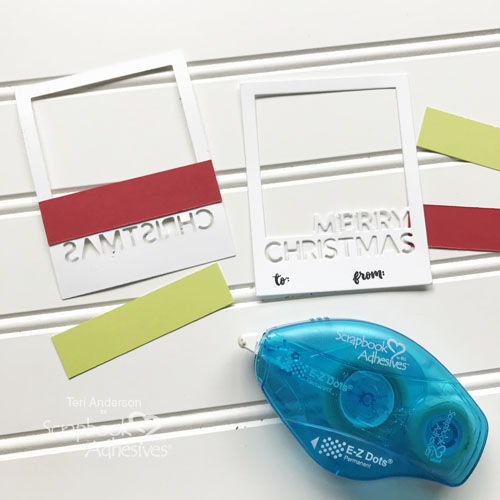
The last piece to attach is the banner with a sentiment on it. I used Adhesive Lines for this.
These three pieces worked perfectly.
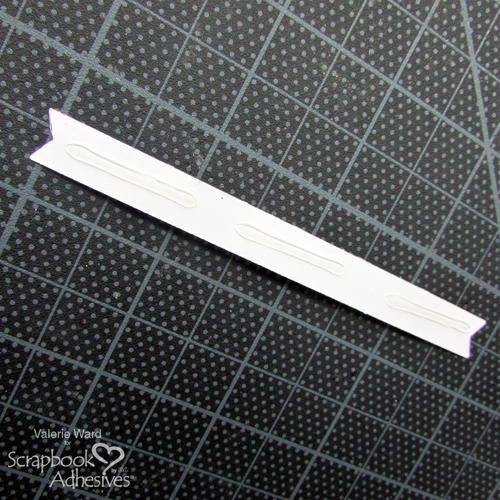
Here is the banner attached to the front of the card.
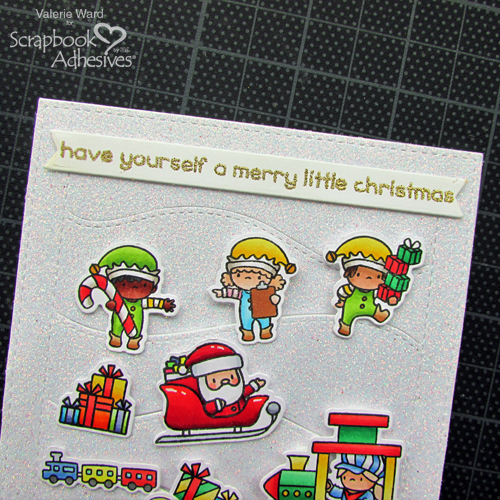
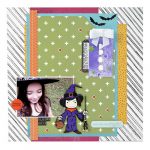
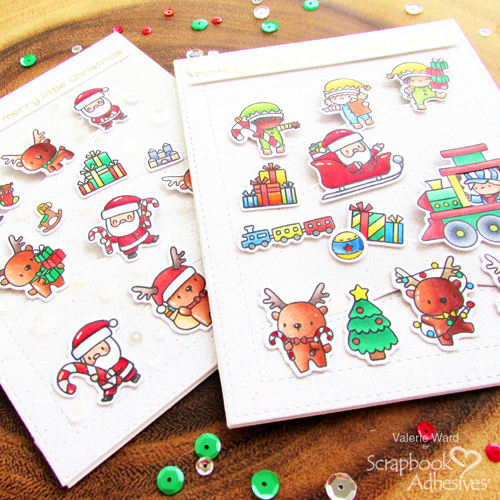
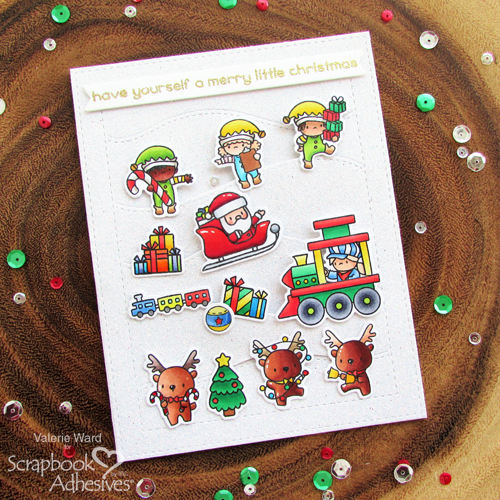
The card is complete now, and in this image, you can see what the scene looks like, and how the images look after being placed on the dimensional hills:
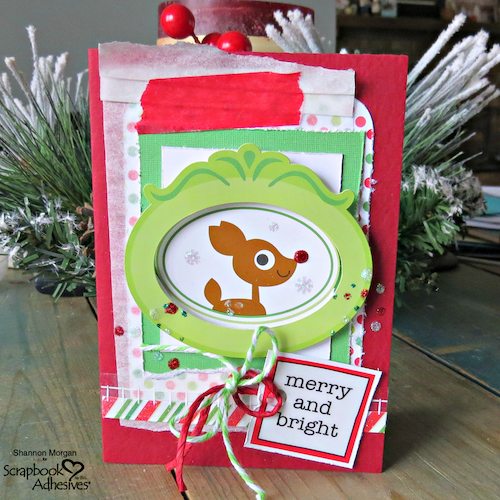
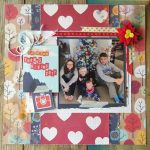
Card 1 Completed
The first card has Santa, elves, reindeer, and the train. I did not add sequins to this one.

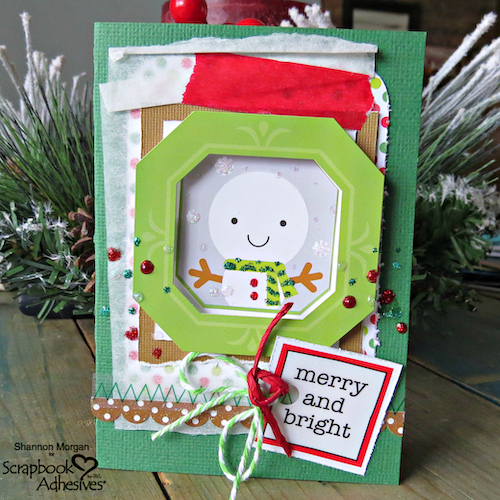
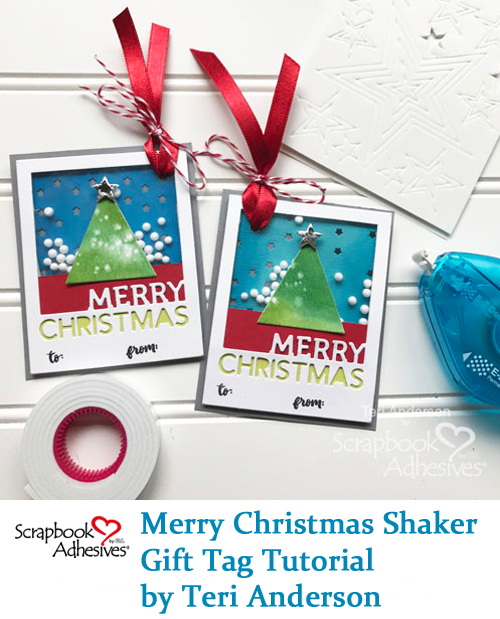
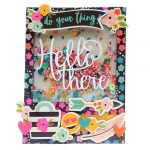
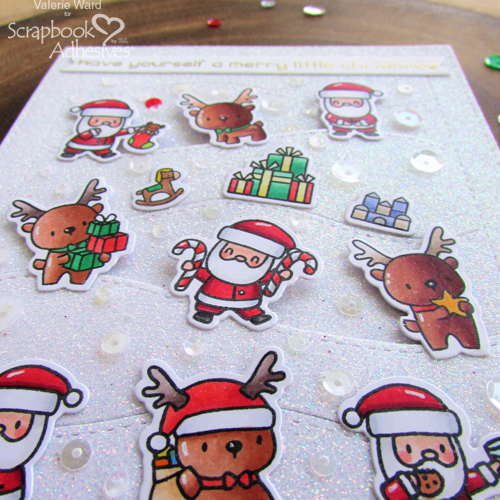
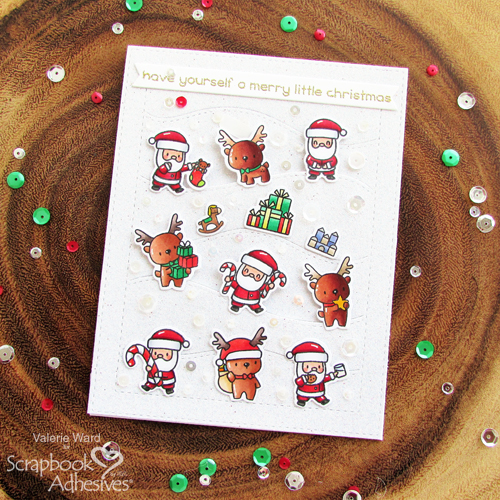
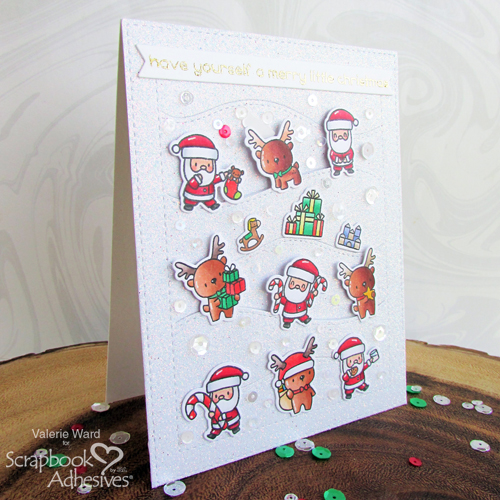
Card 2 Completed
On this second card, I chose to use only reindeer and multiple Santas. I also added a bunch of sequins with my Adhesive Dots Micro.
I hope you enjoyed, have a wonderful day, and Happy Crafting!
Valerie
Creative Time: 45 minutes per card
Skill Level: Beginner
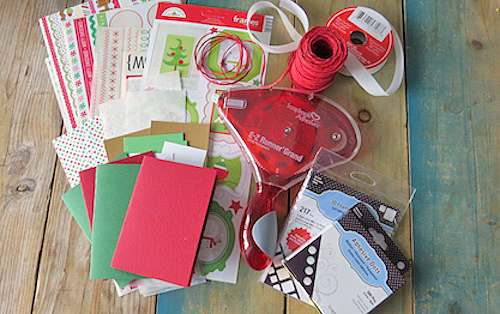
Materials Needed:
Scrapbook Adhesives by 3L®:
E-Z Runner Grand Refillable Dispenser
E-Z Runner Permanent Strips Refill
3D Foam Squares White Mix
Adhesive Dots Micro
Thin 3D Foam Squares White Mix
E-Z Dots Refillable Permanent Dispenser
E-Z Dots Permanent Refill
Adhesive Dots Large
Adhesive Lines
Other Products Used: hillside etched die, mini Santa & reindeer stamps & coordinating dies, coloring medium & marker coloring paper, holiday sentiment stamp & sentiment banner die, sparkle cardstock, clear &/or white sequins, embossing ink, gold embossing powder, embossing heat tool, die cutting machine.
Save It to Pinterest!
Visit our Website and Blog!
Sign up for our Newsletter so you never miss a contest or giveaway!