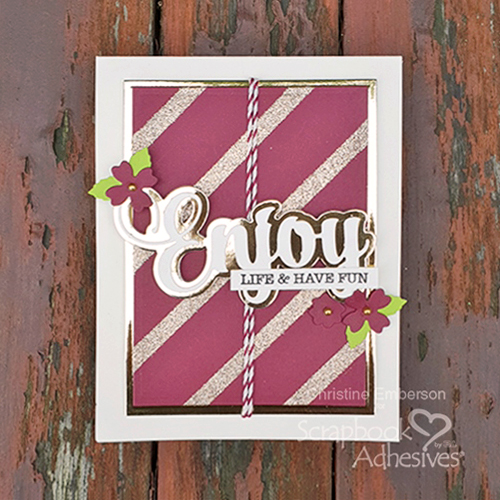
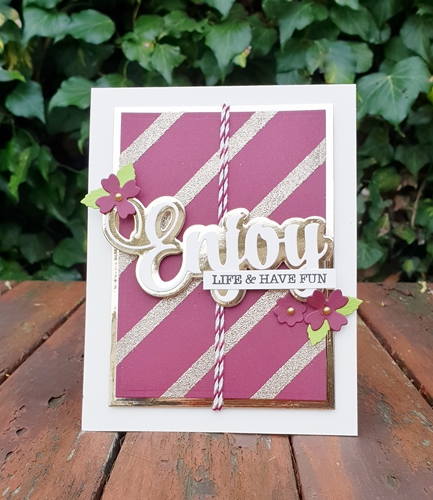
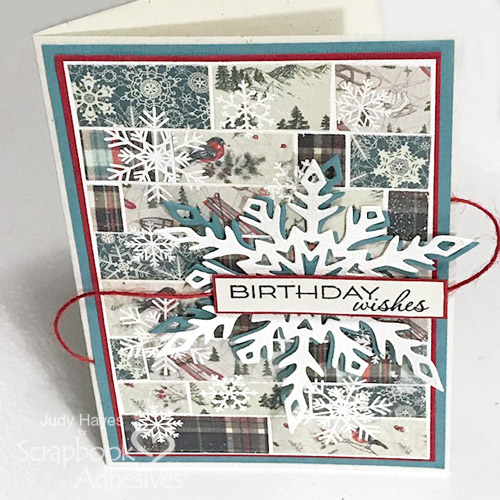
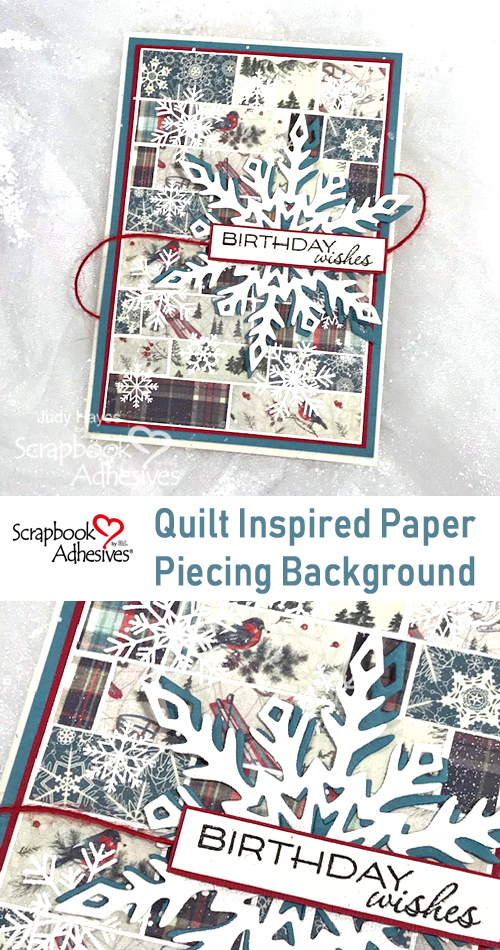
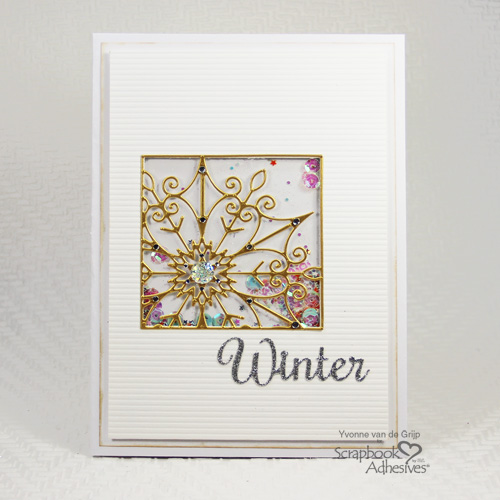
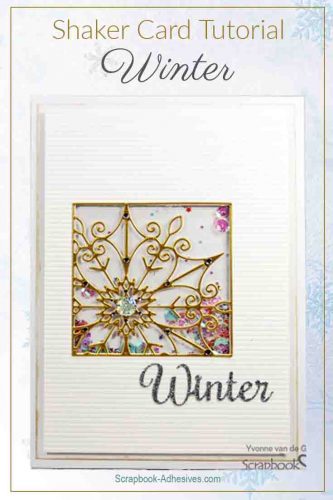
Hello! Judy here today with a quilt inspired winter background on a birthday card. I live up north where winter means snow, cold and warm quilts! That’s what inspired me to make this paper pieced quilt background and accented with snowflakes.
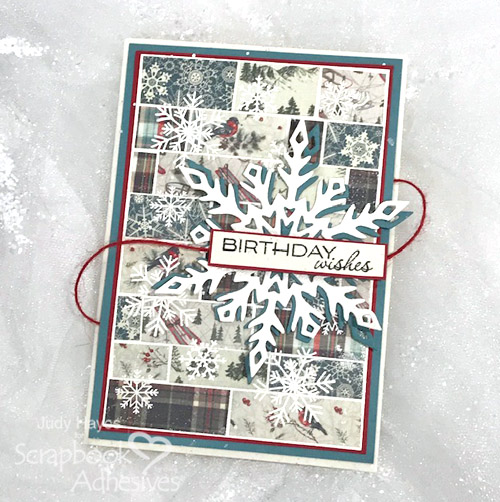
Creating a Quilt Inspired Background
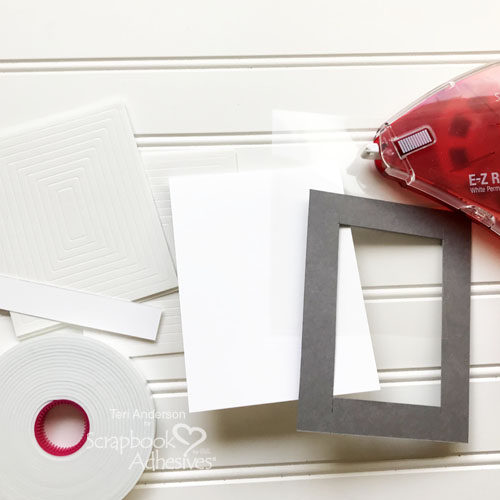
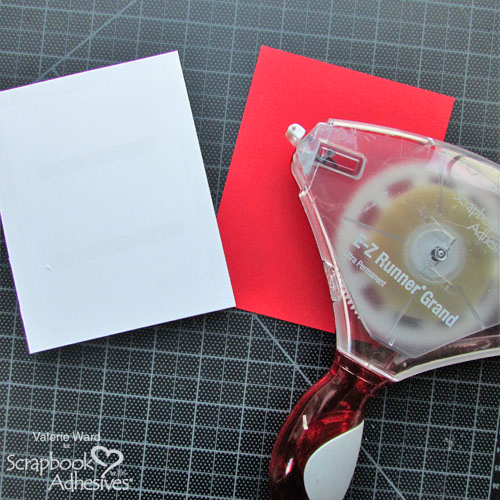
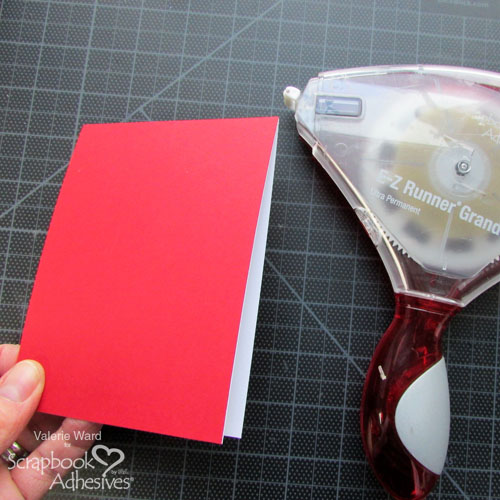
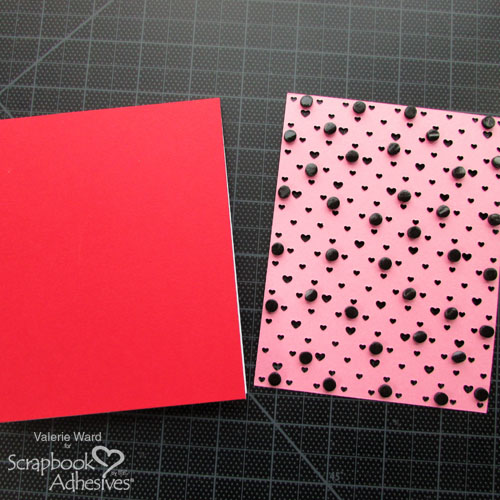
First, create a 4¼ x 6ʺ card base and set aside.
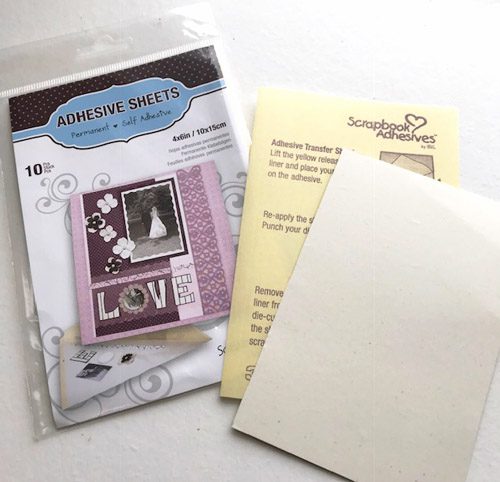
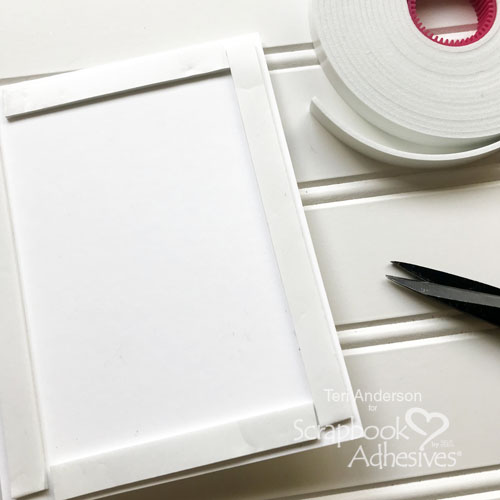
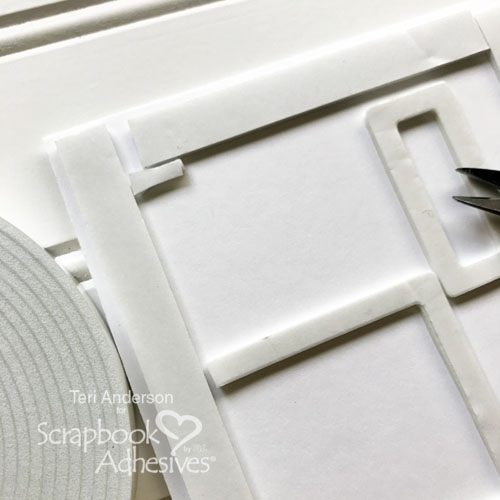
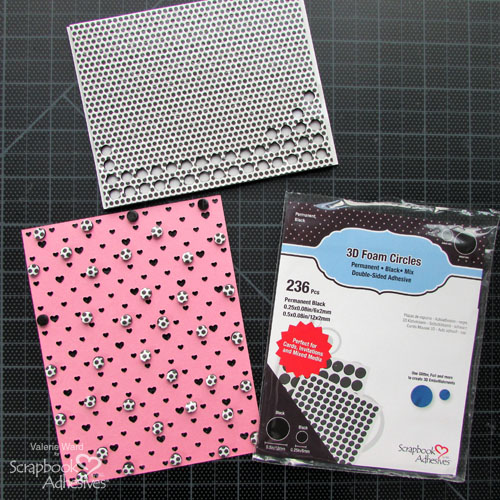
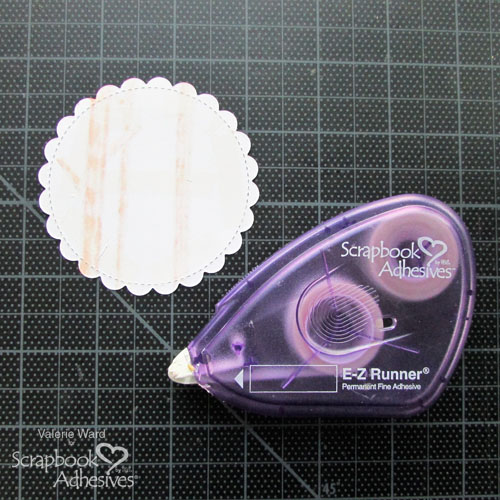
Cut a cardstock panel to 3⅝ x 5⅜ʺ for the background and apply Adhesive Sheets 4 x 6 to one side, leaving the top liner on.
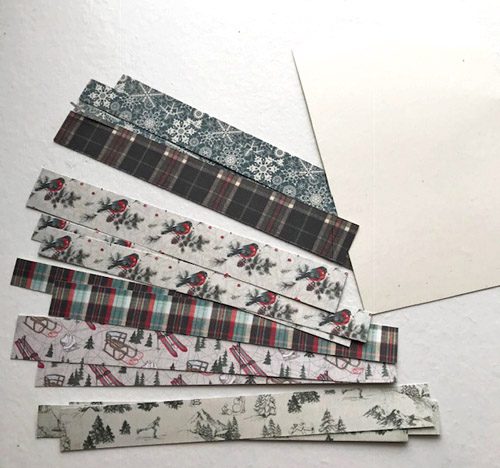
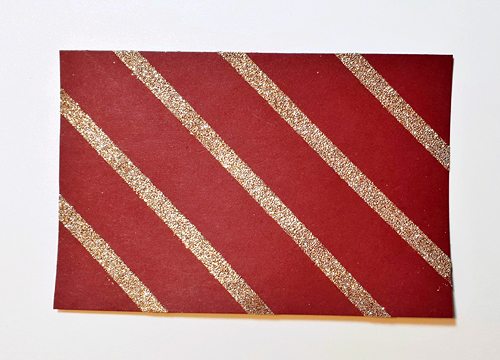
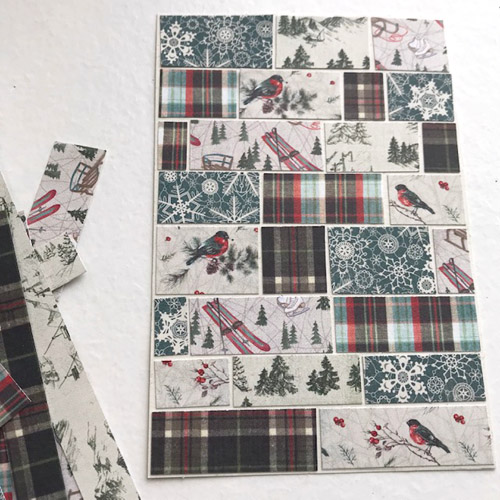
Cut strips of patterned paper to widths of ½, ⅝, and ¾ʺ. I used three double-sided patterned papers to give me a total of six designs.
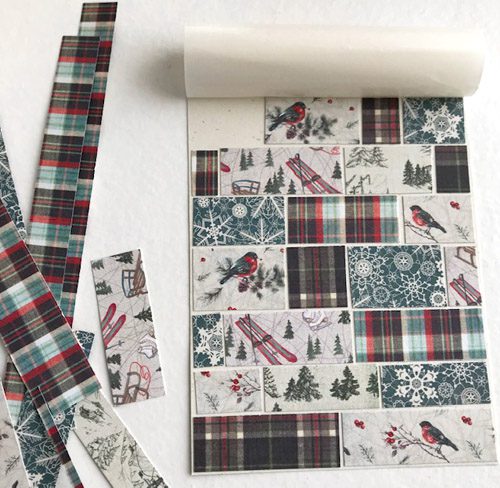
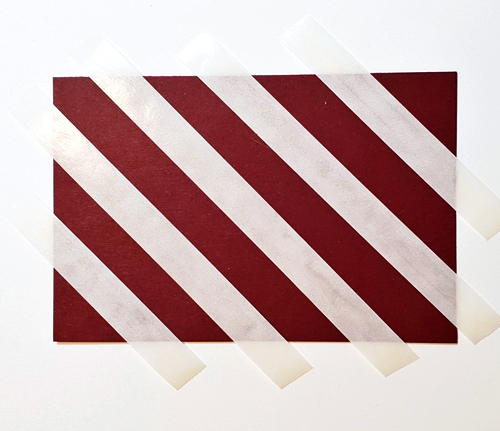
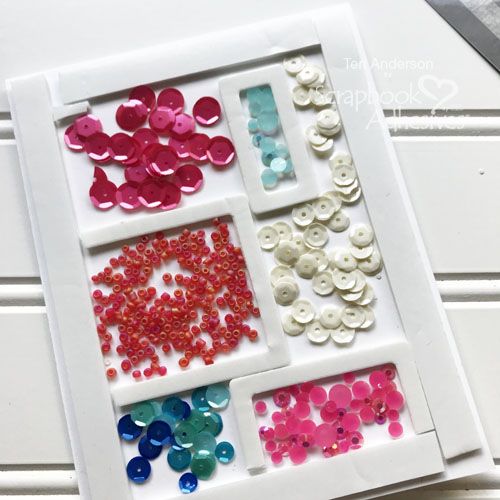
Peel back Adhesive Sheets liner about 2 inches. Cut paper strips into various lengths and place on adhesive. Leave a tiny margin of space all around the edge of the paper pieces. Continue to peel liner and place paper pieces to completely cover.
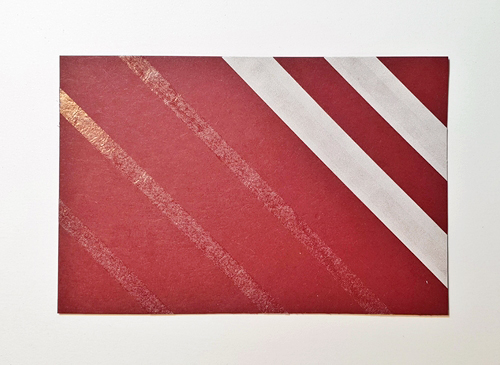
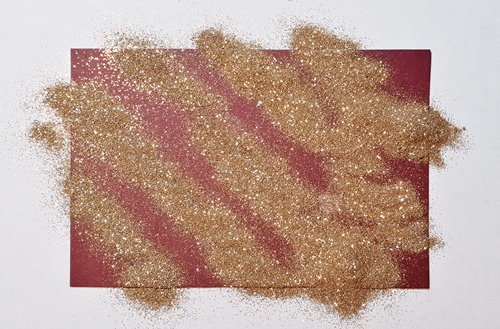
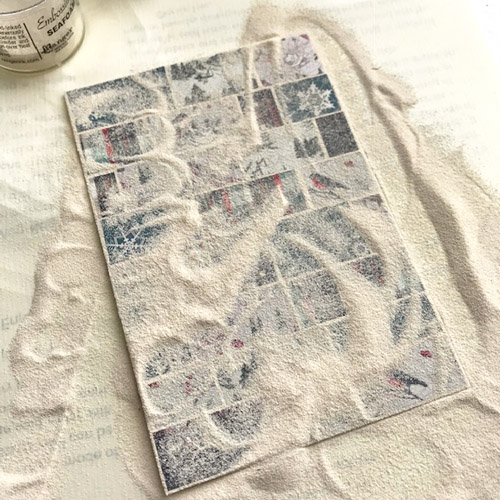
Cover a card panel with Seafoam White embossing powder. Make sure to press it into spaces between papers and along edges. Tap off excess embossing powder. Use a heating tool to melt the embossing powder for a beautiful finish.
Other Card Making Details
Stamp snowflakes with Versamark ink. Apply Seafoam White embossing powder, tap off excess and heat emboss.
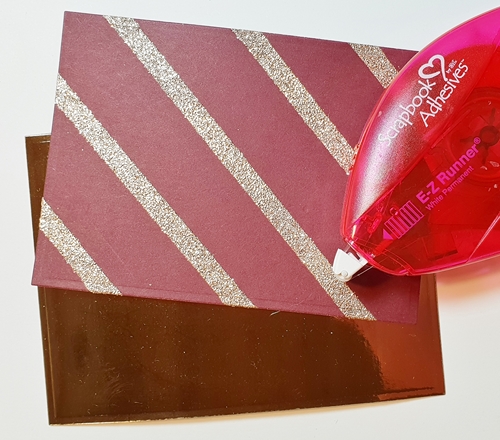
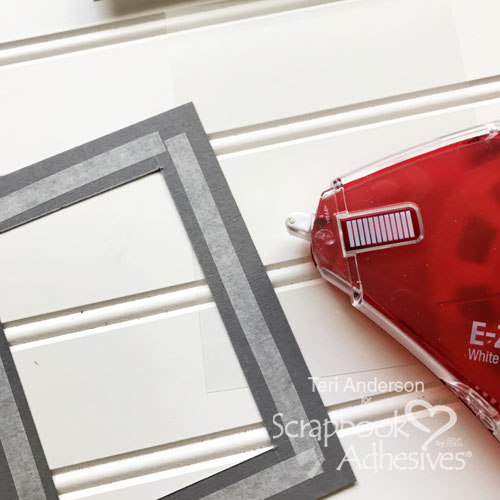
Cut red and blue mats. Fasten to pieced background using E-Z Runner® Permanent Strips Refillable Dispenser.
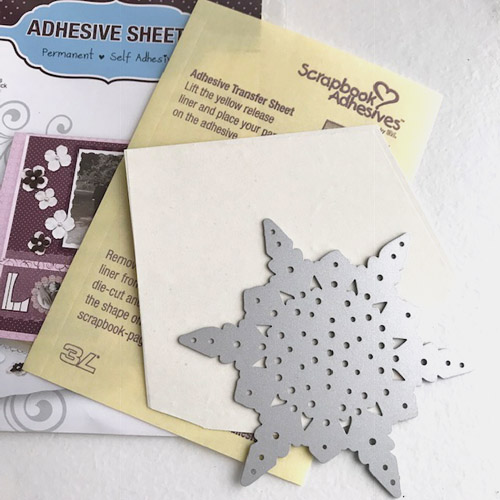
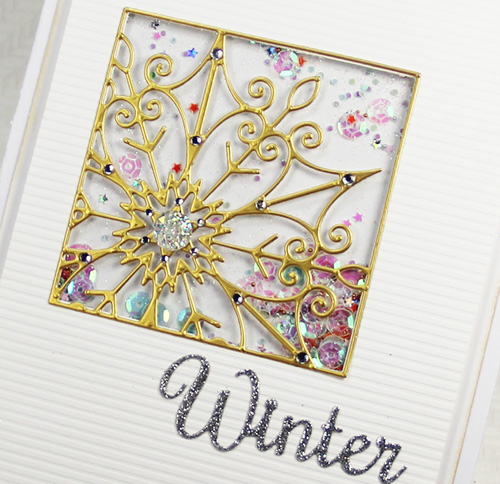
Apply Adhesive Sheets 4 x 6 to cardstock. Die cut snowflake with adhesive side up. Partially remove liner, cover with embossing powder. Finish removing liner and cover rest with embossing powder. Remove excess. Heat to emboss. Die cut blue snowflake. Use Adhesive Dots Micro to fasten white snowflake to blue one slightly offset. I fastened the center area and left tips loose. Fasten both snowflakes to pieced background using Adhesive Dots Ultra Thin at center with a few Adhesive Dots Micro on intricate parts near center.

The Finishing Touches
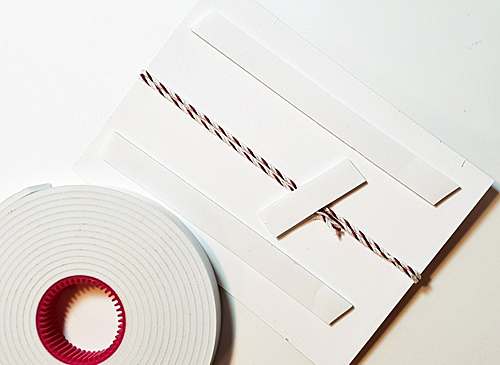
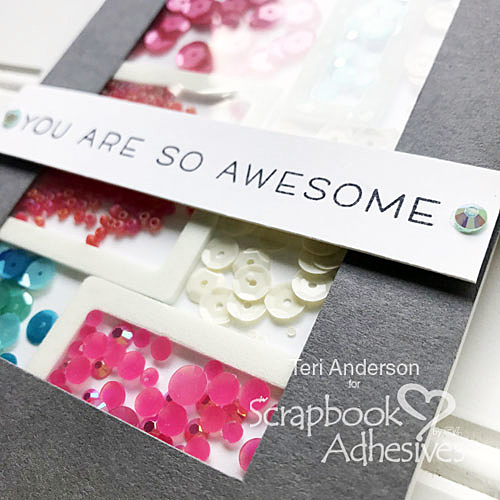
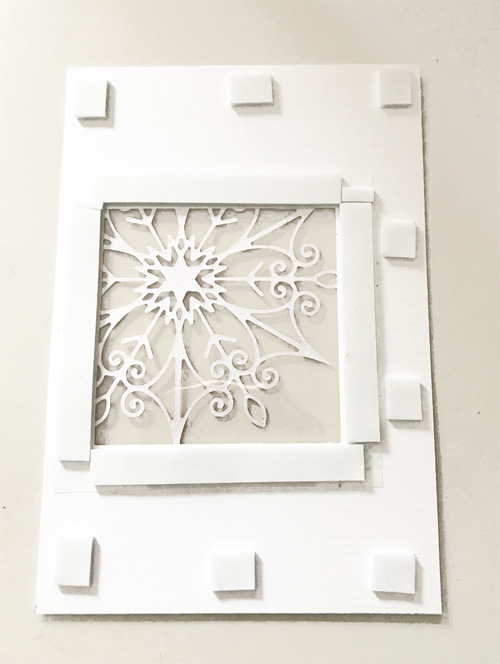
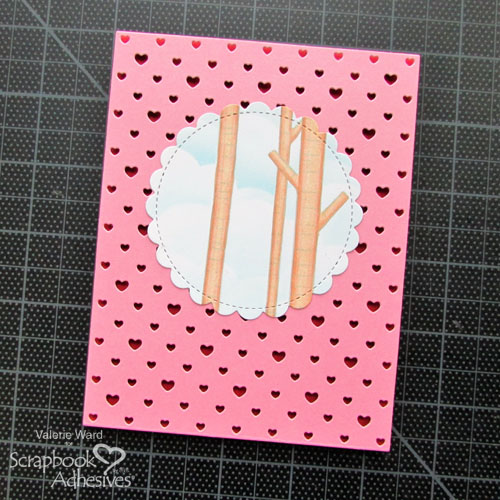
Stamp verse on cardstock with black ink and clear heat emboss. Trim to size. Cut red mat. Fasten together with E-Z Runner® Permanent Strips Refillable Dispenser. Place 3D Foam Squares – White Mix (I used large ones trimmed slightly to fit.) on back. Remove liners from foam squares. Cut 2 pieces of red twine. Stick one end of each piece to 3D Foam Square at ends of verse. Place verse over snowflake. Wrap each twine around back leaving a loop along the edge and fasten with E-Z Runner® Permanent Strips Refillable Dispenser. Finally, fasten all to card front using E-Z Runner® Permanent Strips Refillable Dispenser.
Happy Winter! Thanks for visiting!
Judy
Creative Time: 45 minutes
Skill Level: Intermediate
Materials Needed
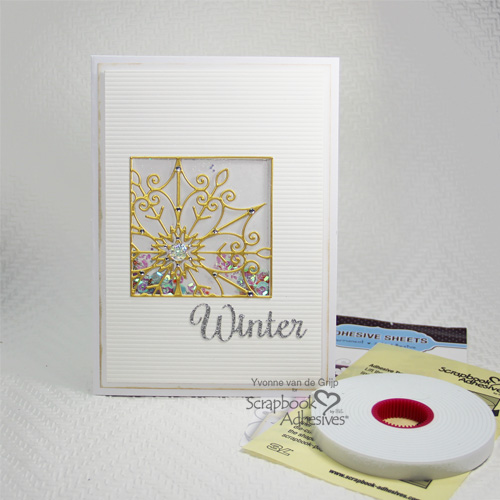
Scrapbook Adhesives by 3L®
Adhesive Sheets 4 x 6 inch
3D Foam Squares – White Mix
Adhesive Dots Ultra Thin
Adhesive Dots Micro
E-Z Runner® Permanent Strips Refillable Dispenser
Other
Authentique 6 x 6 Solitude Paper Pad; Ranger Seafoam White Embossing Powder, Clear Embossing Powder; Imagine Crafts/Tsukineko Versafine Onyx Black Ink, Versamark Ink; Waltzingmouse Birthday Stamp; Recollections Christmas Noel Snowflake Die and Stamps; Cardstock: Cottonwood, Red, Blue; Red Twine
Pin It!


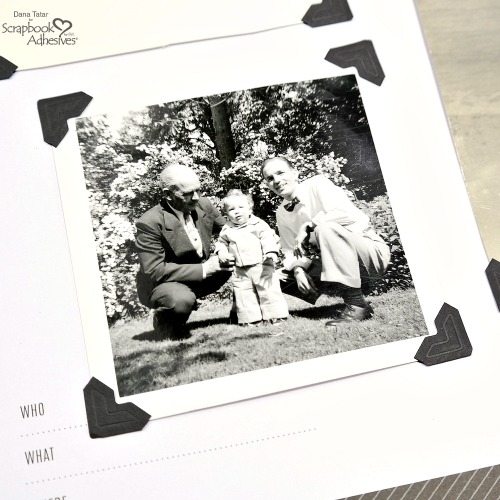
 Some of the newer photos look better when paired with