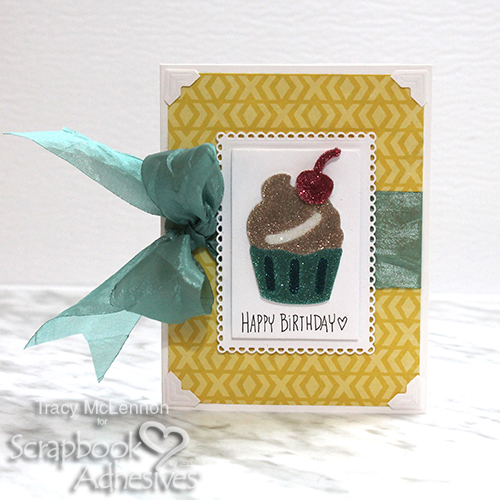
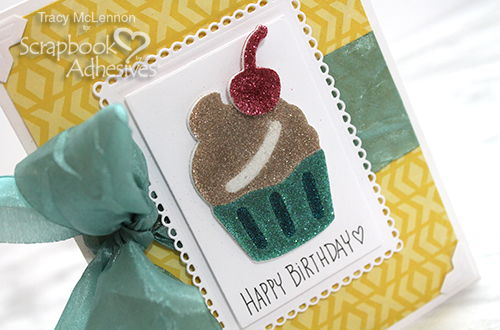
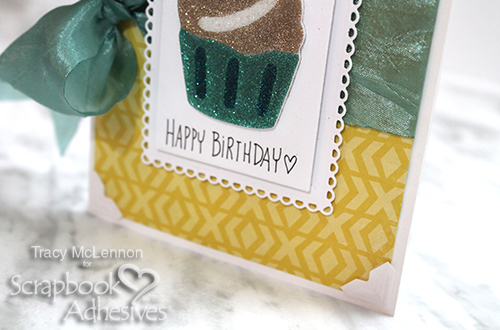
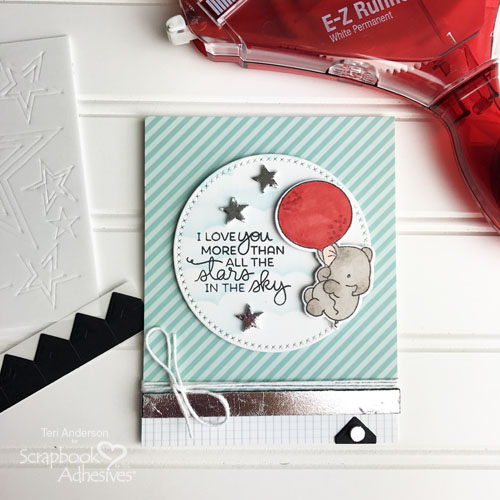
Who wouldn’t break into a smile after receiving such a cute elephant card? No sentiment is added to this layered card so it’s suitable for lots of occasions such as a birthday or just to cheer up! Hello everyone, Yvonne here with a super cute stamped elephant card, all easily assembled together with quality products by Scrapbook Adhesives by 3L®.
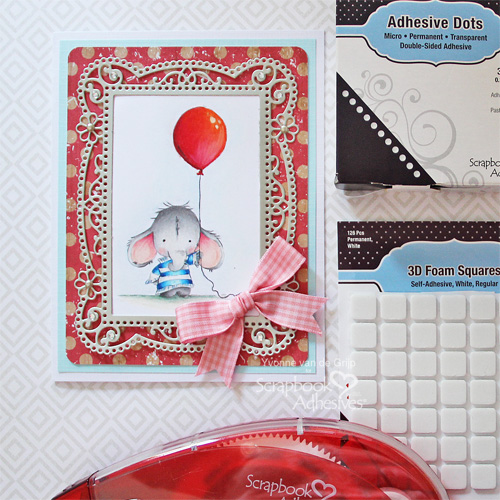
I have used the E-Z Runner® Grand Refillable Dispenser for adhering all layers to the card base. For dimension, I used 3D Foam Squares White Mix and Adhesive Dots for super easy adhering of embellishments like the bow, pearls, and rhinestones.
Layering Up a Cute Elephant Card:
Mount a piece of patterned cardstock onto blue cardstock using the E-Z Runner Grand Permanent Strips Refillable Dispenser. Then adhere the layered panel to a white card base.
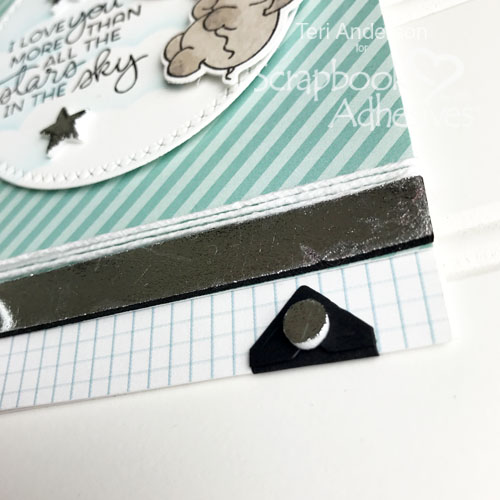
Lift the yellow release paper of the Adhesive Sheets 6×12 inch and place a piece of silver cardstock on top. Trim the silver cardstock to the size of the etched die you are going to use. Then die-cut the etched die with the silver cardstock. Remove the release paper and place the frame on the card.
View the short video on How to Use Adhesive Sheets for Die Cutting below:
Stamp and color the elephant image onto white cardstock and then die-cut with a rectangle shape etched die. Adhere the rectangle die cut to the card using the E-Z Runner®Grand Refillable Dispenser.
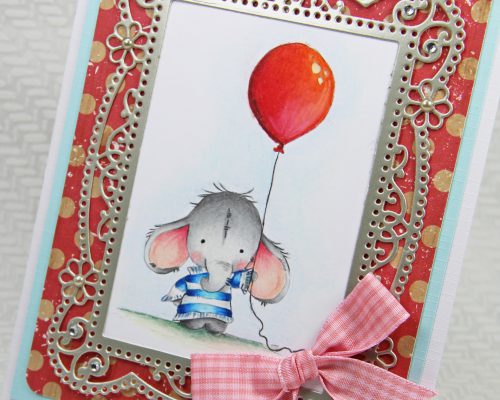
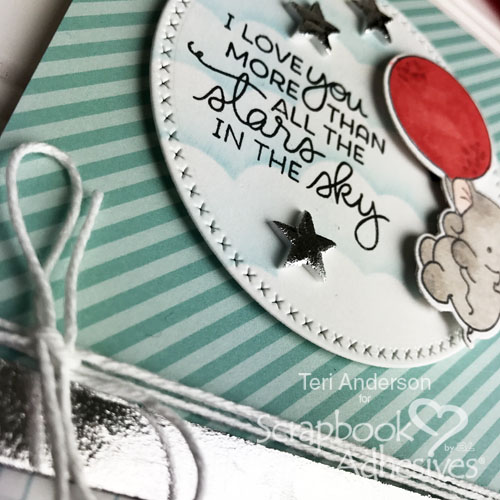
I have lots of non-adhesive rhinestones and pearls laying around waiting to be used. Simply secure them using Adhesive Dots Micro! Pick up a stone with tweezers and then adhere (the back of the stone) to an Adhesive Dot. Tip: tweezers are also great for precise placement of the stones.
For the bow I used Adhesive Dots Medium, this prevents shiny glue stains through the ribbon!

Creative Time: 60 minutes (including coloring, 30 minutes without coloring)/Intermediate Level
Materials Needed:
Scrapbook Adhesives by 3L®:
E-Z Runner Grand Refillable Dispenser
Adhesive Sheets 6×12 inch
3D Foam Squares White Mix
Adhesive Dots Micro
Adhesive Dots Medium
Others:
Etched Die: Spellbinders Paper Arts® (Tallulah Frill Layering Frame, Becca Feeken), Digital stamp: Lili of the Valley (Scruffy Edward), Cardstock (white, blue and patterned), Faber Castell Polychromos pencils, Rhinestones, Pearls, Ribbon, Tweezers and Paper trimmer