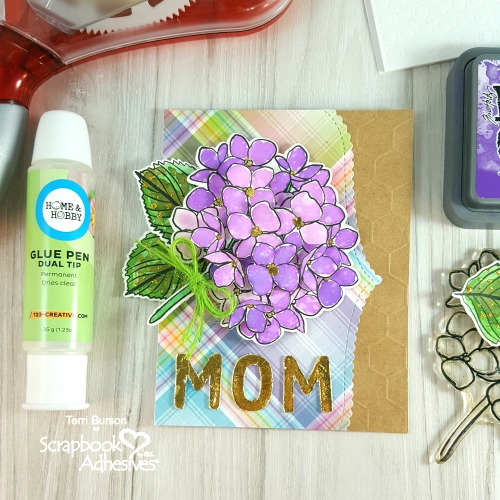
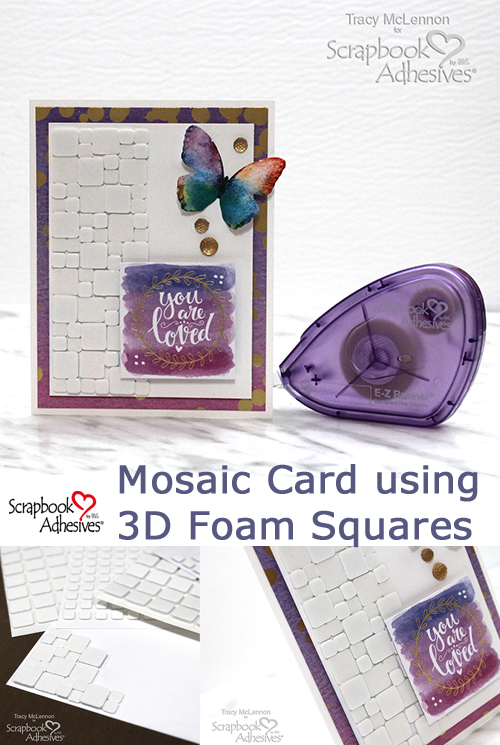
Welcome back, crafty friends! Today I have a fabulously easy Mosaic technique to share using 3D Foam Squares. Have you ever looked at your adhesives and just thought “they would make a beautiful background all on their own”? Well, that’s exactly what I thought when I looked at my stack of 3D Foam Square and Thin 3D Foam Square sheets at the edge of my craft table. Here are all of the details on how to create this fun Mosaic Card Using 3D Foam Squares.

Creating the Mosaic Design
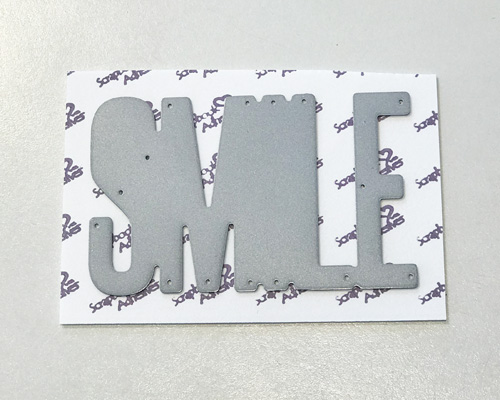
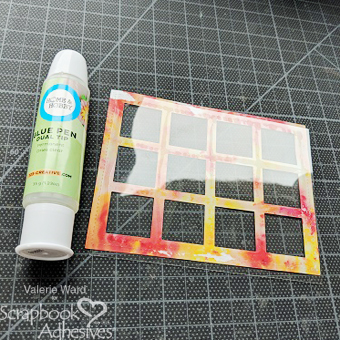
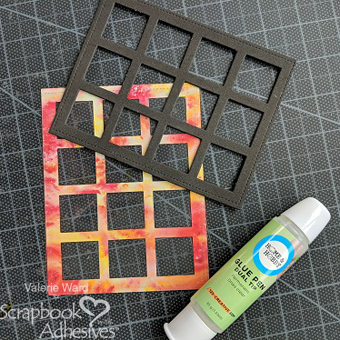
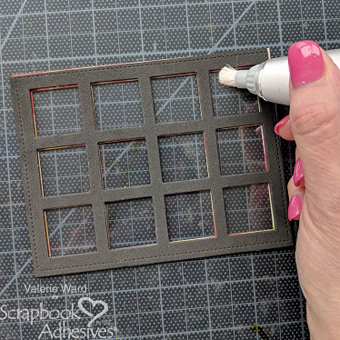
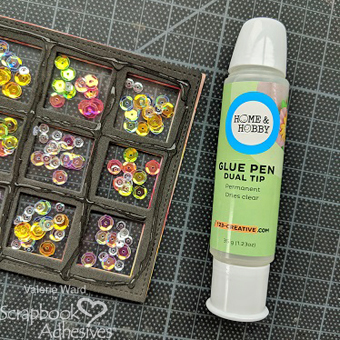
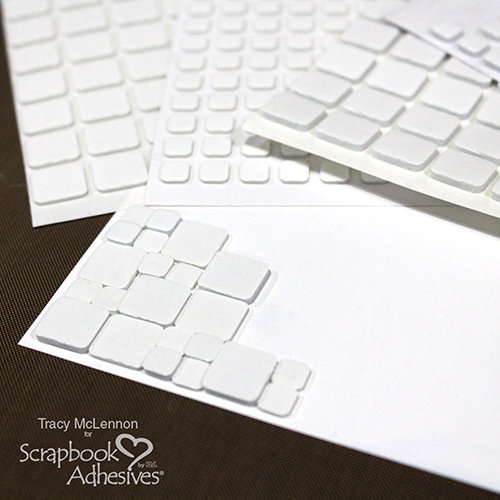
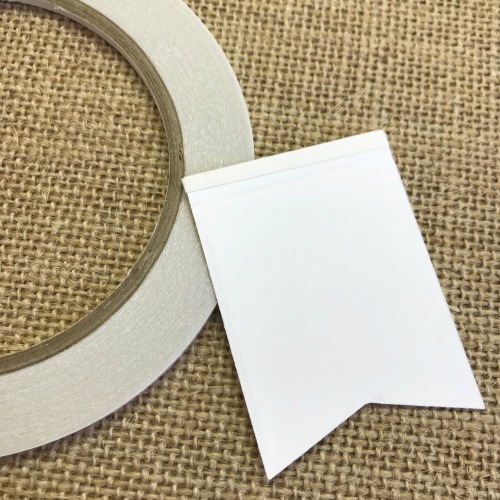
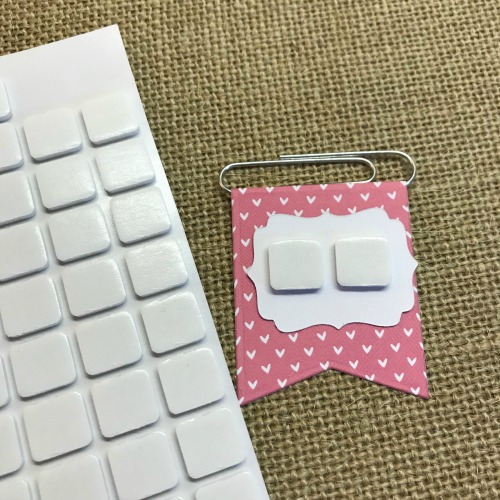
Start with a piece of white cardstock cut to size for my layered card (3.5 x 4.75″). Then I began adhering both the Thin 3D Foam Squares in 1/4″ and 1/2″, as well as the 3D Foam Squares in 1/4″ and 1/2″. Just continue building the design in a somewhat random fashion. Attach the squares right next to each other, mixing and matching the 3D foam thicknesses. I didn’t cover the entire piece of white cardstock, but just a nice thick border.
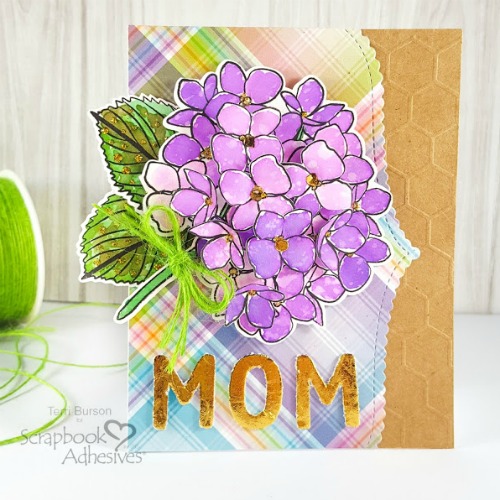
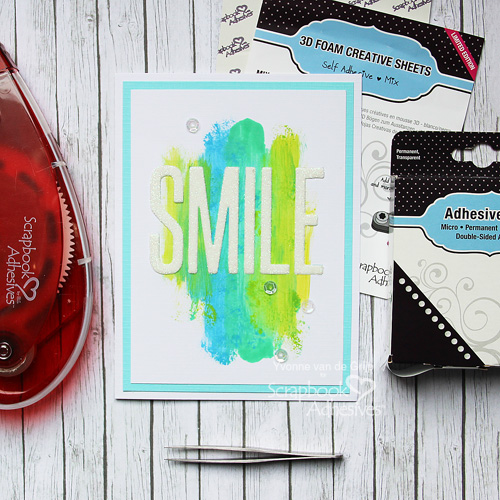
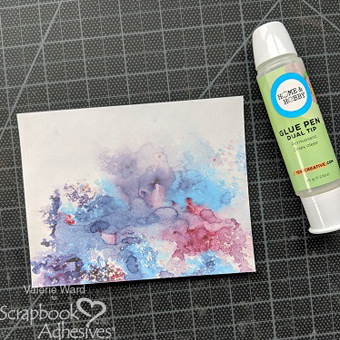
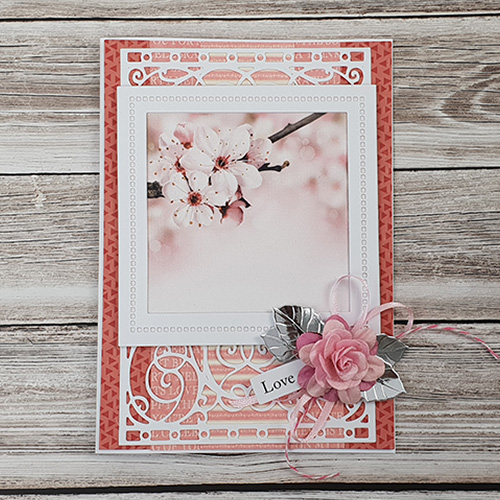
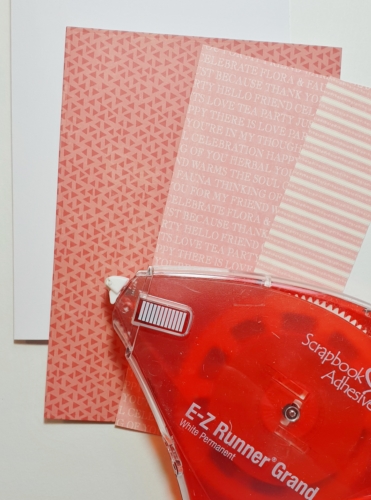
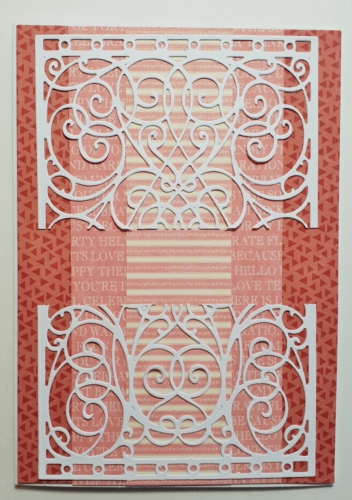
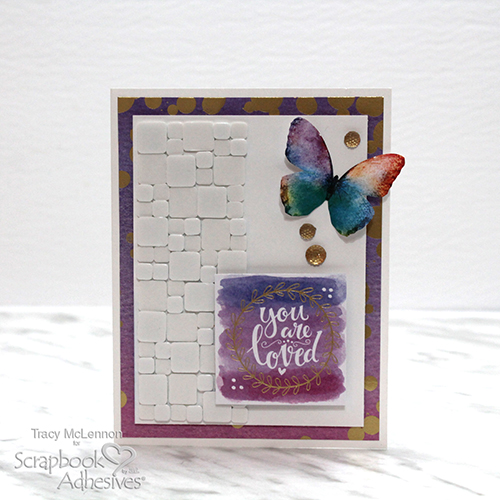
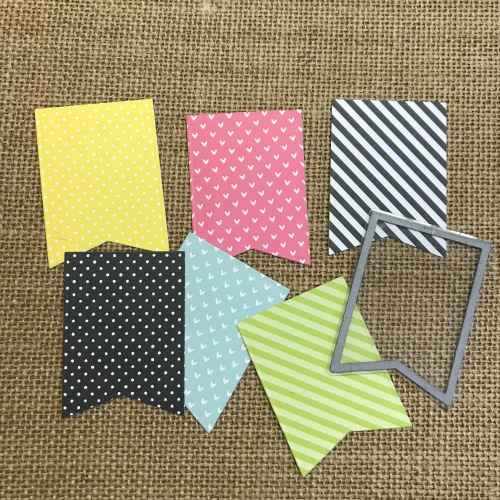
Once the thick border is complete. I then cut a piece of patterned paper to 4×5.23 and adhered it to my white cardstock card base using my E-Z Runner® Permanent Fine Adhesive Dispenser. I adhered the piece of white cardstock with the mosaic border using Crafty Foam Tape to the card.
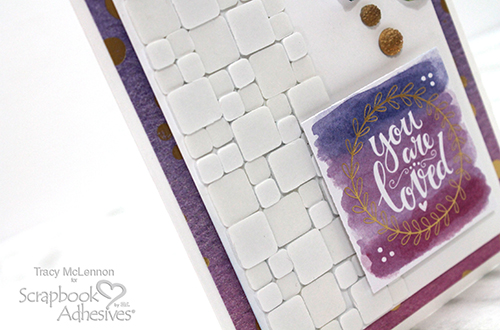
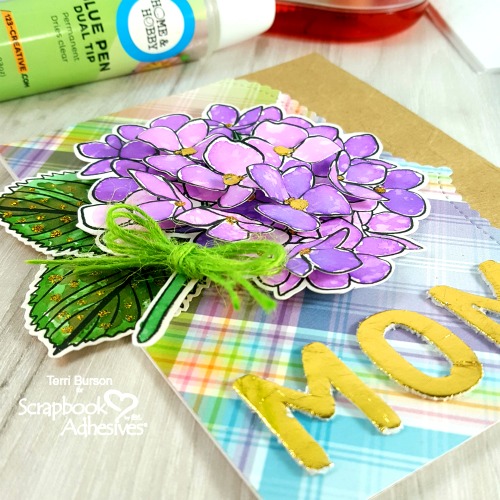
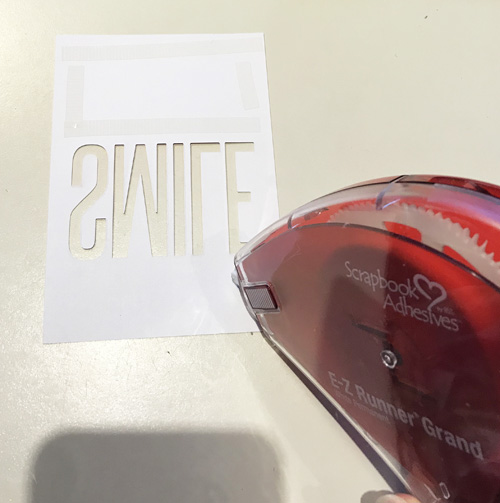
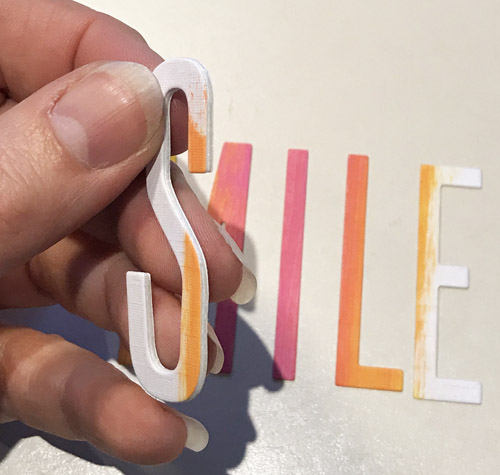
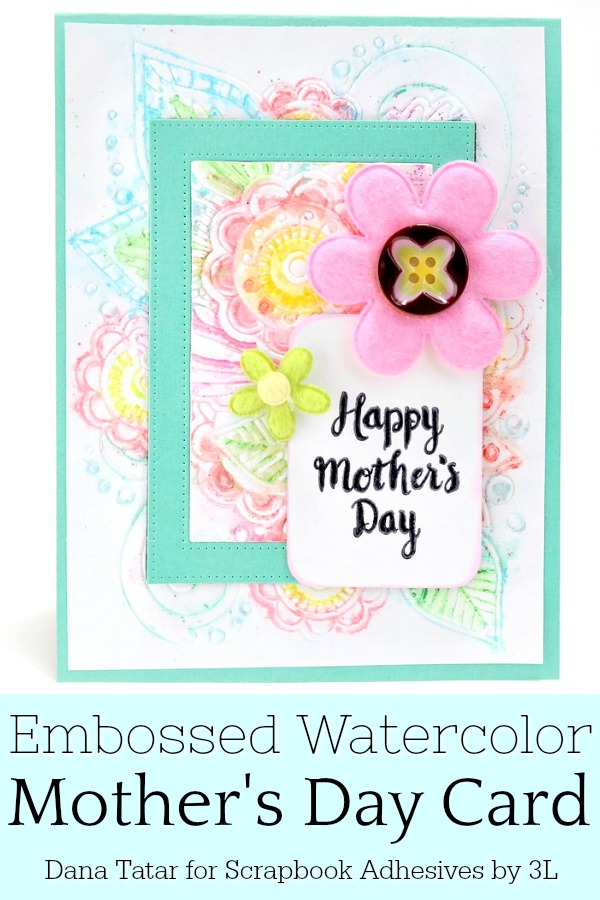
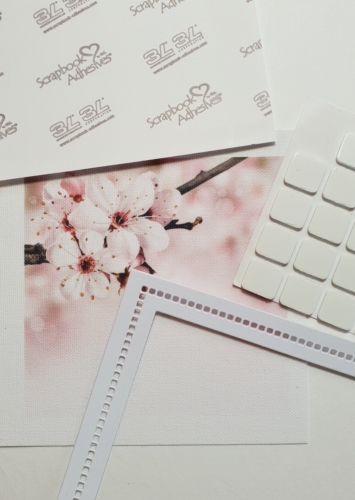
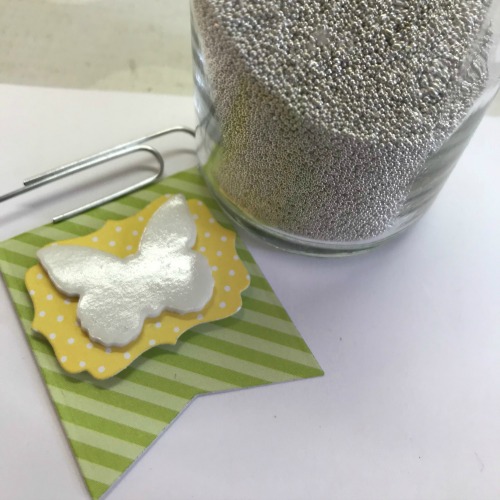
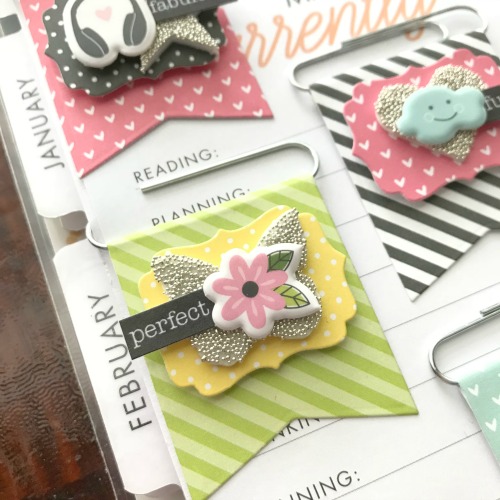
Next, add the card sentiment using a double layer of 3D Foam Squares to ensure it’s lifted above the Mosaic border. Then I added the fussy cut butterfly with Mini Adhesive Dots and gems.
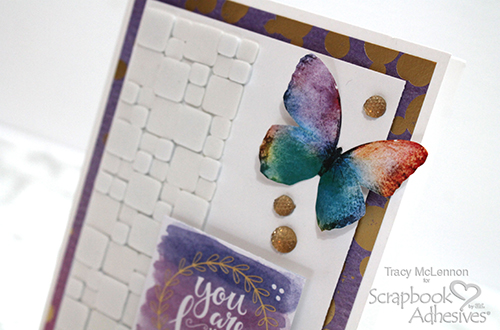
This simple border just creates so much dimension in such a subtle way.
Thanks so much for stopping by!
Tracy
Creative Time: 20 minutes
Skill Level: Beginner
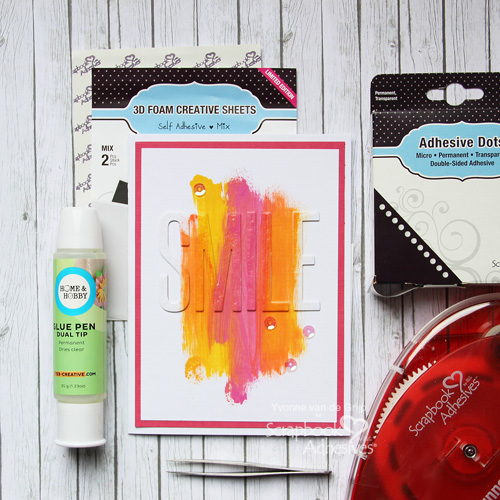
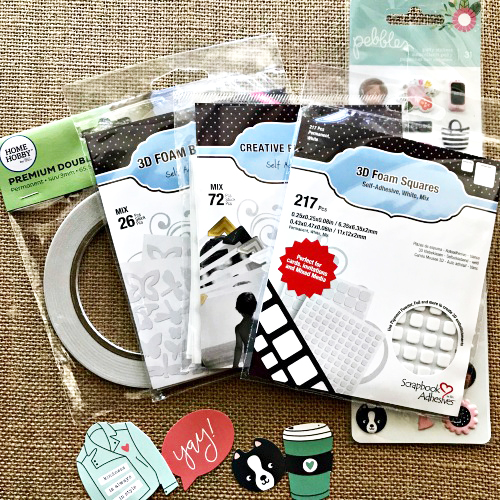
Materials Needed
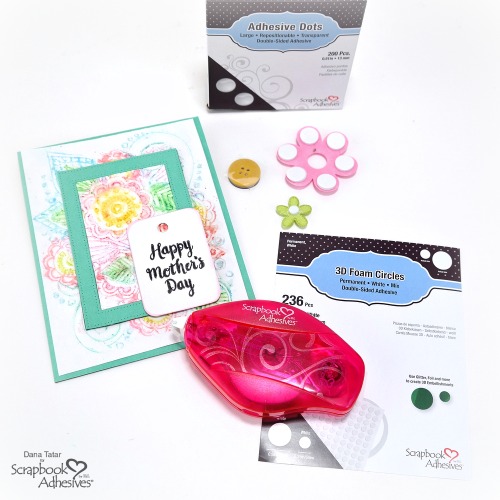
Scrapbook Adhesive by 3L®
E-Z Runner® Permanent Fine Adhesive Dispenser
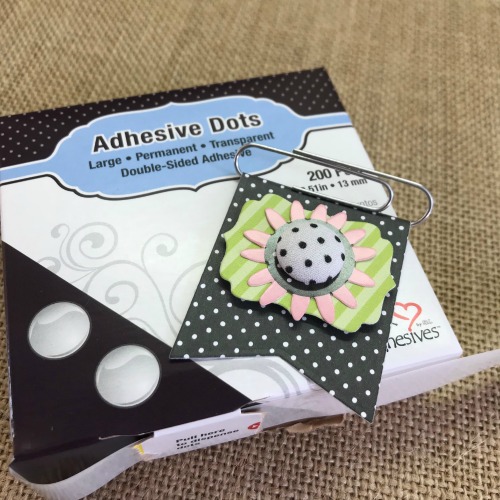
Adhesive Dots Mini
Crafty Foam Tape White
3D Foam Squares White Mix
Thin 3D Foam Squares White Mix
Other
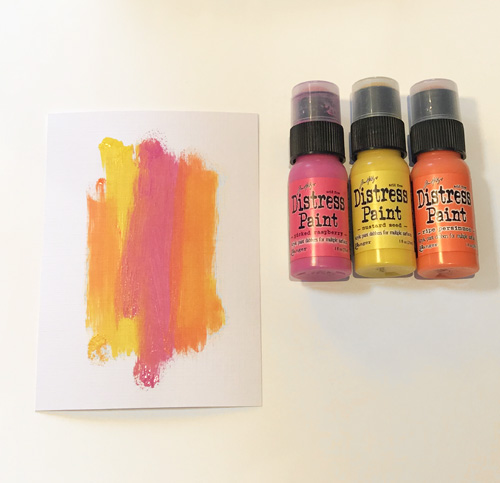
Patterned Paper: Paper House Productions (Color Washed Collection); Gold Gems; White Cardstock
Pin It!


 ‘
‘