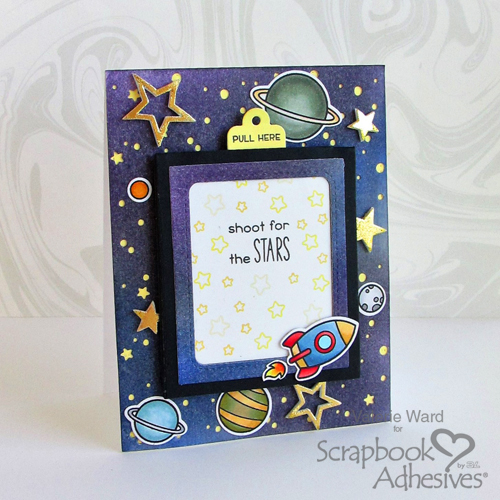
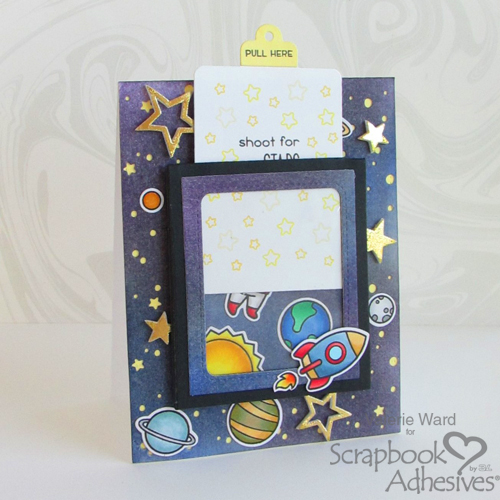
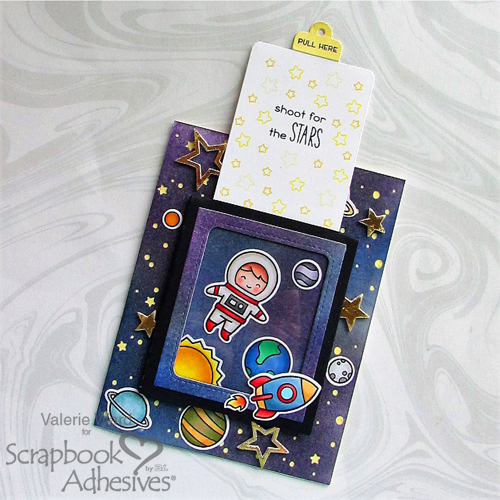
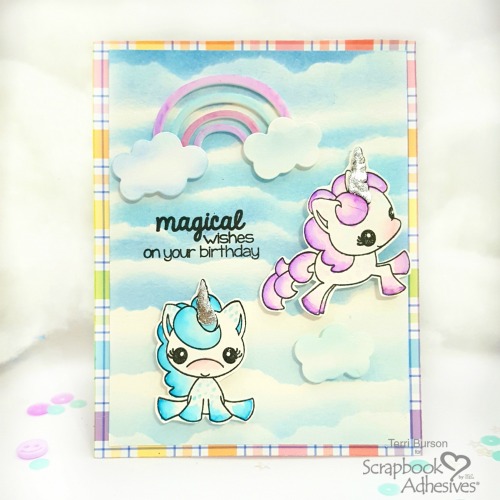
Foiled images are super fun to make. Pair foil with stamping and 3D Foam adhesives and you have a little magic going on! Hello, Terri here, wrapping up your weekend with a fun, creative project. Today, I’m going to show you how to stamp onto adhesive foam sheets to create your own custom 3D foiled images. I’ve got a three-minute technique video as well, so grab a cup of coffee and let’s chat!
Tools to Customize 3D Foiled Shapes
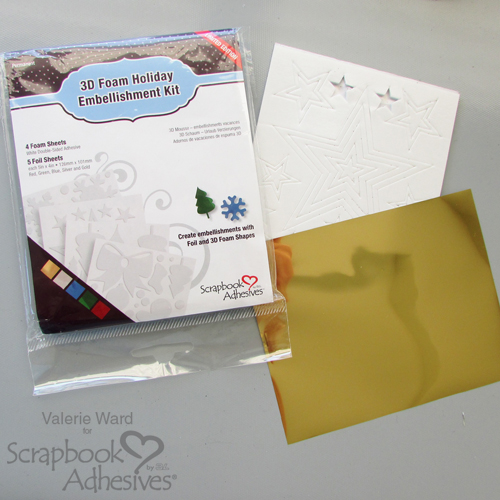
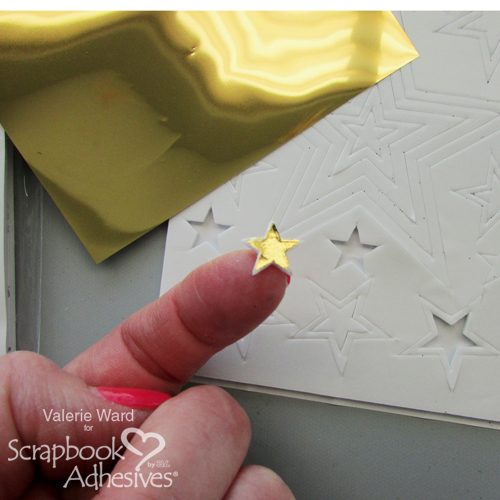
As you can see from the photos, I’ve foiled the unicorn’s horn. Here are the tools that you need to pull this off:
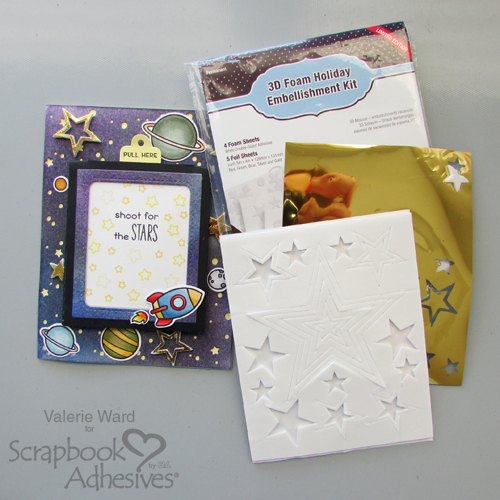
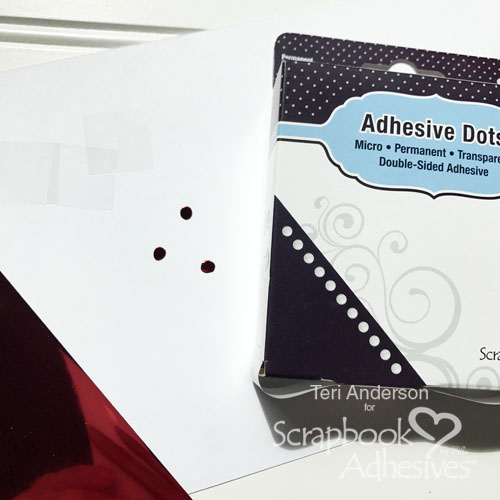
– 3D Foam Creative Embellishment Kit
– an acrylic block
– stamp of your choosing
– dark brush marker
– fine tipped scissors
All the basics will be covered in the video. In a nutshell, we’re going to stamp onto 3D Foam Creative Sheets, fussy cut, then foil. Easy, right?
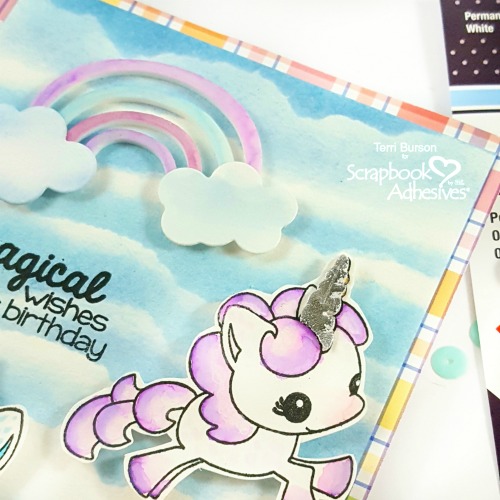
BONUS TIP – COLORING ON 3D FOAM SHAPES
I thought it would be fun to color the rainbow from the 3D Foam Garden Shapes. Simply remove the adhesive by sprinkling baby powder on the exposed adhesive. Gently rub, then tap off the excess. I chose Distress oxide inks and a water brush for coloring both the rainbow and unicorns. Can we say multi-tasking?

FINISHING DETAILS
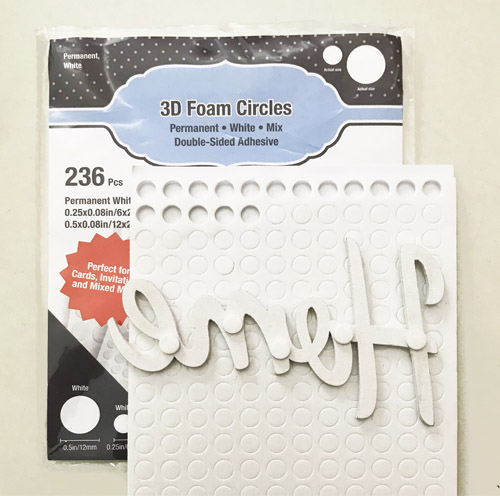
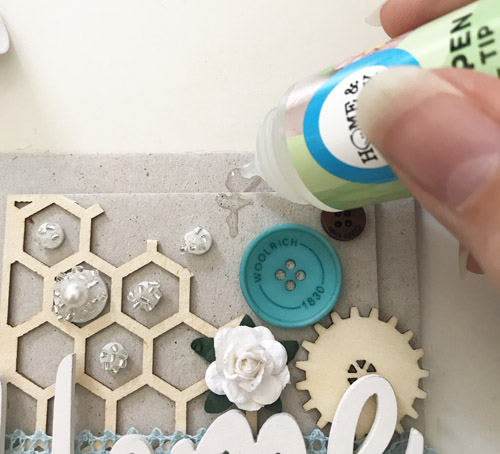
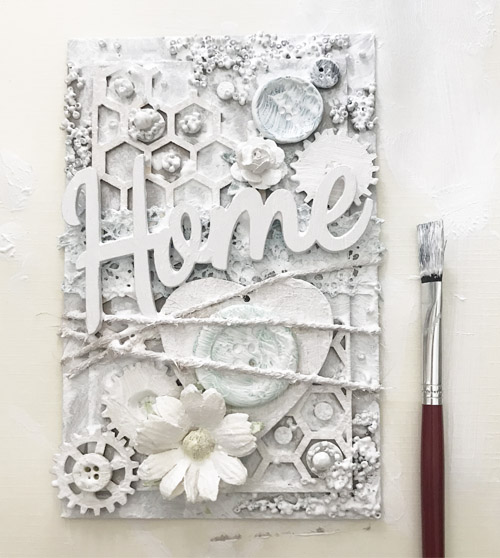
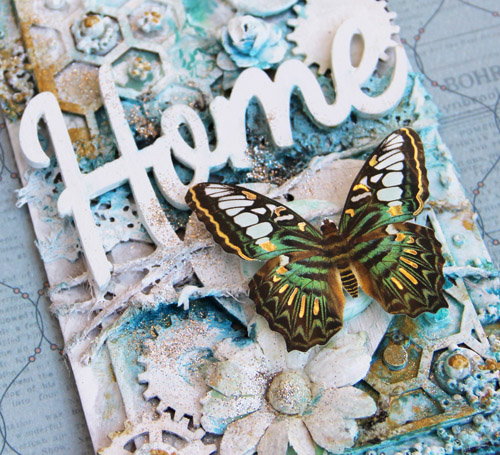
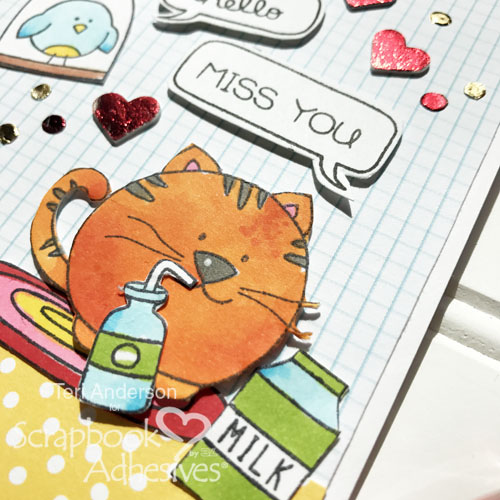
This stamp set comes with three different unicorns. I stamped and saved the third colored unicorn for the inside of my card, along with a strip of that yummy plaid paper, pictured above. Both are adhered with my E-Z Runner® Grand Refillable Dispenser with the E-Z Runner® Grand Ultra Strong Refill cartridge. The remaining elements are popped up, courtesy of the 3D Foam Circles White Mix, for added dimension.
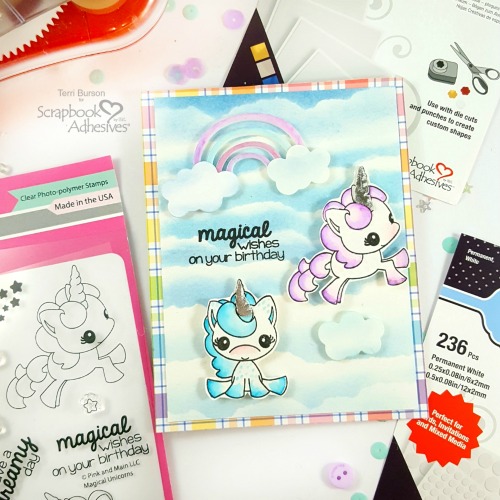
If you’d like to see how I created that cloud background, get details on my blog, Waving My Wand. You’ll find a full list of product links as well.
Enjoy the video below and I hope you will subscribe to my YouTube channel. Thanks and have a crafty weekend! Terri
- Creative Time: 45 minutes
- Skill Level: Intermediate
Materials Needed:
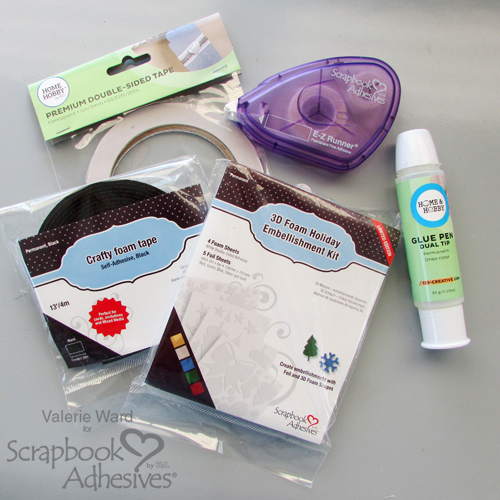
Scrapbook Adhesives by 3L®:
E-Z Runner® Grand Refillable Dispenser
3D Foam Creative Embellishment Kit
E-Z Runner® Grand Ultra Strong Refill
3D Foam Circles White Mix
3D Foam Garden Shapes
Other:
Pink & Main stamps, Spellbinders cloud dies, Ranger Ink Distress Oxide inks, watercolor paper, mixed media paper, trimmer, black hybrid ink, Lawn Fawn plaid papers, Neenah white cardstock, blender tool