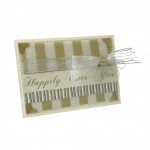
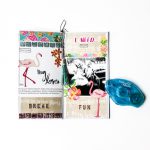
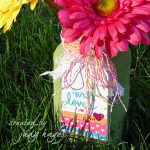
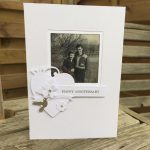
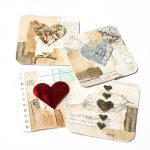
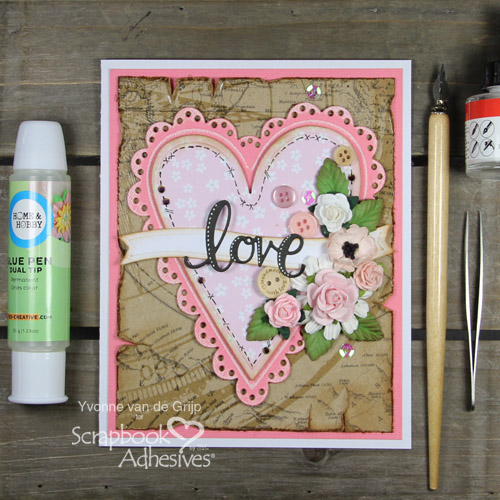
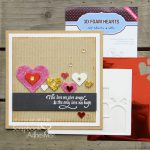
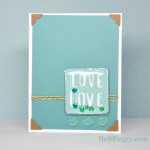
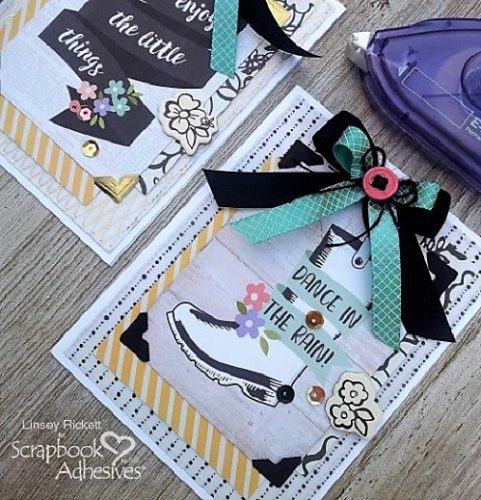
Is Spring beginning to bloom in your neck of the woods? Hello friends, Linsey with you today. Here in the Pacific NW, we are at the height of our rainy season and hopeful still that all these April showers will indeed bring the beautiful May flowers yet to come. With that in mind, I created a pair of Spring-inspired cards that a sure to brighten your day.
Specialty Adhesives on Spring Cards:
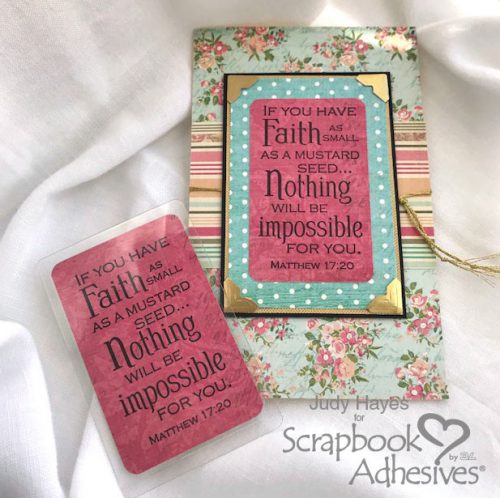
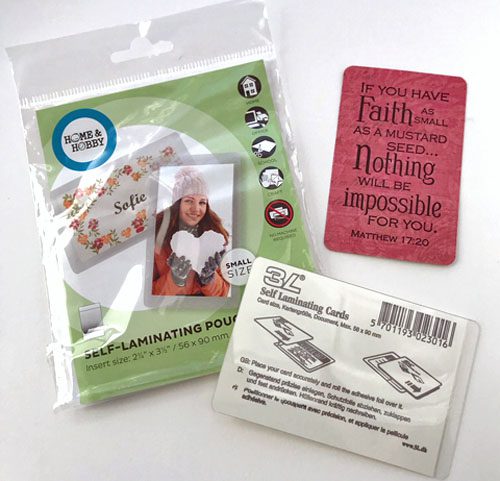
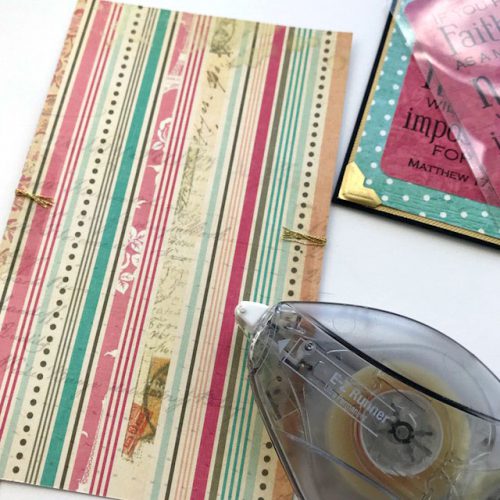
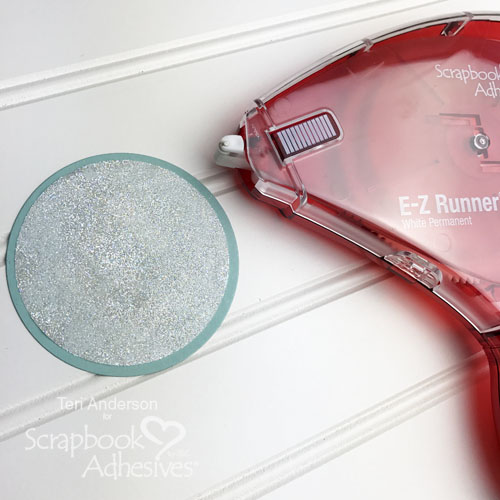
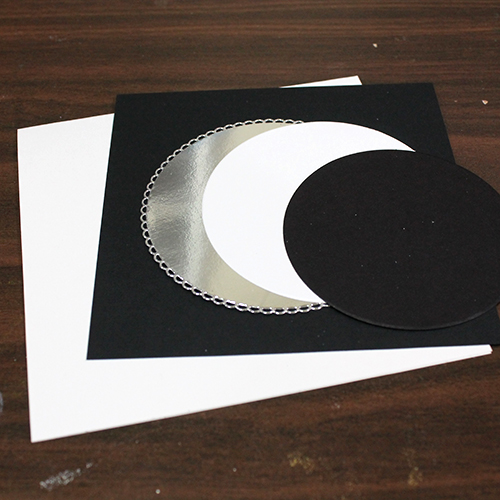
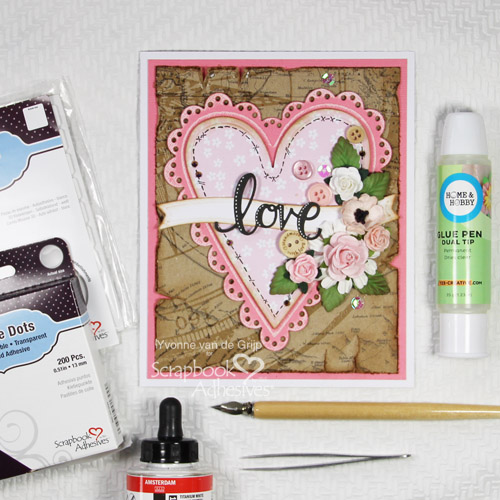
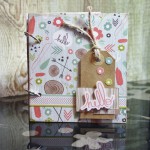
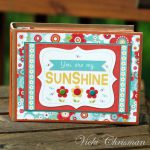
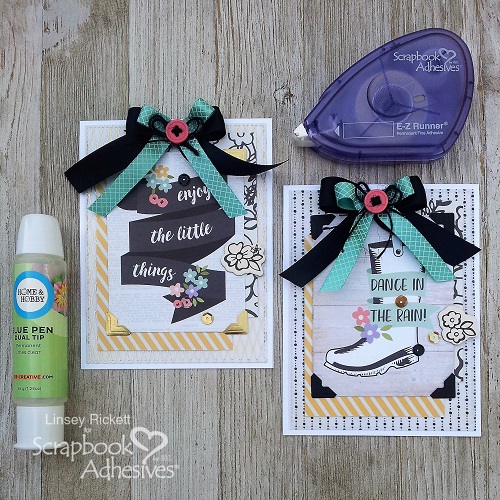
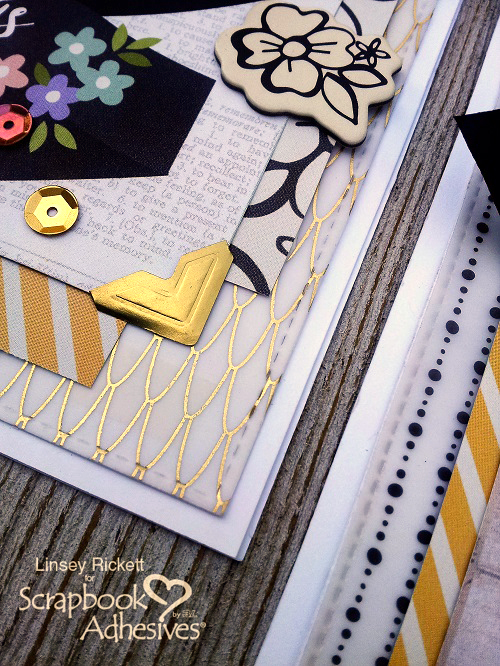
When crafting, one of my favorite types of paper to work with is vellum. However, I often opt out of using vellum due to the delicate nature of the paper and its semi-transparency, which makes it nearly impossible to adhere to anything without showing the adhesive and compromising the integrity of a project. ….until now! The E-Z Runner® Permanent Fine Adhesive Dispenser is a vellum lover’s dream come true! As a first time user of this product, I must say that I’m so impressed with the results and now I can hardly wait to play with all that precious vellum I’ve been so reluctant to use. If you’re looking for a vellum adhesive that you can trust, this is it.
Adding Accents to Cards:
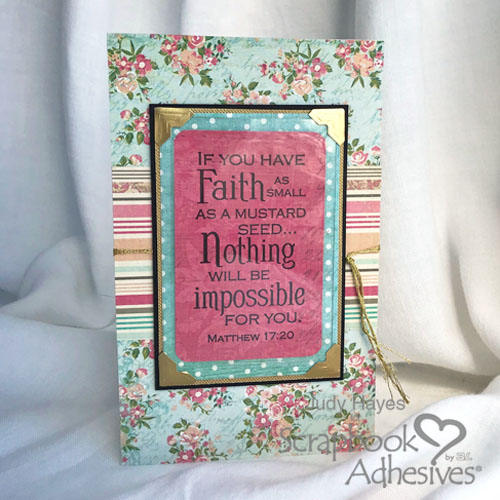
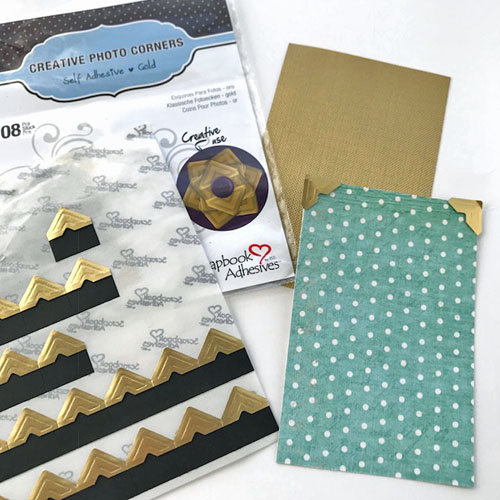
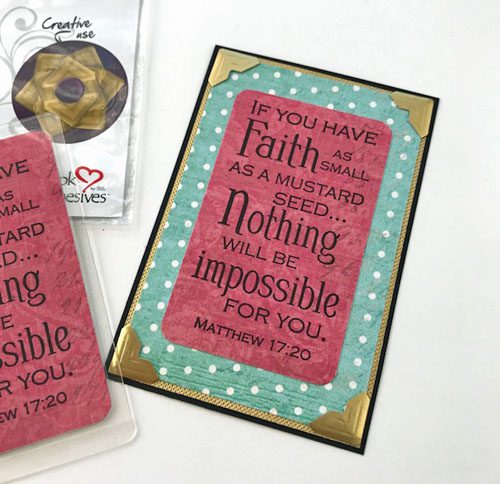
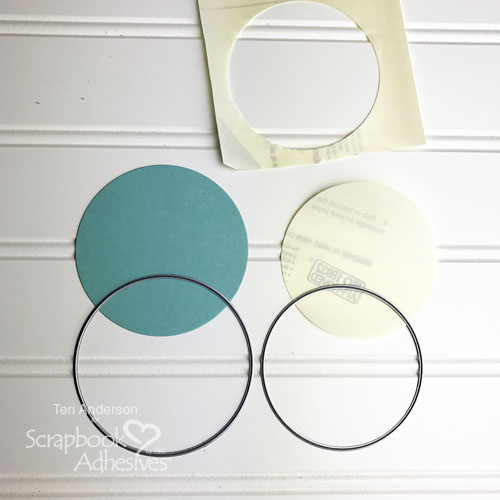
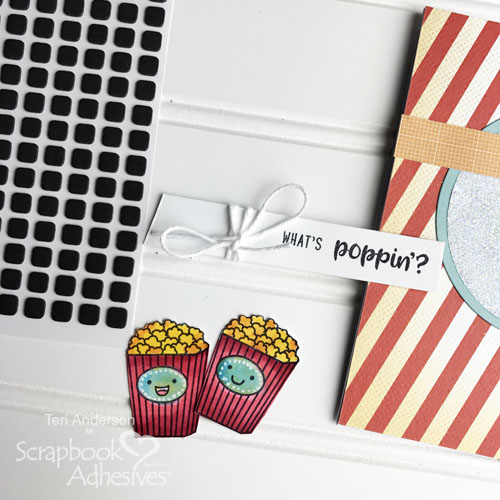
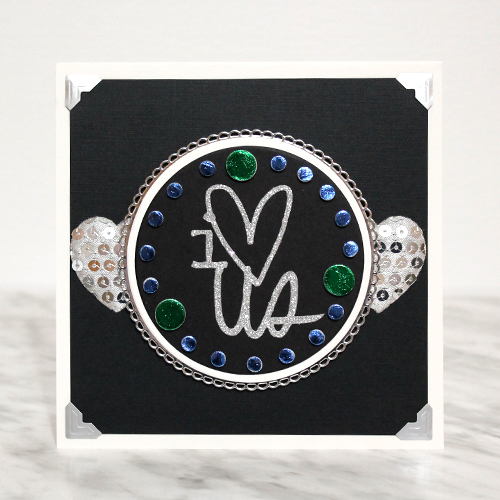
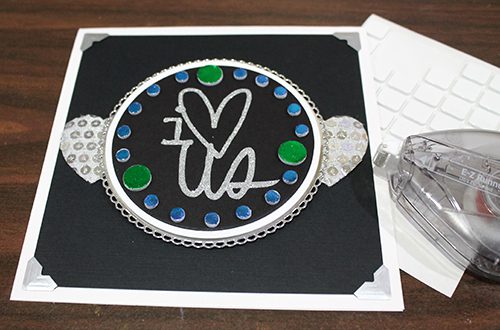
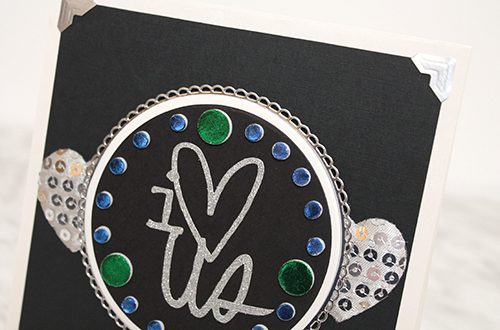
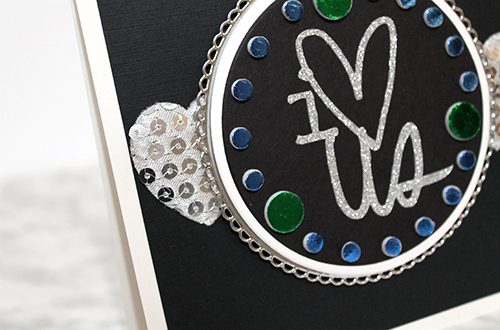
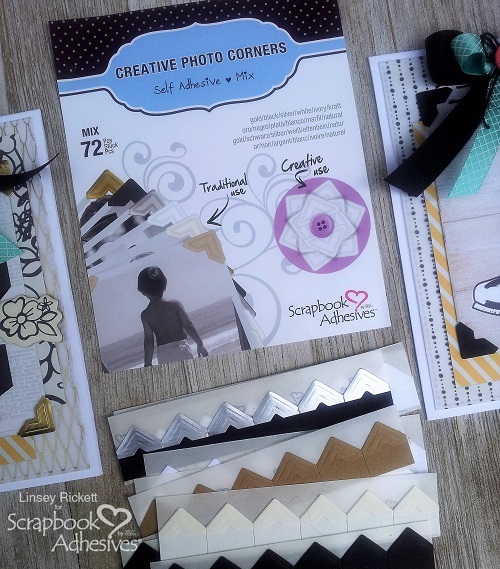
To create a more prominent focal point of each card, I used Creative Photo Corners Mix Pack. I chose gold and black photo corners to enclose the 3×4 element on the card front. This gives my cards another layer of dimension and a nice finished look. Another fantastic feature of these photo corners is they are already sticky on the backside, so there’s no extra fuss. Simply place where desired and you’re all set.
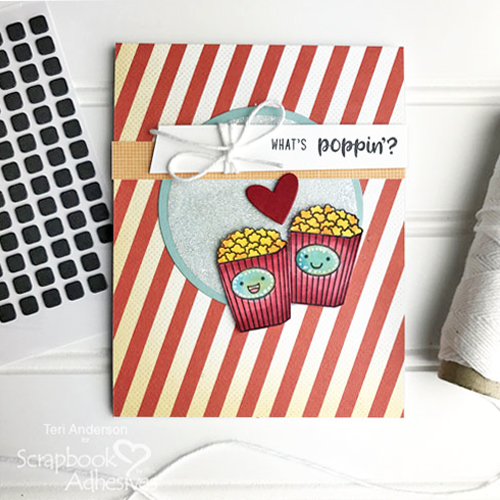
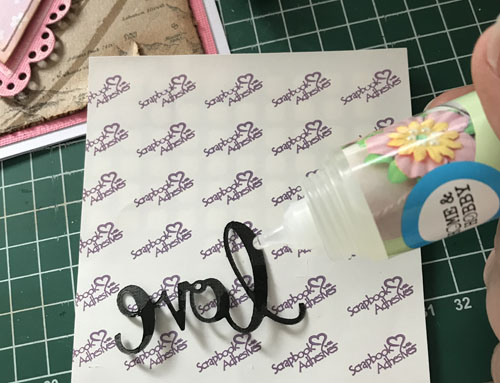
For a final touch, I added a few sequins to each card using the Dual Tip Glue Pen. One side has a fine tip and the other has a 1/2″ wide brush for wider application. It dries clear, bonds permanently in 3-5 minutes and works great for all your fine embellishment needs. From sequins to beads to glitter and back to paper, this glue pen does it all.
Thanks so much for visiting today. I hope you’ve enjoyed seeing a couple of the unique products that Scrapbook Adhesives by 3L® has to offer for your specialty crafting needs.
Until next time, happy crafting!
–Linsey
Scrapbook Adhesives by 3L® Products used:
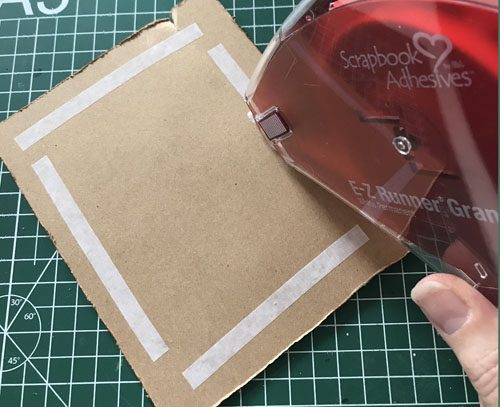
E-Z Runner® Grand Refillable Dispenser
E-Z Runner® Permanent Fine Adhesive Dispenser
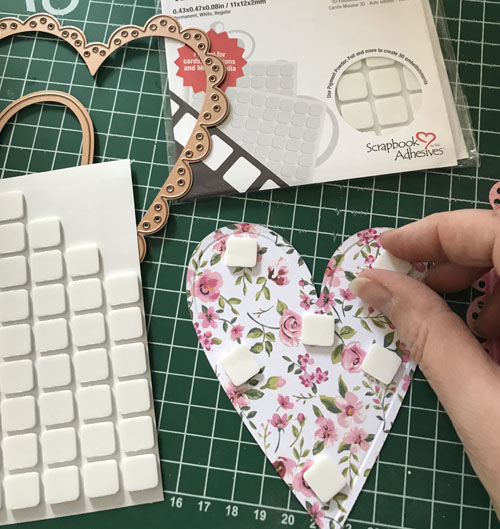
Creative Photo Corners Mix Pack
HomeHobby by 3L® used:
Dual Tip Glue Pen
Other Supplies used:
Cardstock: White and Black; Simple Stories Bliss 3 x 4 Paper Elements; SU! Vellum Paper; RRR Ribbon/String; Buttons; Sequins
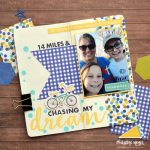
See how E-Z Runner Permanent Fine secured vellum in these cards. Click the image or text.