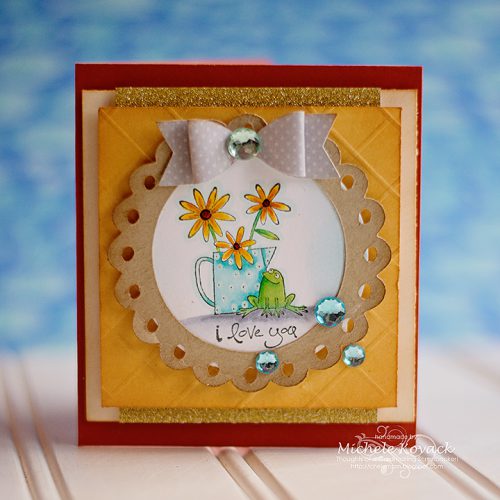
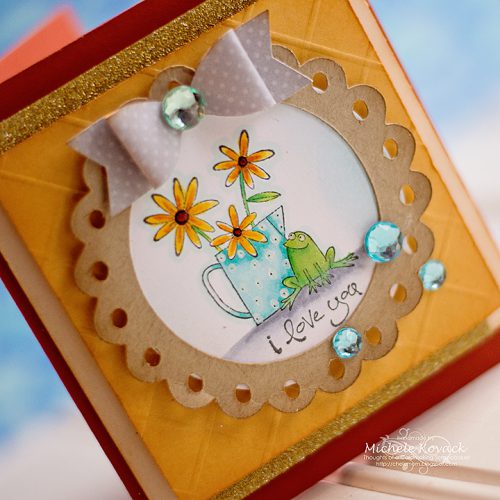
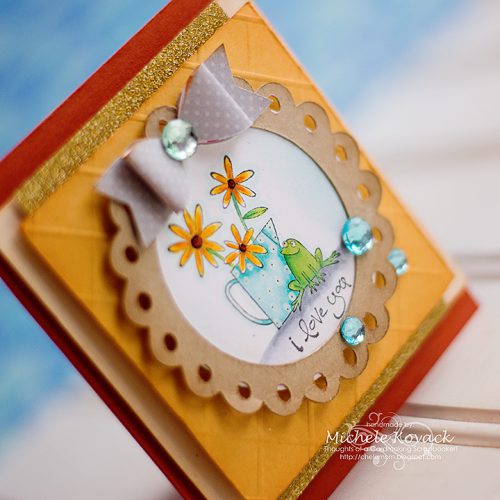
I think a rainbow colored card is in order during this dreary winter season. It’s a wonderful way to cheer a friend up and hope to bring a smile 🙂
Good morning Friends! Michele here with a fun, easy card to share with you today! With low tack paper to mask off each section of the background, I inked in a rainbow pattern. For added interest, I splattered water to create the droplets. For layers, I adhered the rainbow panel to the red card base by using Crafty Foam Tape.
I am in the middle of packing and found this old SU! stamp. So why not resurrect it? After stamping it on white cardstock, I colored it with Copic markers in the same rainbow colors. For the edges, I used black ink for a subtle effect and adhered it to the card with Crafty Foam Tape.
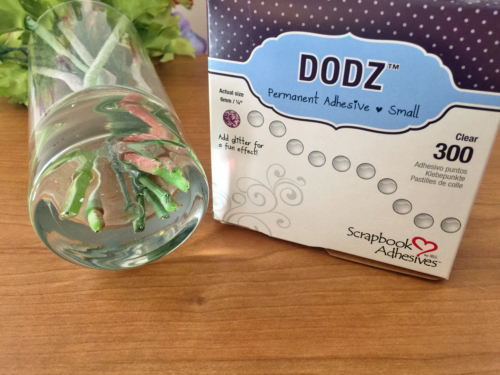
I kept the card fairly simple and just added three coordinating rhinestones securing with Dodz Adhesive Dots in Medium for each one.
Adhesive Dots
Are you familiar with our Adhesive Dots? These round double-sided clear adhesives come in an easy, touch-free application from our unique patented single dot dispenser box, which doubles as storage. They also come in many different sizes and purposes. See how to apply in the video below.
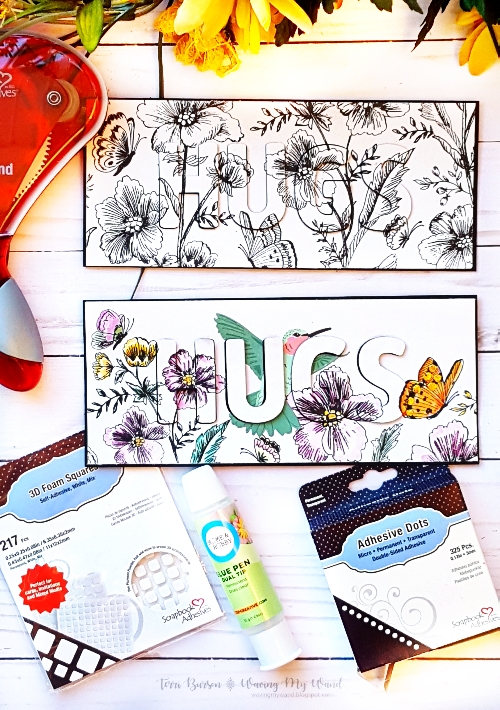
Aren’t these coffee cup treats adorable?! They’re sized to fit K-cups or sweet treats. Hello, Terri Burson, here today, sharing these fun, mini paper coffee cups. Let me show you how.
The 3D Foam Creative Embellishment Kit is so diverse and easy to use. The 3D Foam Creative is perfect for punching mini hearts. Simply punch, peel and foil for adding a pop of sparkle and shine to “Wear Your Adhesives On The Outside.” No foiling machine needed.
You’ll find more details on my YouTube video below with bonus tips – I’m bringing out my spice jar! Find out why! Before we start, I thought it would be fun to toss in the coordinating card and tag.
Lastly, we have a coordinating shaker tag that stacks die cut papers with 3D Foam Creative Sheet from the 3D Foam Creative Embellishment Kit, along with a pair of foiled heart accents. I used the Extreme Double-Sided Tape 1/4in to secure my acetate. Sequins were put in place with the Dual Tip Glue Pen to tie a few of those little pops of red sequins together.
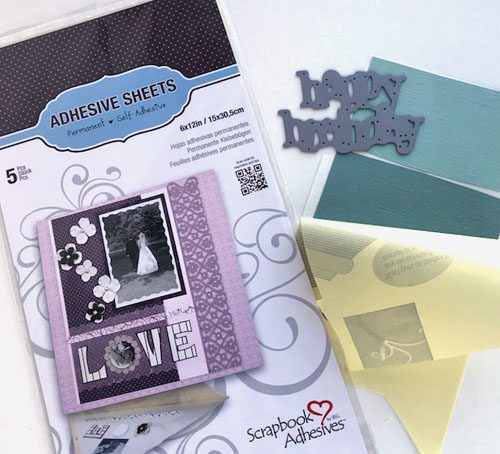
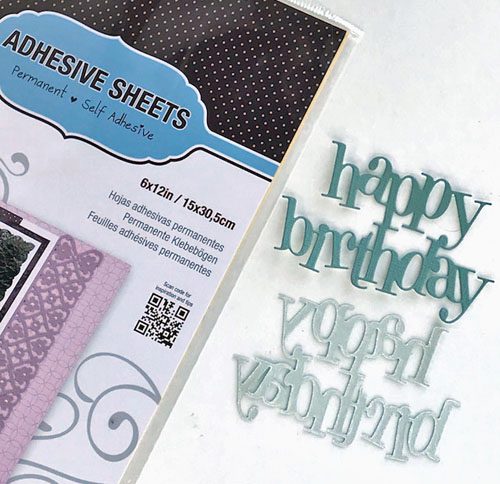
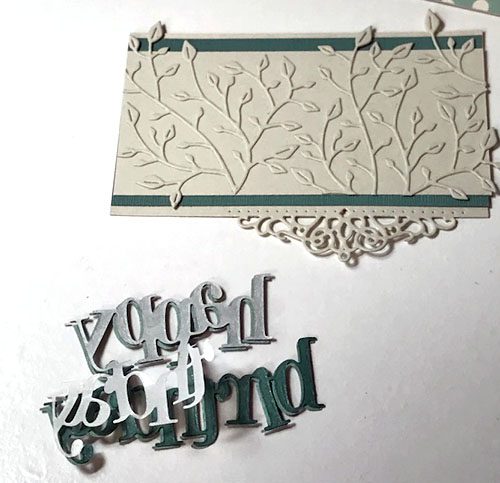
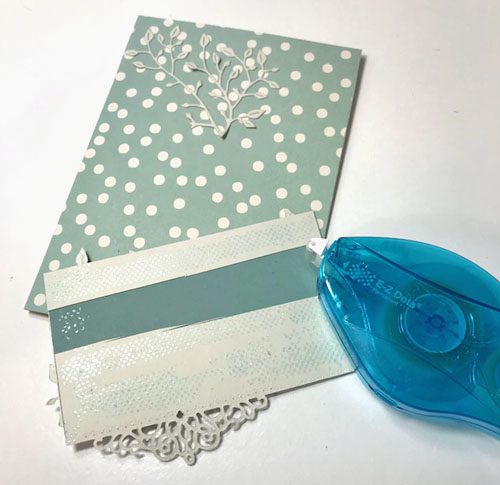
Needing extra birthday cards for your stash? Who could resist a cute birthday card? Not me! LOL!
Hello everyone, Yvonne here showing you how to make this super cute panda one that will bring a big smile to the recipient 🙂 All it takes is some paint, die-cuts and, of course, lots of our great adhesives!
Creating Birthday Fun!
First cut a rectangle piece of white cardstock as the card panel, and make a background with different tones of green paints. When the paints dry, stamp the sentiment on top.
Hey there crafty friends! Today I have a super cute Keepsake Envelope Mini Book tutorial to share. These little envelopes are not JUST perfect for tucking away those important keepsakes in your albums, they can have a whole other life like this sweet little Keepsake Envelope Mini Book.
Using a 1/8″ hand punch, I punched a hole in the flap of the 2 x 4 in. envelope. Run the ribbon through the hole and adhere to the back of that 2 x 4 in. envelope and the 3.5 x 4 in. envelope.
We are pleased to introduce new products for the 2018 Association for Creative Industries show CREATIVATION, in Phoenix, AZ!
New E-Z Runner Grand Refill
Joining our E-Z Runner® Grand Refillable family is the new E-Z Runner® Grand Permanent Dots Refill, featuring 140 feet of of permanent, double-sided adhesive dots. This refill is for the E-Z Runner® Grand Dispenser. Permanent Dots adhesive is acid free and archival safe for all of your projects.
See this quick video on using and refilling the E-Z Runner Grand and Double-Sided Tape Runner:
New 3D Foam Circles
Joining our 3D Foam Family are 3D Foam Circles, in both Black and White! Each package contains 2 sizes, in 1/2 and 1/4 inches, with a total of 236 3D Foam Circles. While these will work great as a foam adhesive to use as a ‘pop’ between layers, they will also make great dot embellishments when you Wear Your Adhesive on the Outside with Foil, glitter, embossing powder and more.
They feature crush-proof high density foam that easily releases from the bottom liner. Top liners are easy to peel off when you’re ready to stick. Adhesive on both sides, top and bottom, is edge to edge permanent adhesive. 3D Foam Circles are acid free and archival safe for all of your projects.
See this quick video on using 3D Foam Squares, they work just like 3D Foam Circles:
Come see at Creativation in Phoenix this weekend, Booth 1235, we have make and takes and demonstrations all weekend!
New Products will ship to stores in immediately, be sure to ask for these at your favorite retailer or shop here!
We’re looking for a few good designers, apply for our 2018 Design Team.
Glittered hearts are the perfect embellishments for Valentine’s Day using 3D Foam Hearts and glitter to “Wear Your Adhesives on the Outside!” Show your loved one how much you care this Valentine’s Day with this sparkly handmade card <3 Christine here today with a tutorial with this LOVEly card – life is always better with glitter!
On the third piece of square card panel, position 3D Foam Hearts randomly, truly randomly, doesn’t matter where you place them!
Remove the top lining paper of the 3D Foam Hearts and sprinkle with red embossing powder. Set with a heat gun. Yes, they are heat resistant so melt away!
A special anniversary card deserves to have an extra special touch by adding layers and dimension in a big way!
Today I wanted to share with you a bit about how I created this card for my sister and brother-in-law for their 60th Anniversary. Even though we couldn’t be there to celebrate, I wanted it to be a big beautiful card that let them know that we send them all our love and best wishes.
Details behind the Anniversary Card
When making a larger and more involved card like this one, I love creating it with lots of dimensions. 3D Foam Squares are great for embellishments but what about when you want to raise up a large matted piece? The answer is Crafty Foam Tape. It’s perfect for the task and so easy to use. Simply cut your pieces to the exact size you need. In this case, I used it to raise up the entire brown piece of cardstock that I built the rest of the card on.
When they receive it, I know they will see a lot of love and thought went into creating it. Having the right adhesive makes creating that much more enjoyable.
Looking for a sweet baby card to create? Hello everyone! It’s Judy here today with a Welcome Sweet Little One card embellished a combination of 3D Foam Pennants and 3D Foam Stars. For color, I’ve used fine embossing powder (not heated) to the pennants and glitter on the stars. Both stick easily to the adhesive to “Wear Your Adhesives on the Outside.”
In order to glitter the 3D Foam Star, I had to remove the top liner and sprinkle glitter (make sure to press the glitter into the star shape). Tap off excess, remove from its sheet and place on top of each 3D Foam Pennant (remove the top liner from the pennant shape first).
Other:
Avery Elle The Everyday Collection 6 x6; Imagine Crafts Tsukineko Neon Amplify! White, Versafine Onyx Black Ink; Taylored Expressions Many Minis-Occasions stamps, Mini Tags die; Glitter; Fine Embossing Powder: White Cardstock; Pearl Cotton
I’m sharing stacked hearts die cuts to create a wonderful heartfelt thank you card to someone special today! Hi, Terri Burson here and I am excited to be here to share inspiration like this sweet card.
Details on the Hearts Card
My card was created by nesting hearts die cuts, adding the outside edges of a paper lace doily and foiling a sentiment die cut. Simply use 3D Foam Creative Sheet to bring dimension to the sentiment and a bit of silver foil sheet to bring that WOW! factor to my sentiment. You can accomplish this by using the 3D Creative Embellishment Kit to “Wear Your Adhesives on the Outside!”
My 3.75 x 5 in. card base was created with mixed media paper. On the scalloped card panel, I added a splatter design by adding water to Ranger Ink Distress Oxides for color and using a brush to splatter the front. To stack the hearts, I used 3D Foam Squares for dimension. The rest of the card was assembled with E-Z Runner® Permanent Strips.
Please click below to view my process video, Stacked Hearts Thank You Card. P.S. Note I said 3D Foam Hearts = oops, I meant 3D Foam Squares! Freudian slip: Hearts on the Brain! HA!
Thank you for stopping by! You can find me at my blog by clicking: Waving My Wand
Scrapbook Adhesives by 3L®: 3D Creative Embellishment Kit 3D Foam Squares White Mix E-Z Runner® Grand Permanent Strips Other:
Patterned Paper: Lawn Fawn (Watercolor Wishes Paper)
Mixed Media Paper: Strathmore
White Cardstock: Core’dinations
Ink and Spray Mister: Ranger Ink (Distress Oxide Worn Lipstick and Inkessentials Mister Spray Bottle)
Dies: Thanks die, Lawn Fawn (Scallop Rectangle Dies) and Umbrella Crafts (Nested Heart Dies)
Tool: die cut machine and WRMK Trim and Score Board
Paint Brush
Scallop Lace Heart-shaped Paper Doily
A fun banner is in order for this unique theme of mountains and bear for a baby boy shower! My cousin had hers over the holidays. Why this theme? It’s a reflection of the decor in the baby’s room 🙂 Clever!
Hi Latrice here to share a unique baby shower banner to go with this theme. I used my favorite tape runner, E-Z Runner® Grand Refillable Dispenser, to assemble the banner so that she can keep it for the nursery after the shower! Let’s get started and create!
Moving Mountains for this Banner!
To create the mountains I was inspired by what the couple had painted on their nursery walls. First, find and grab 13 sheets of white cardstock. Trim to desired sized rectangles.
In addition, find 13 sheets of navy cardstock and trim to make sure you have a white border left and right sides of your navy rectangle. Adhere all the papers together to make 13 one-layered banner bases, using E-Z Runner® Grand Refillable Dispenser.
Next, die cut letters in white cardstock to spell out “Move Mountains.” Pick letter sizes that can fit inside the navy cardstock AND to leave space at the bottom to fit mountain peeks. Adhere the letters with E-Z Runner® Grand Refillable Dispenser.
Hand cut with scissors the mountain peaks in different neutral colored cardstock such as kraft, light blue, navy and grey. Layer the mountains easily with the E-Z Runner® Grand Refillable Dispenser. Sometimes I get carried away when using my runner but no worries as the permanent strips can easily be folded under if there are any overhangs.
To attach the banner to the ribbon use the same E-Z Runner® Grand Refillable Dispenser. For extra interest to the banner, I added staples and to secure it more so that people can touch it and take photos in front of it.
Here’s a closeup of the banner.
It was such a great shower. The mountain and bear theme was seriously so adorable! Check out the fun cake and marzipan campsite the aunts created.