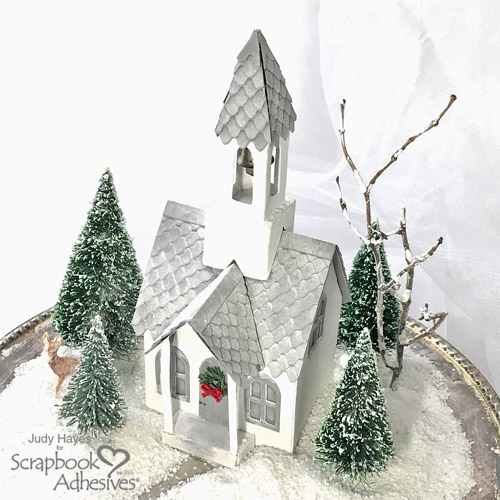
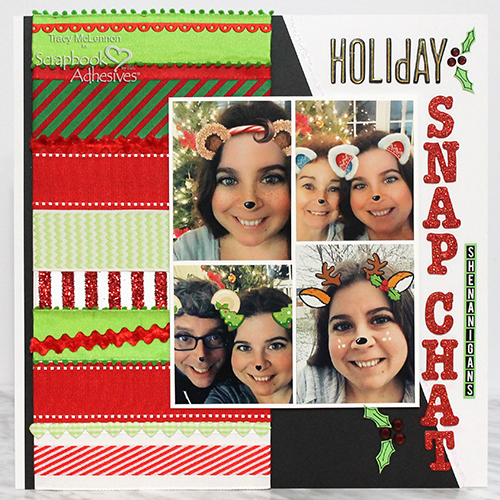
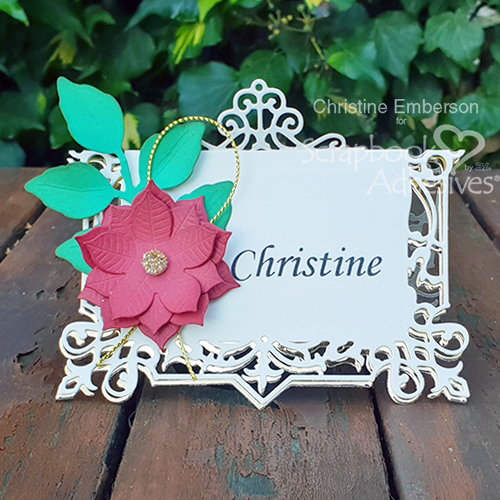
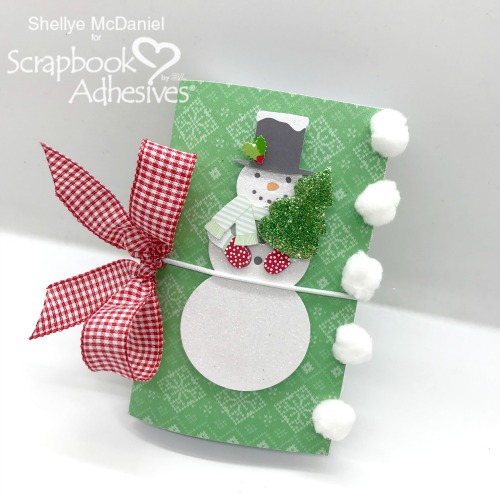
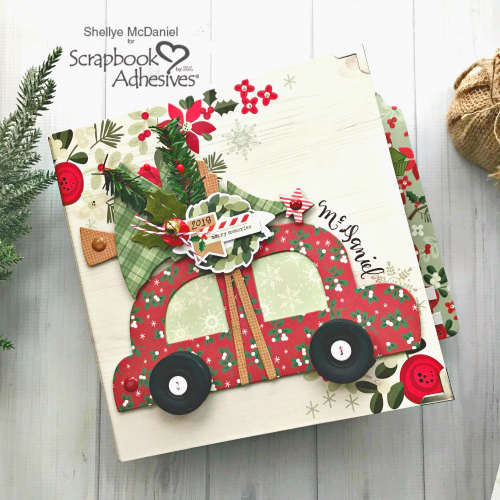
Happy holidays are upon us! Shellye McDaniel here today to give you a peek at my 2018 “December Daily” scrapbook album.
Working on the December Daily Album
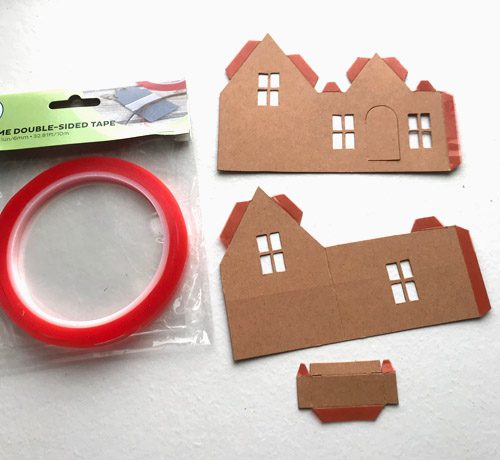
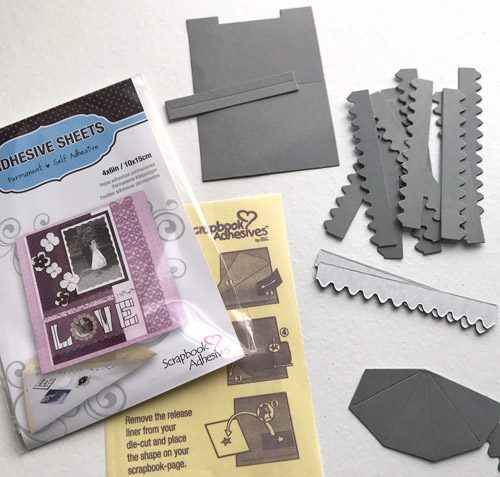
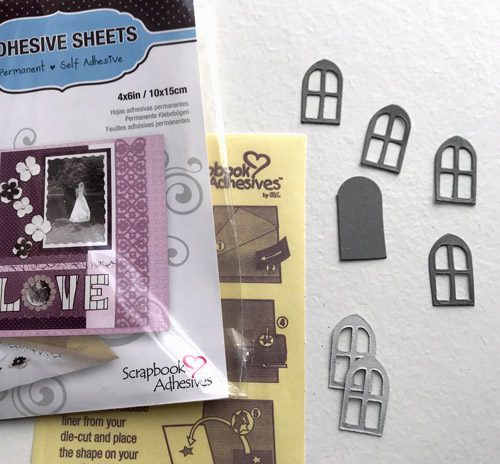
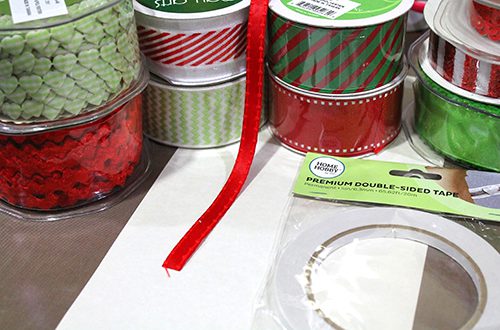
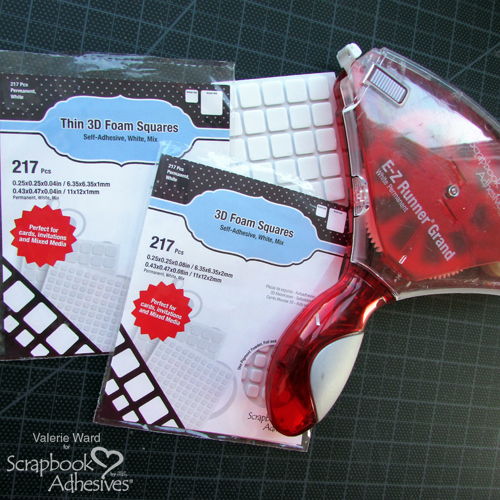
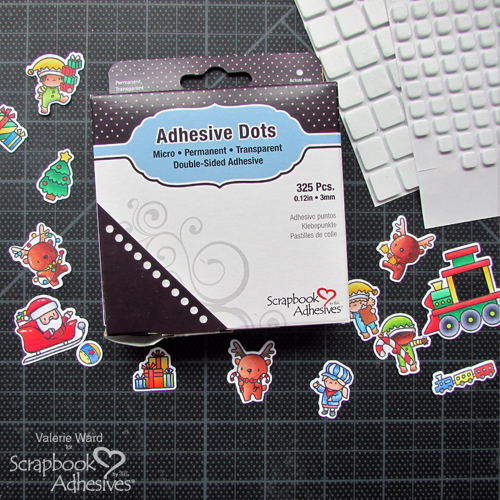
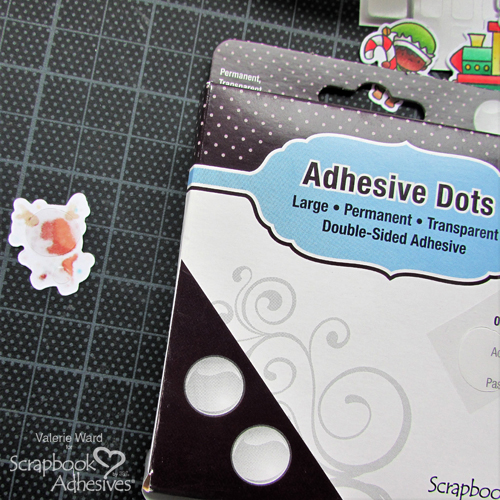
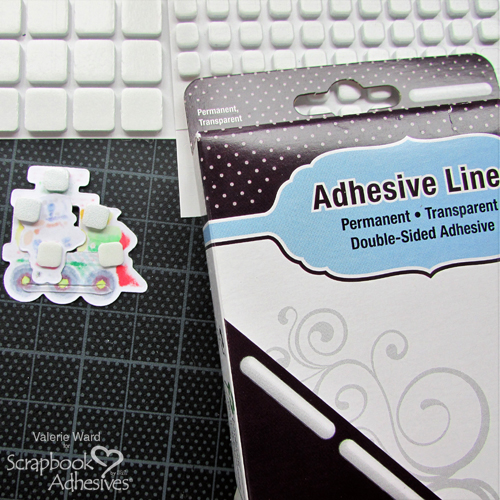
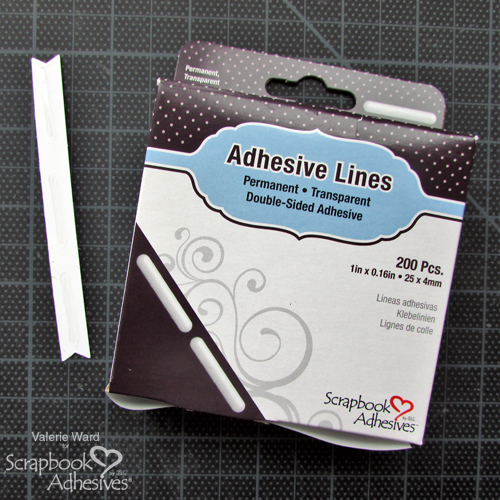
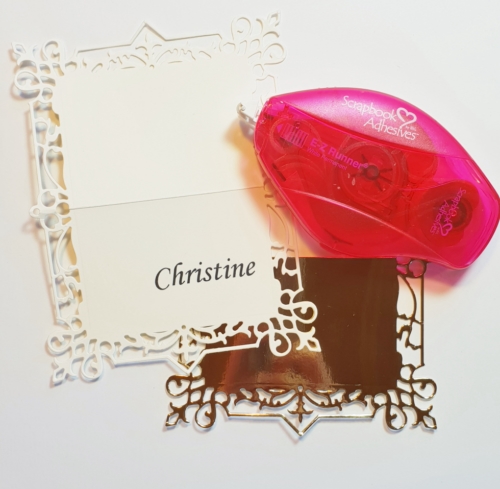
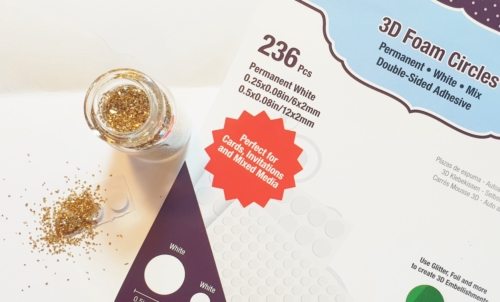
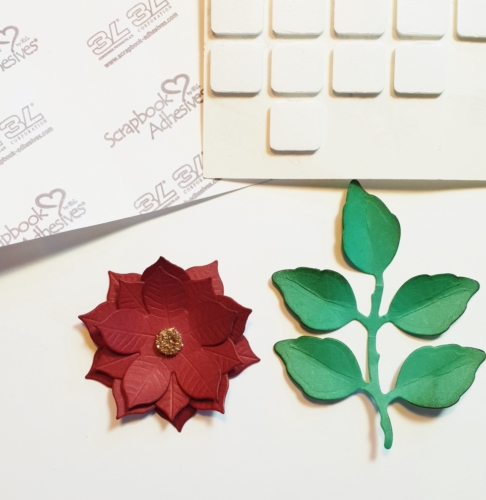
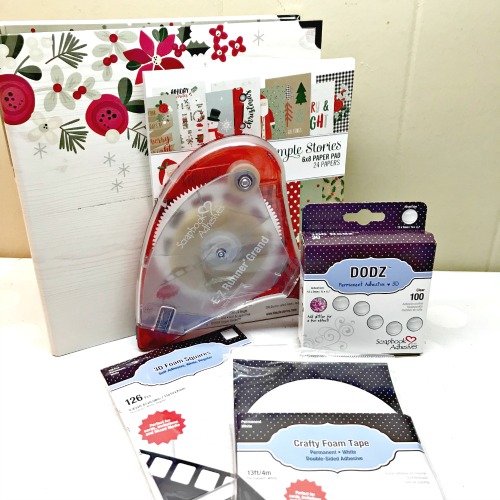
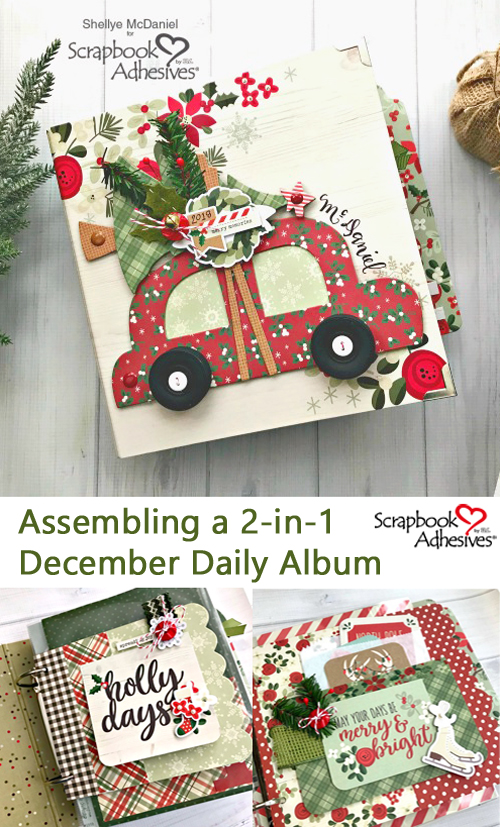
I started with these supplies from Scrapbook Adhesives by 3L: 3D Foam Squares White Mix, Crafty Foam Black Tape, E-Z Runner® Grand Ultra Strong Refill, Adhesive Dots 3D and Premium Double-Sided Tape 1/2in.

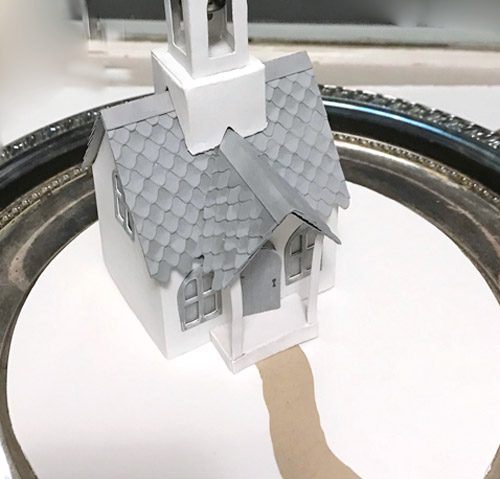
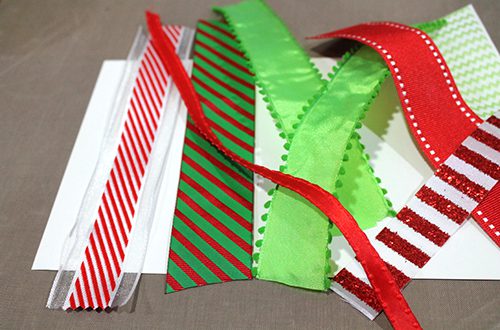
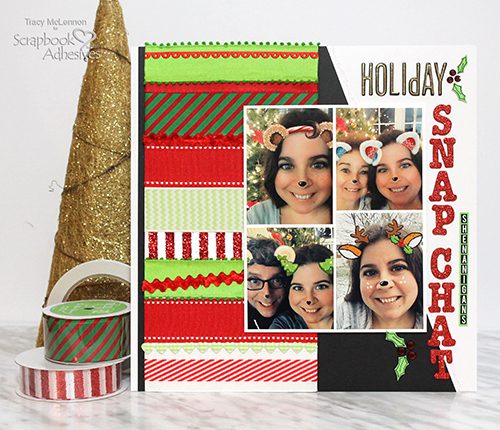
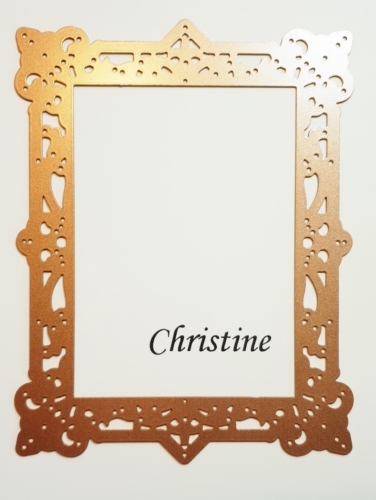
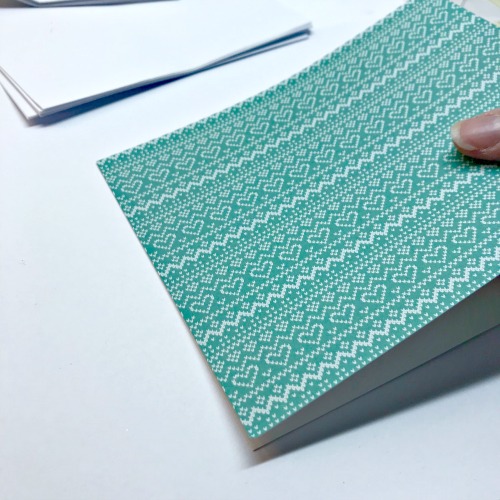
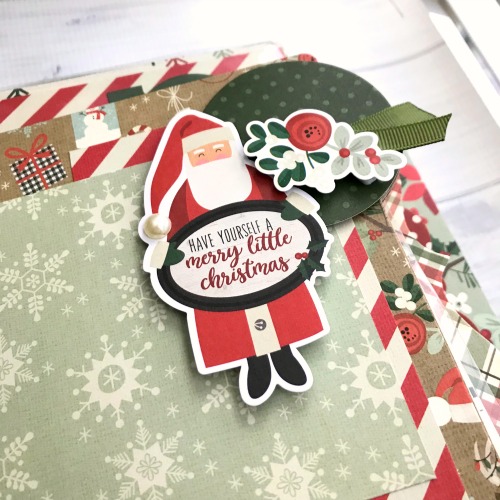
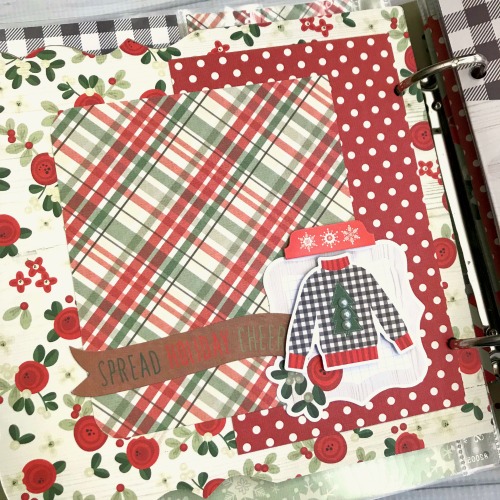
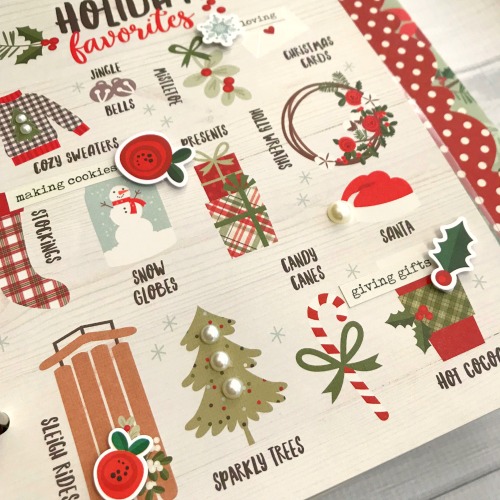
I combined a mini album kit with various elements from another Christmas collection. When I assembled the two together it created a one-of-a-kind treasure!

The Daily Details
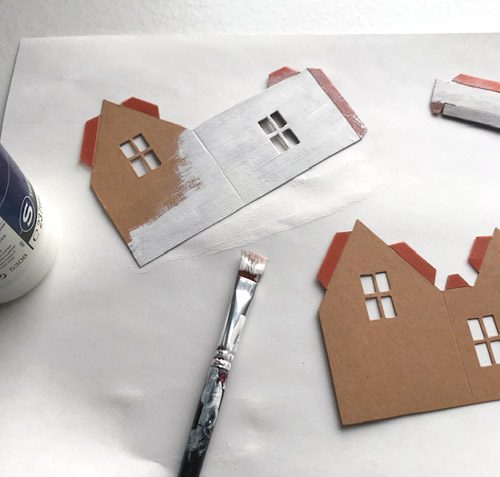
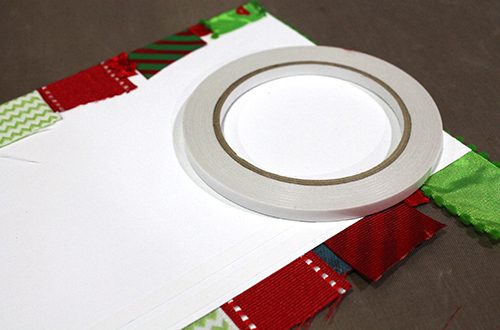
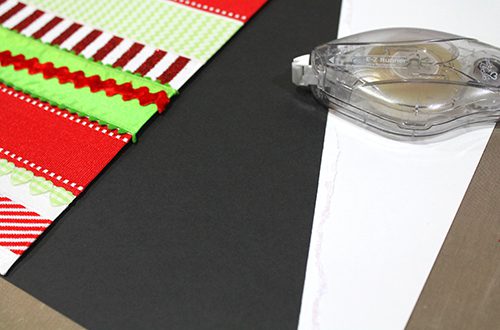
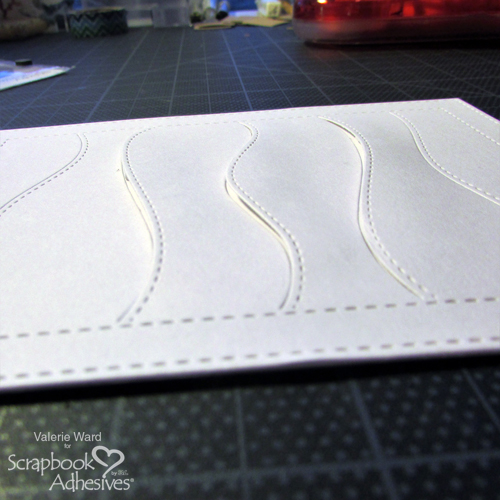
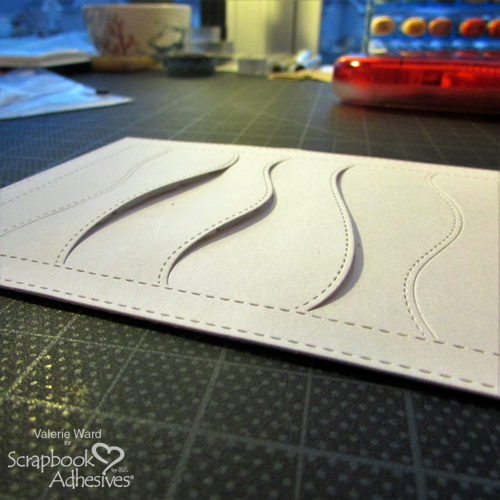
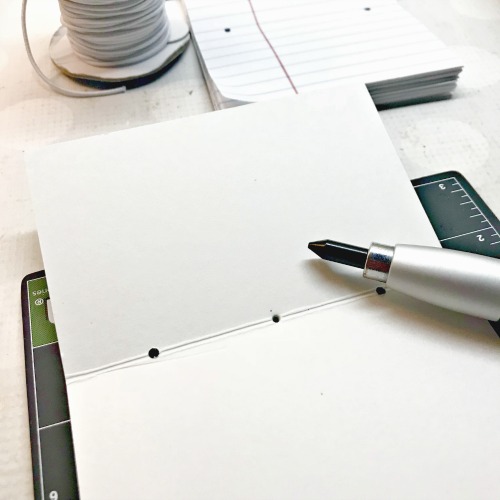
To begin, I dressed all of the chipboard pages using the E-Z Runner® Grand Ultra Strong Refill. For larger pieces, I used the Premium Double-Sided Tape 1/2in.

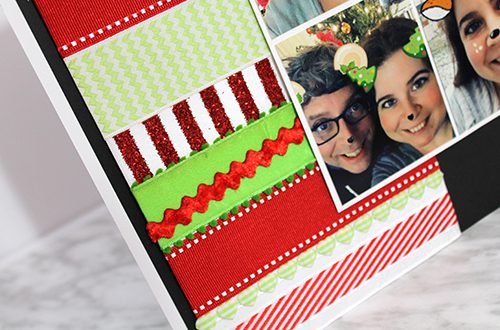
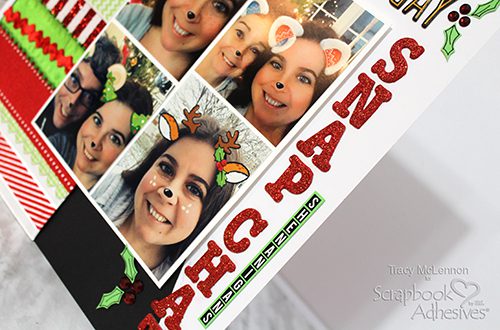
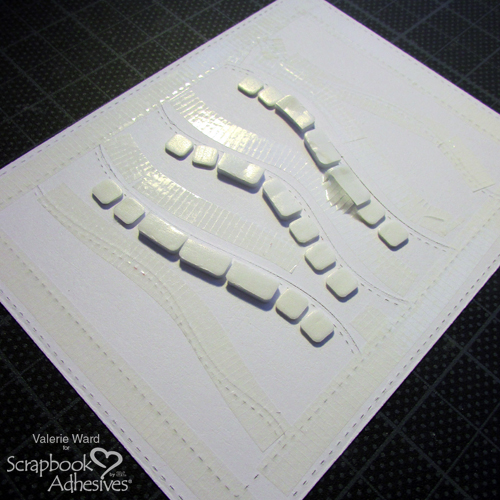
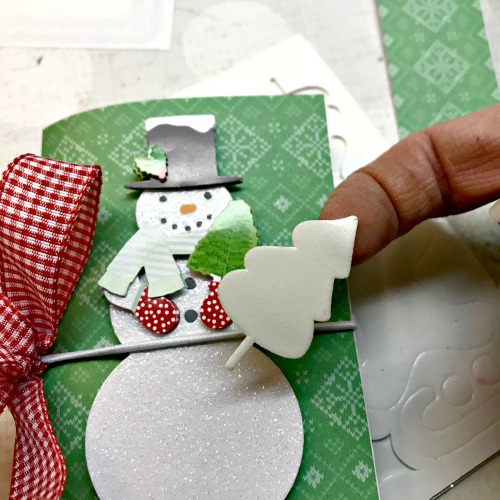
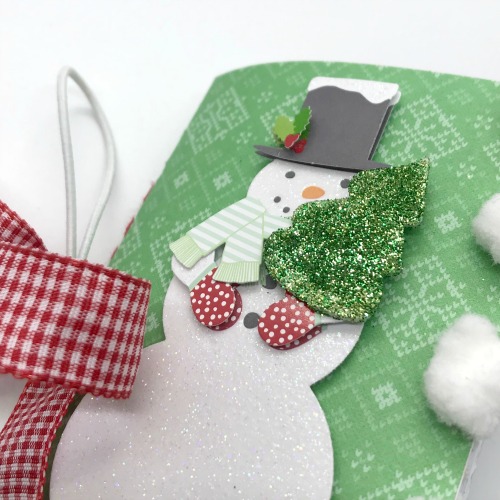
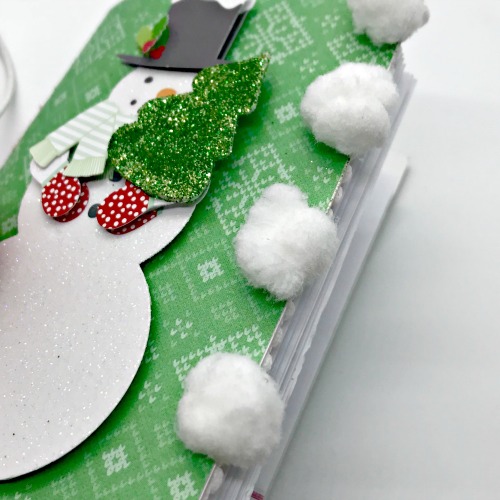
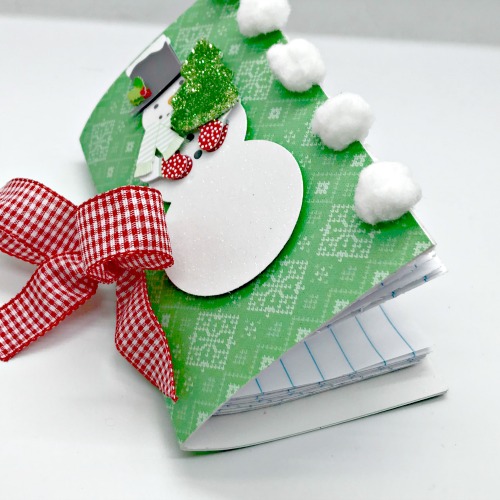
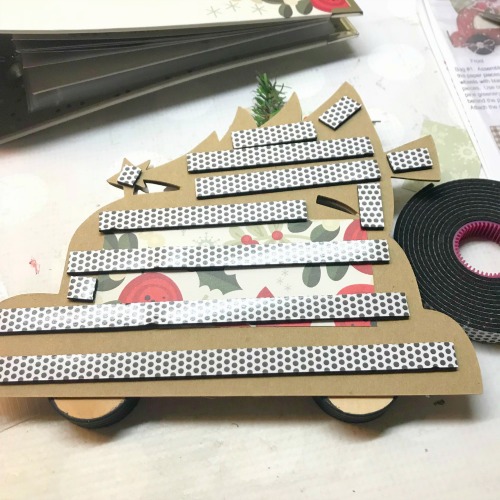
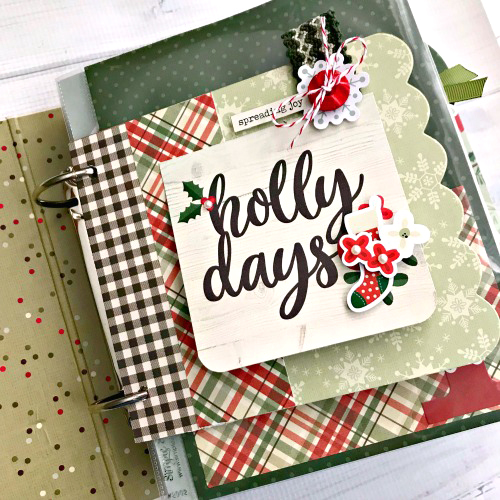
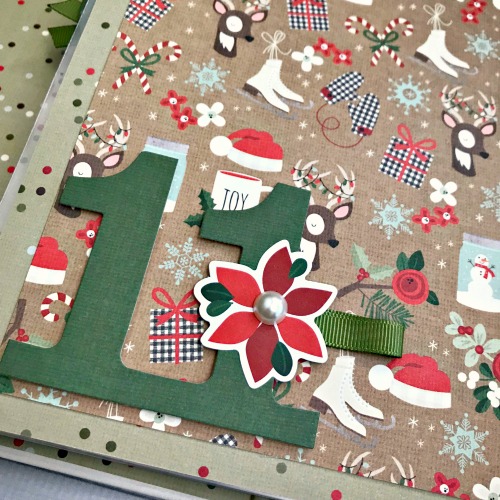
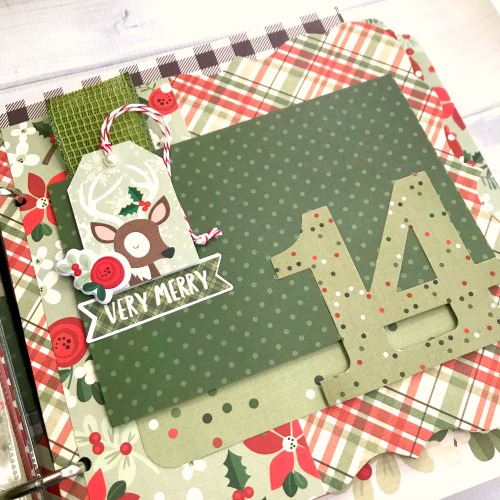
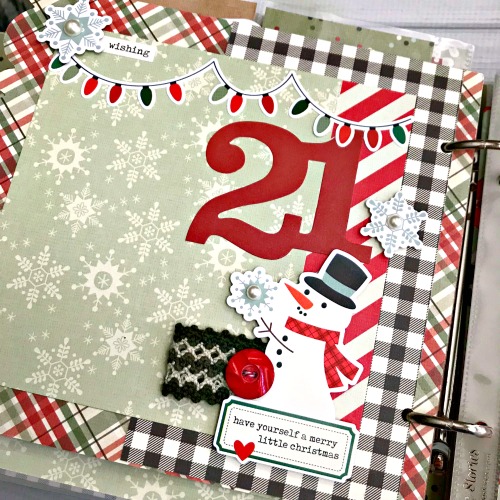
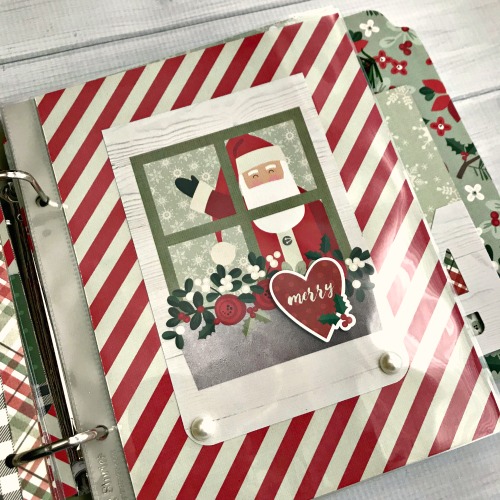
Throughout the album, I was able to add dimension to stickers with the 3D Foam Squares White Mix.
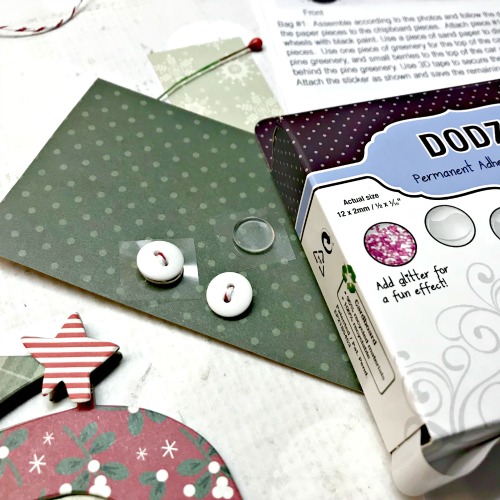
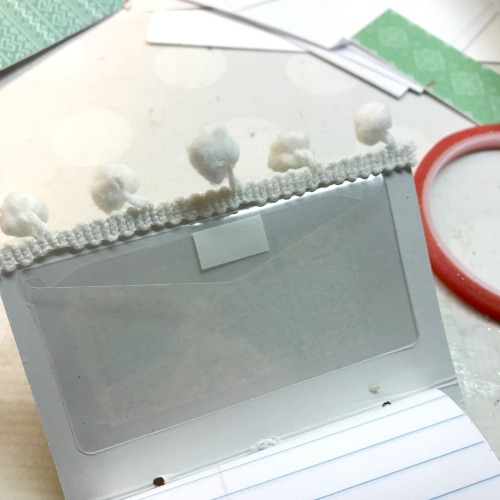
I gave the buttons a secure footing by attaching them with the Adhesive Dots 3D.
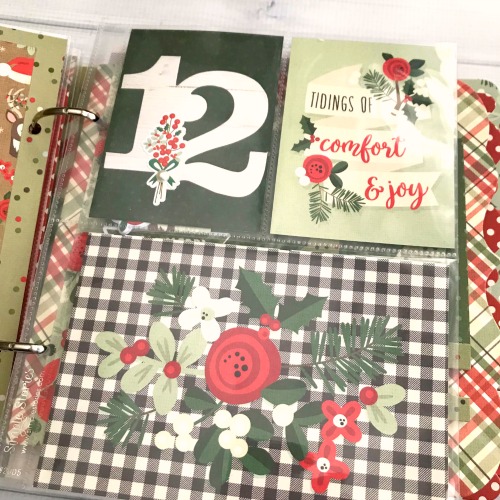
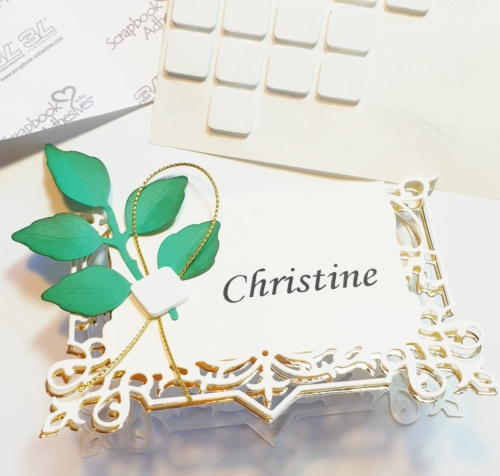
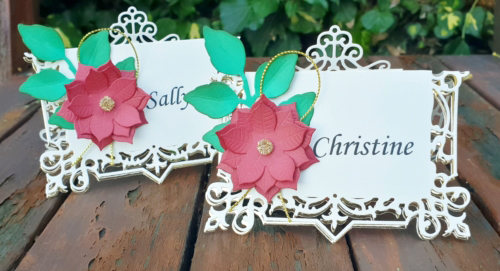
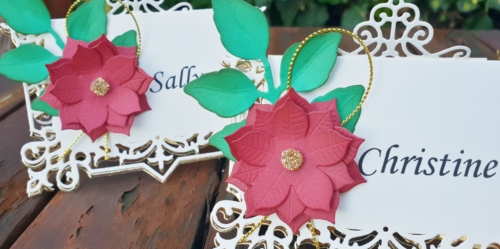
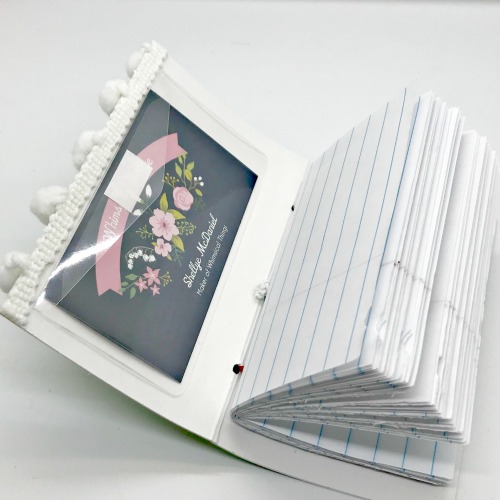
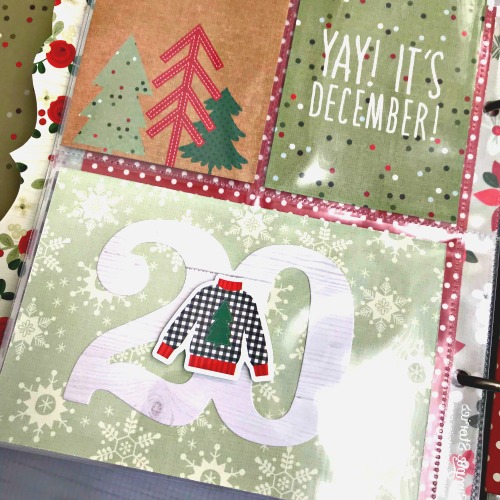
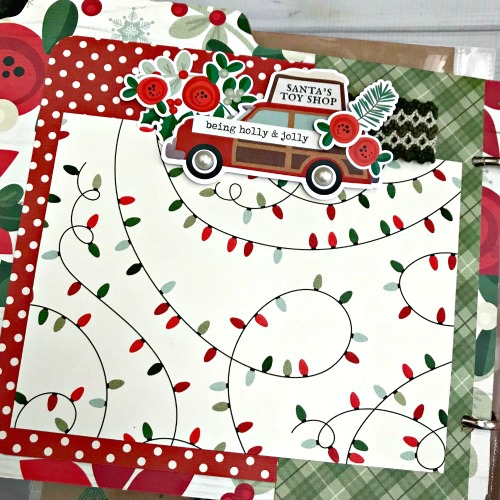
Next the sleeves of the SN@P! Album was filled with pre-cut cards. I was able to further embellish them with numbers for the days, die-cuts and stickers.
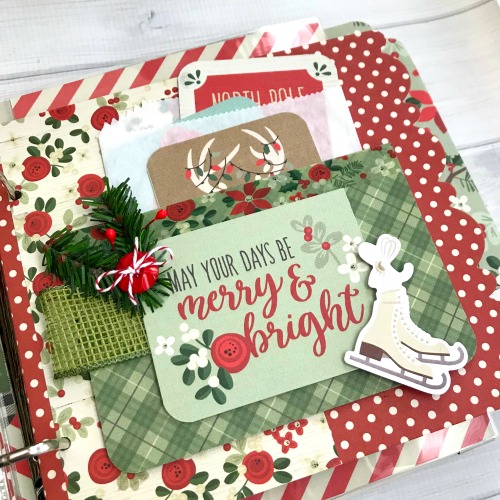
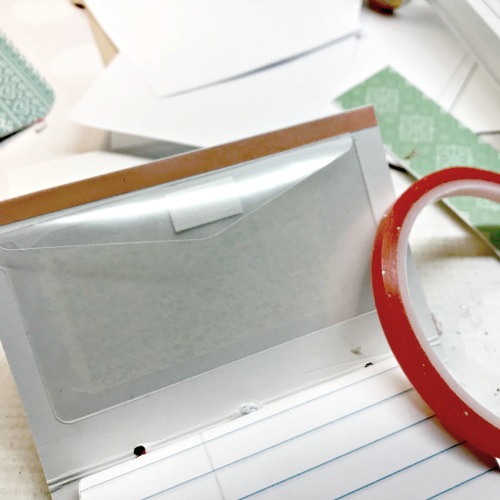
I also created a pocket using the Crafty Foam Black Tape on three sides. The top I left open so extra journal cards could be tucked inside.
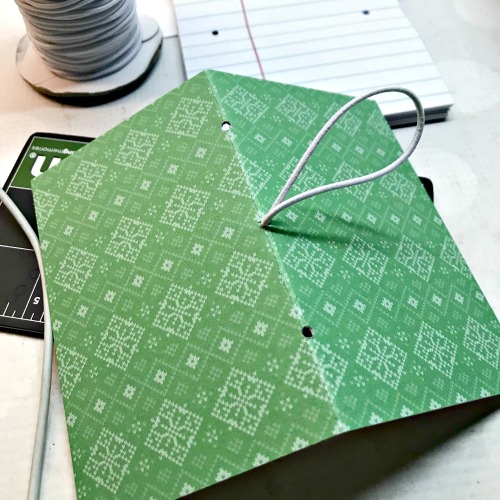
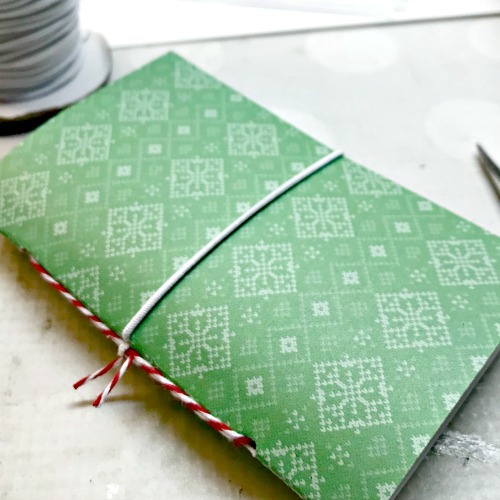
Fill the sleeves and decorate the chipboard, then layer the pages. I alternated between a chipboard page, a plastic sleeve, and a die-cut page.
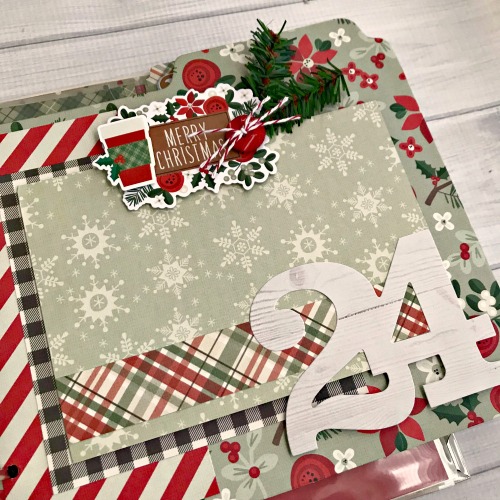
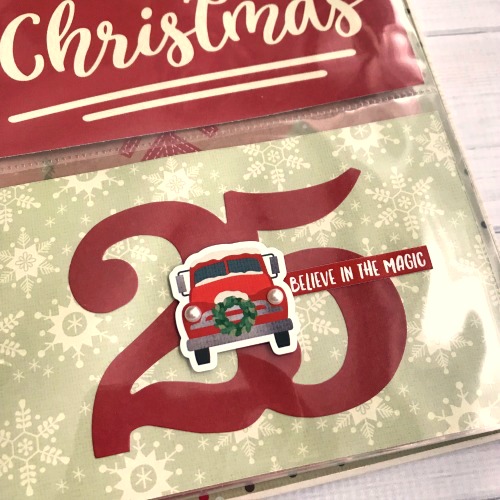
To finish I added the die-cut numbers for the days. Towards the end of the album, I made more room for additional Christmas Eve and Day photos.
I love this super-chunky album and can’t wait to fill it with memories. Thanks so much for joining me today at Scrapbook Adhesives 🙂

Creative Time: 3-5 Hours
Skill Level: Intermediate
Materials Needed:
Scrapbook Adhesives by 3L®:
E-Z Runner Grand Refillable Dispenser
3D Foam Squares White Mix
Crafty Foam Black Tape
E-Z Runner® Grand Ultra Strong Refill
Adhesive Dots 3D
Premium Double-Sided Tape 1/2in.
Other Products:
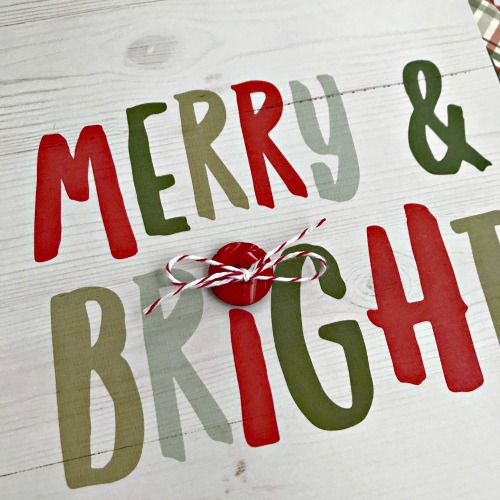
Simple Stories: Merry & Bright- SN@P! Album, Collection Kit, Washi Tape, Bits & Pieces, Number Pocket Pieces, SN@P! Cards, Puffy Stickers; Paisley’s & Polka Dots: Merry & Bright Christmas Album
Pin It!
Visit our Website and Blog!
Sign up for our Newsletter so you never miss a contest or giveaway!