Hi friends! Dana Tatar here today sharing a super fun kids craft tutorial. School is out for Summer and I’m looking for ways to unplug from technology and enjoy the great weather.
Creating cyanotype prints with 3D Foam Shapes is a great way to be creative outdoors. I’m not sure who had more fun with this project, my daughters or me!
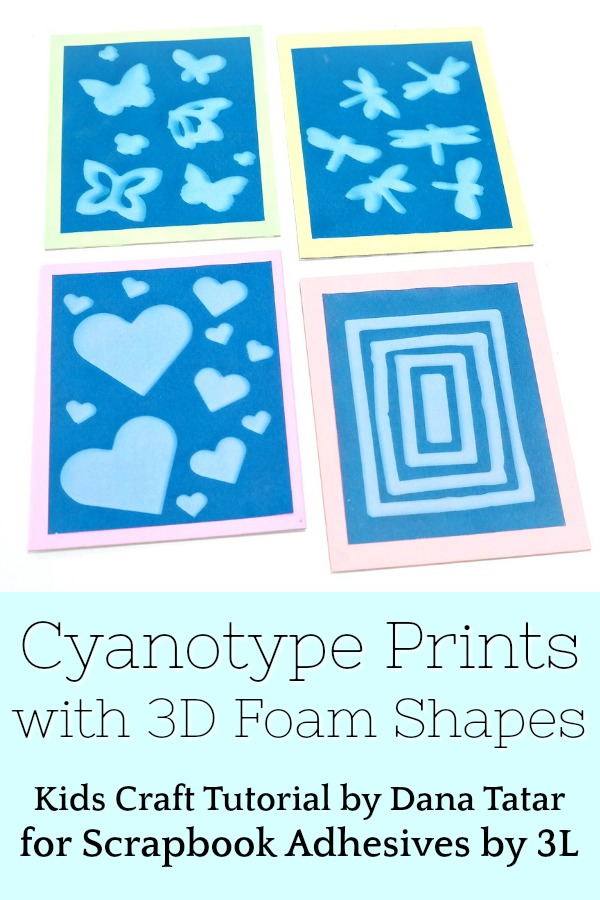
How to Create Cyanotype Prints with 3D Foam Shapes
Creative Time: 30 Minutes (Plus Drying Time)/Beginner Level
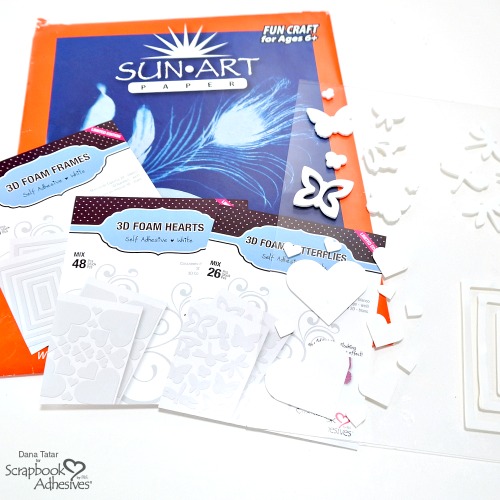
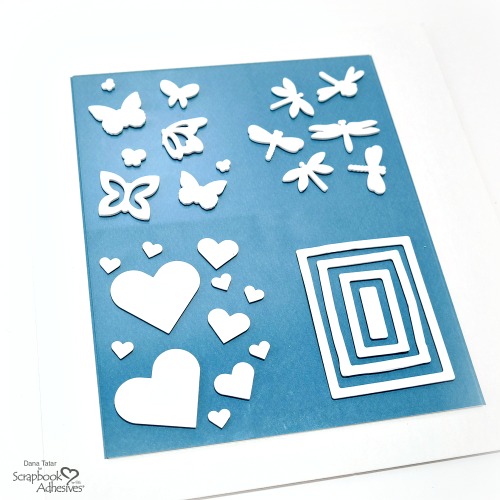
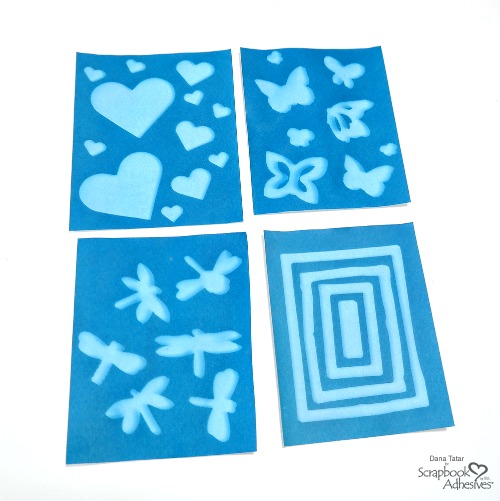
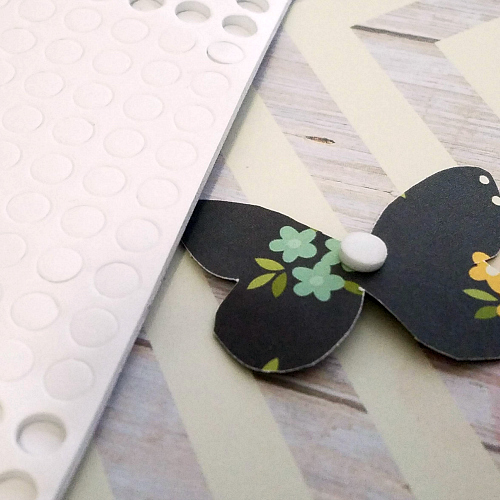
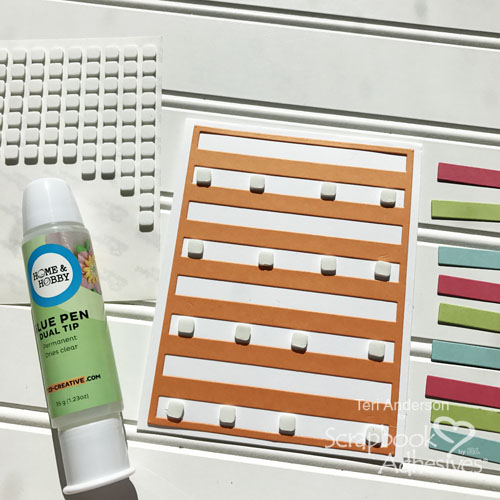
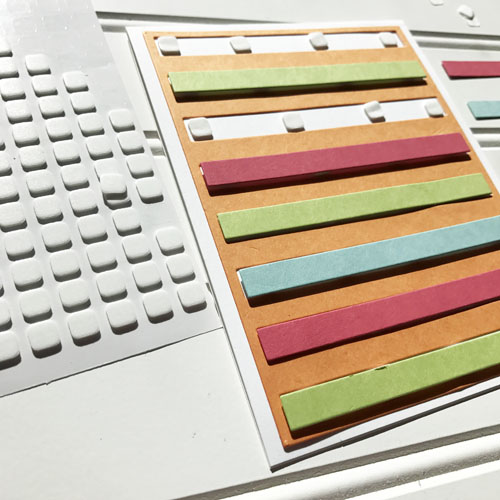
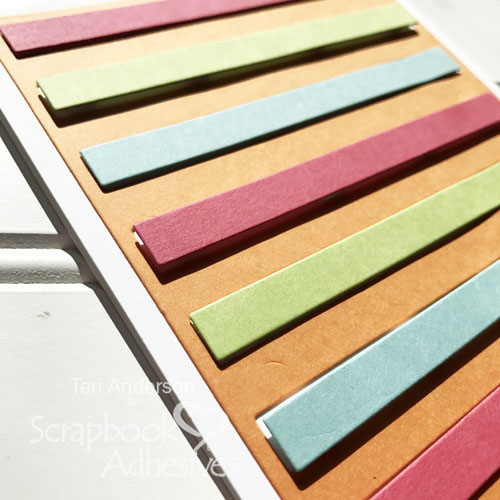
1. Select a variety of 3D Foam Shapes. Peel the backing sheet from the foam shapes and arrange them onto a piece of acrylic. I created 4 mini prints using one sheet of cyanotype paper.
2. Prepare the print for sun exposure. Place the SunArt paper, blue side up, onto a base surface such as a piece of cardboard. Top the SunArt paper with the acrylic sheet decorated with 3D Foam Shapes.
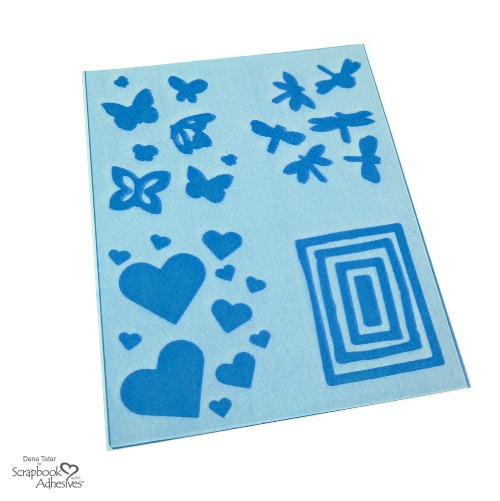
3. Expose the paper to sunlight for several minutes. The paper is light-sensitive and will gradually turn a light blue.
4. Submerge the print in a tray of water for about 1 minute to rinse the artwork. The images created with the 3D Foam Shapes will turn a lighter shade of blue during this process. To create a print with more intense blue tones, add a few drops of lemon juice to the tray of water. Let the prints dry overnight or speed up the drying process with a heat tool.
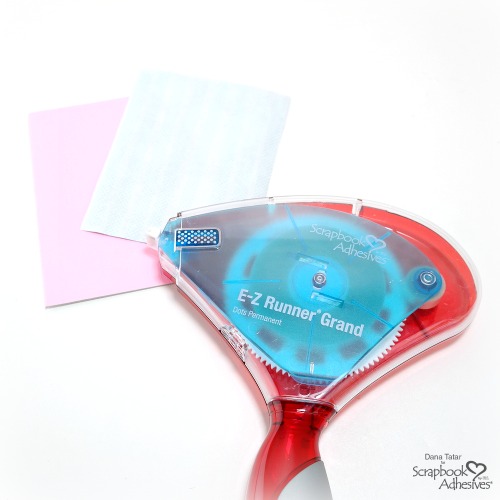
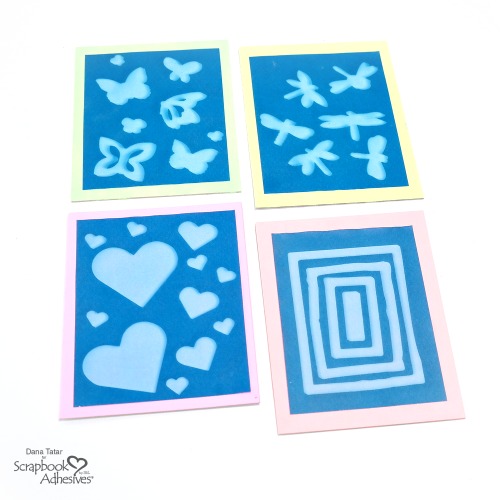
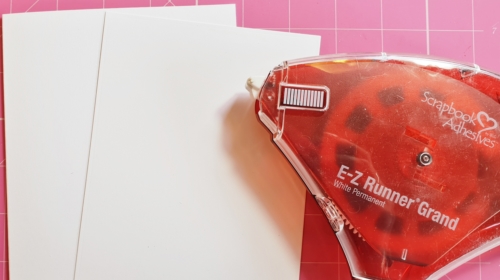
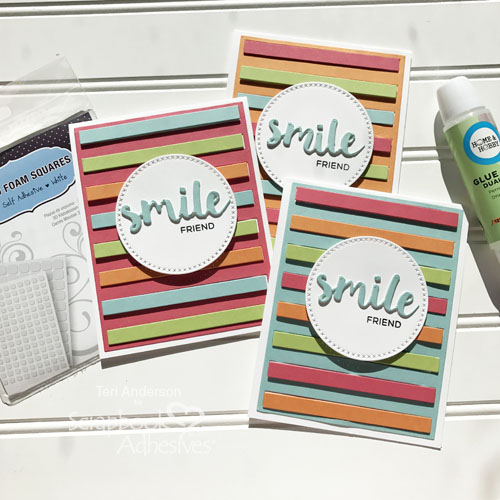
5. Cut the sun paper into mini prints. For a fun pop of color, paint pieces of cardboard with neon paint. Attach each print to the matting with the E-Z Runner Grand Dispenser filled with Permanent Dots Adhesive.
I hope I have inspired you with this project! Which 3D Foam Shapes would you choose for your cyanotype print? Let me know in the comments section.
~Dana
Scrapbook Adhesives by 3L® Supplies:
E-Z Runner® Grand Refillable Dispenser
E-Z Runner® Grand Permanent Dots Refill
3D Foam Hearts, Frames, and Butterflies
Other Supplies: Cardboard, Neon Paint (DecoArt), SunArt Paper
Pin It!


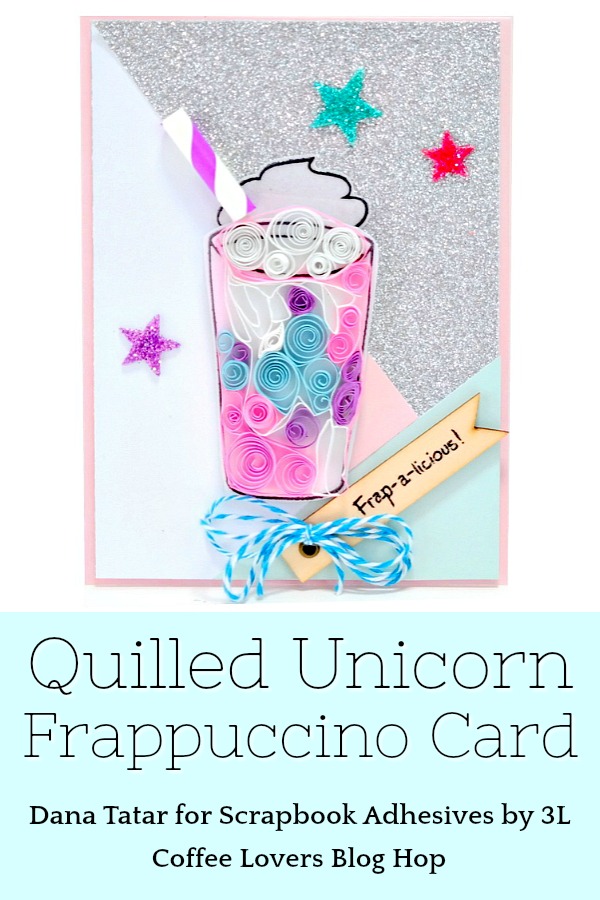
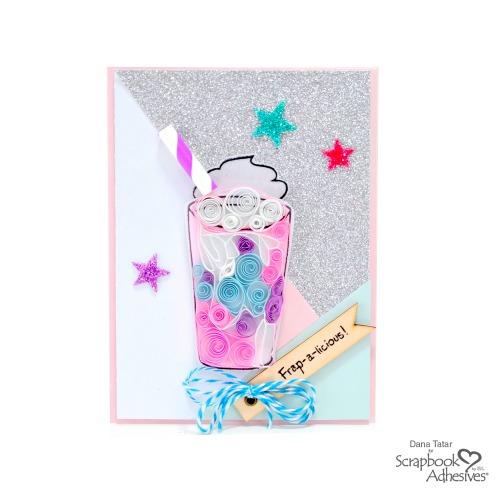 Quilling was the perfect way to mimic the swirls of color in a Unicorn Frappuccino. I used quilling paper and a